How to Write a Great README

As a company, we have aspired to build an amazing open-source community for Appsmith. To date, Appsmith's Github page has amassed over 28,000 stars and just under 3,000 forks. So what is the key to getting these numbers? It all starts with the all-important README. Your README is the front page for your project — it's often the first impression you make on your users and contributors. An effective README file needs to tell your audience what your project does, how to use it, and how they can help out.
We’ve optimized this by putting the information that’s most useful to the widest audience up front and slowly working our way down to the technical details, by linking to other sources whenever more detail is required to avoid walls of text, and by using visuals wherever possible. In this article, we’ll discuss in more detail how these three principles make a great README file for your project.
Principles of a good README
There’s no shortage of projects to contribute to on GitHub, which means that it’s easy for potential contributors to overlook projects that aren’t yet very popular, even if they are great projects. This is a tough pill to swallow for many project maintainers who want to believe that their project will succeed just because it is high quality.
In order to make sure your project doesn’t fade into obscurity, it is critical to communicate the value of your project as soon as possible without requiring a ton of effort from potential contributors. The best way to do this is with a clear and concise README that not only has all the important information but looks good and is easy to read. In this article, we recommend a few key principles for accomplishing this and explain how we’ve applied them with the Appsmith README.
When you read something, you start at the top, so start your README file with the most useful information and then gradually work your way down to the technical details. This prevents readers from becoming overwhelmed before they have enough context to understand the inner workings of your project.
It’s also important to recognize what not to include. README files work best when they are succinct and link out to formal documentation whenever in-depth detail is required. The alternative is to have walls of text all over, which can be very off-putting to readers.
We look at the README as the central hub for all the information that users need to understand a project. It should provide a high-level overview of the project and also show users where to go to find more details, including how it works, links to up-to-date installation options, and finally links to detailed information for contributors.
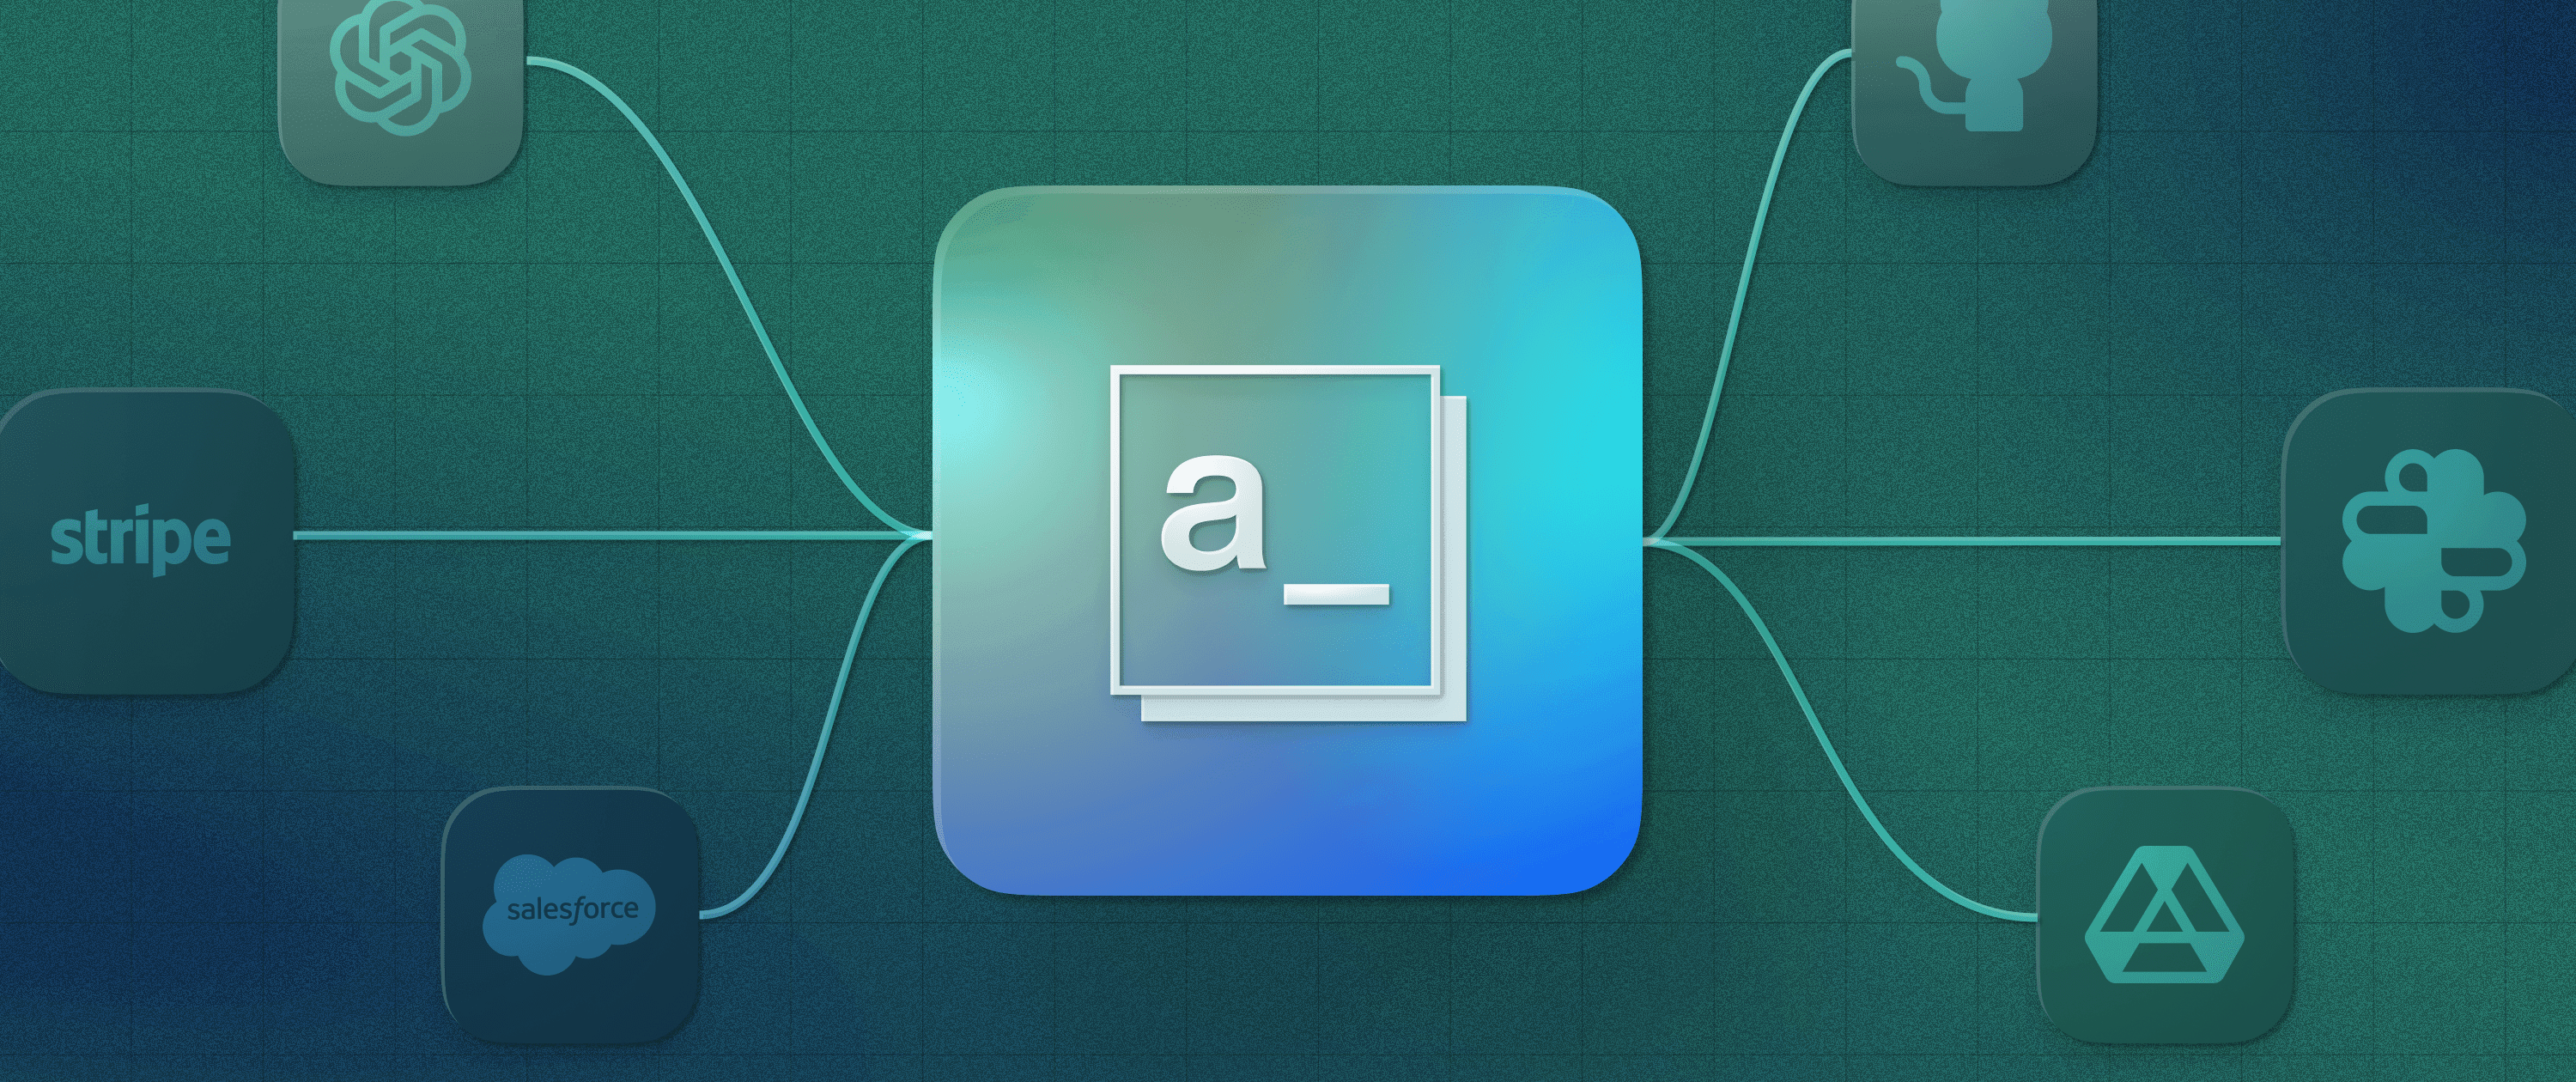
We also think it is beneficial to show instead of tell wherever possible. We recommend using icons, images, and GIFs to keep it visually engaging and provide visual signposts — helping readers quickly navigate to the details that are important to them.
And if a picture is worth a thousand words, a good GIF is worth a million. We’ve found that it’s a good idea to use GIFs whenever an aspect of your project is particularly easy to use, but hard to describe in words. An example of this with our project is showing off how easy it is to build good-looking, functional applications quickly on Appsmith even though there is a massive amount of complexity behind the scenes that is hidden from users.
GIFs and other visuals can never replace the job of documentation for the nitty-gritty details, but they can absolutely provide that extra “wow” factor when showing off the user interface for your project. And they can make it easy for readers to consume a lot of information about your project quickly with little effort, which is the key to increasing adoption and ultimately contribution for your project.
Deconstructing the Appsmith README
Let’s go over the Appsmith README in detail and examine each section, why we made it the way it is, and how it uses the principles outlined above to give readers the information they need as painlessly as possible.
The heading
The Appsmith README begins with our logo, which helps users visually identify our project. Investing in a good logo for your project is more than worth it — brand recognition is critical, even if your project isn’t for-profit. It’s important for your project to look professional and be memorable, so that it's easy to find and doesn’t get supplanted by a better-branded fork.
Next, we introduce Appsmith with a short, two-sentence overview. Here, we focus only on what Appsmith does and who it is for, not how it works; we’ve found that making this section too long can cause readers to quickly lose interest. By this point, readers should have been able to decide whether the project is relevant to their needs or interests at a high level, before we dive into the technical details.
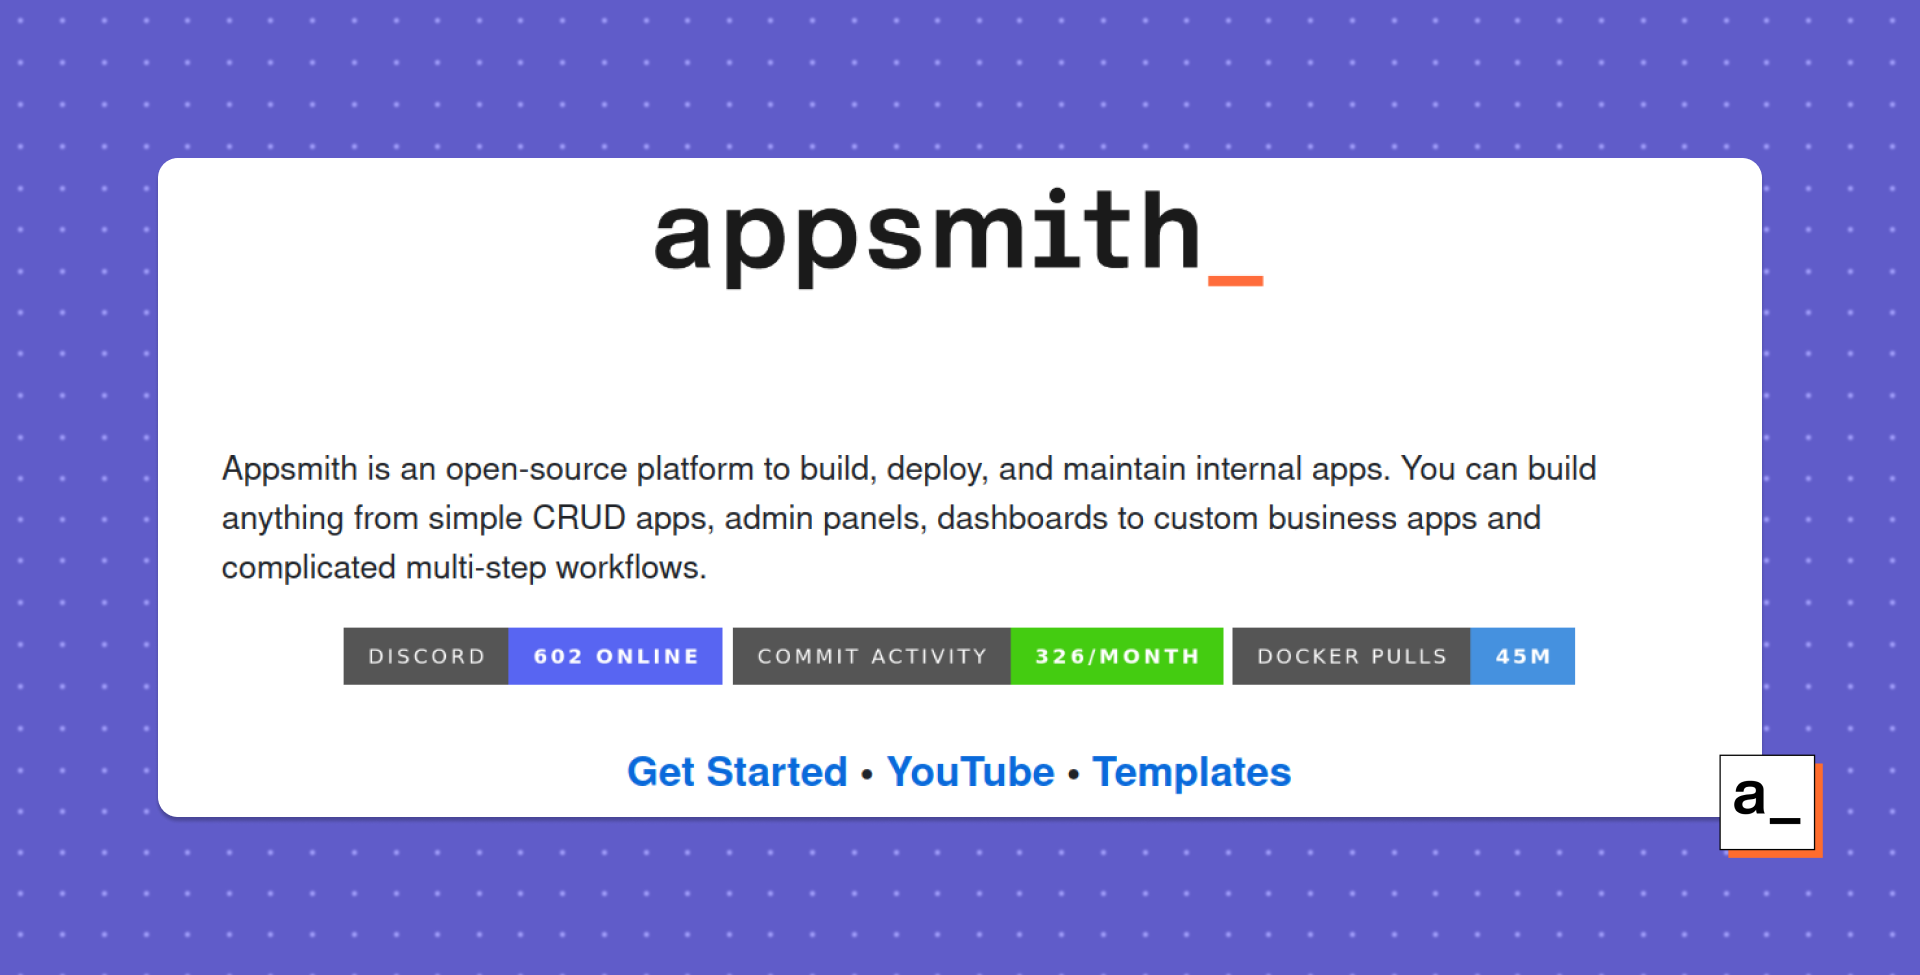
Next, we include some automated stats to give readers an idea of what’s going on in our community. The number of online users from the Discord community, commit stats, and Docker pulls can give users a sense of how many others are also interested in Appsmith. Seeing that our community is active encourages both users and contributors to join the project.
The final ingredients in our README heading are links to Appsmith’s cloud version signup page, our YouTube channel, and templates (a new feature that developers in particular might find very useful). These are the most common “next steps'' for new arrivals, so we make them highly visible.
That’s a total of three examples showing the activity of the project (Discord users, commit activity, Docker pulls) and three calls to action (Get Started, YouTube, Templates) within this first section. This may seem like a lot, but each one calls out to users with a different purpose, and other readers are not negatively impacted by their presence.
We believe that learning how to use the project is the most important information for a user who is interested in the project. However, different users prefer to learn in different ways: some like to read, some like to watch videos, and some like to reference example templates. This is why we’ve added so many different options here to show users how to get up and running with Appsmith.
With the information provided, they can decide whether they’ve found the project that fulfills their requirements, and find the next step they need to take. By using good-looking visuals and links, we’ve packed a lot of information into a very small space without overwhelming the reader.
How Appsmith works (for end users)

Next, we get into how the software works at a high level. We build on the information from the heading, but give more depth so that users can start to form a mental model of the software to understand its most basic concepts. However at this stage, we still hold back on the in-depth details, which we can elaborate on later.
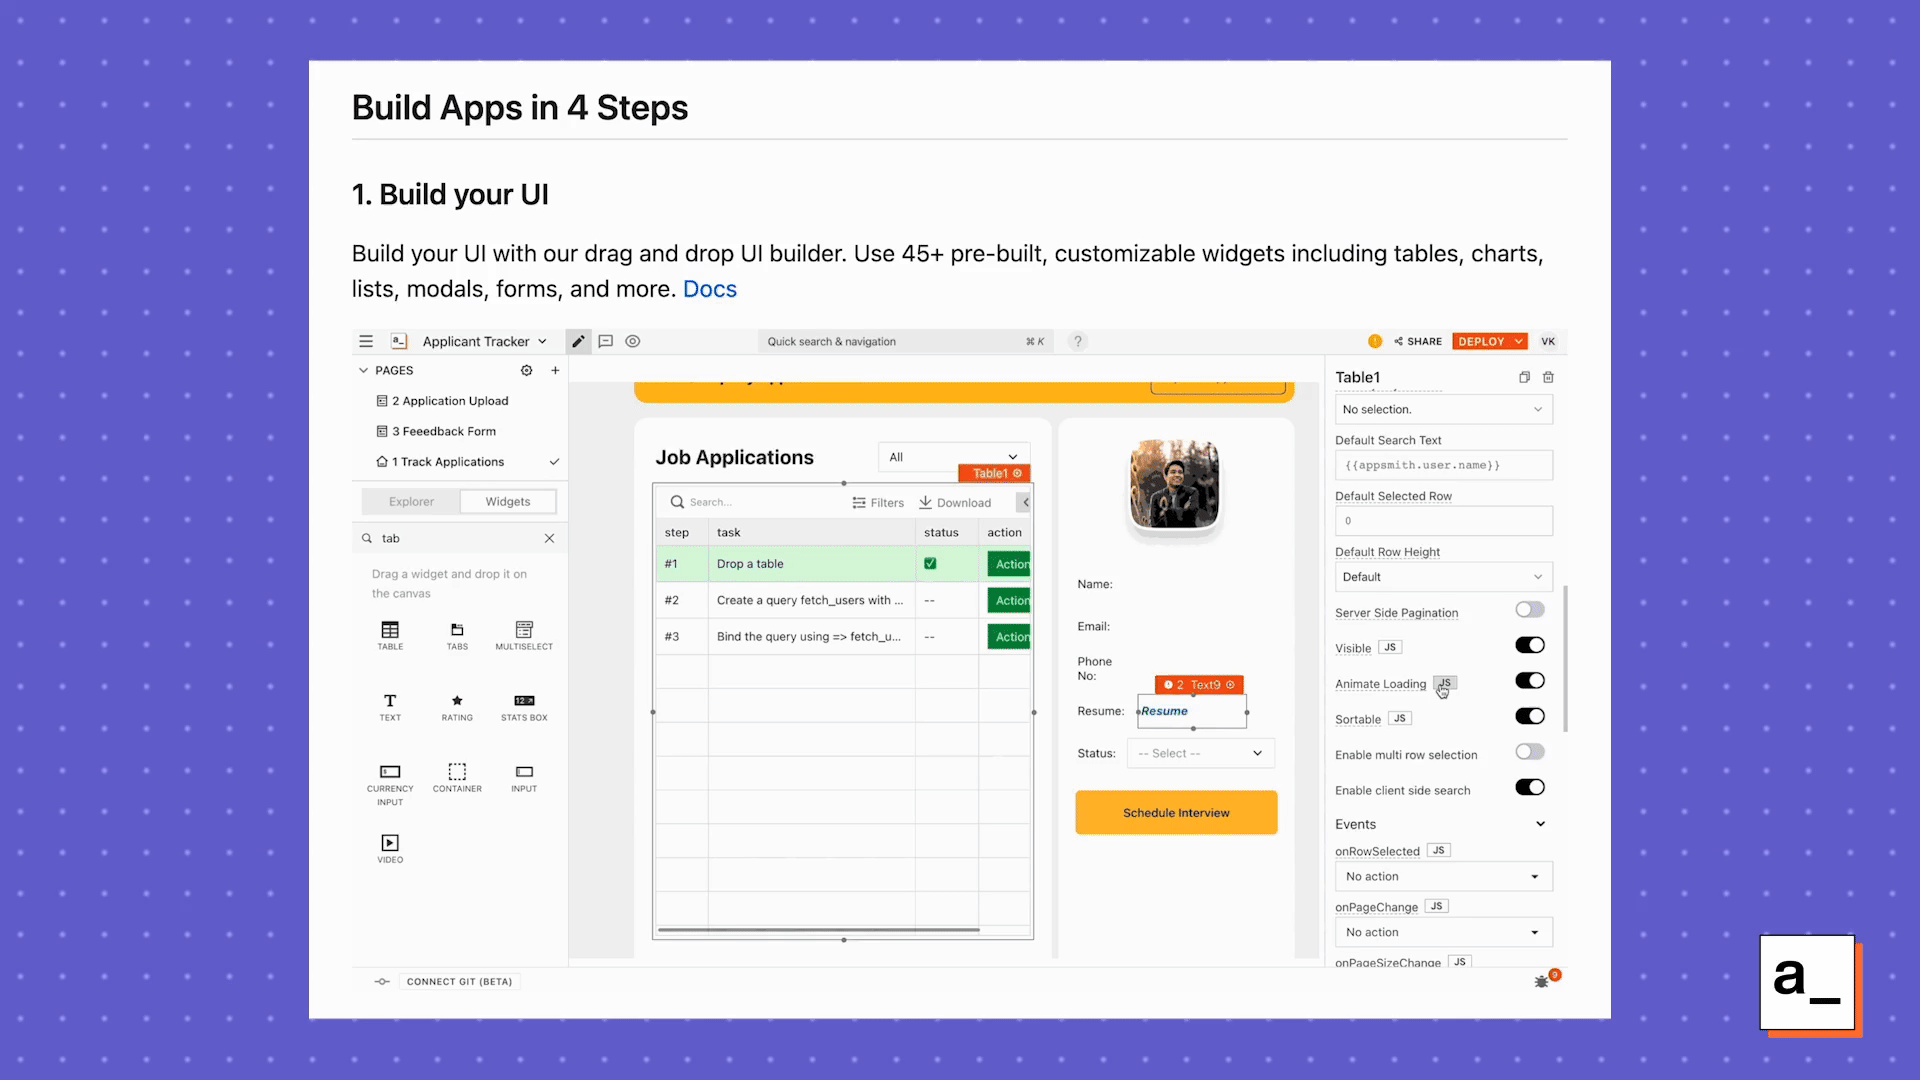
Now that the reader has context, we expand on the basic process diagram by showing Appsmith in action using GIFs. Here we’re trying to communicate that building an app with Appsmith is as easy as four simple steps. We’re not trying to teach them the inner workings of the platform yet – that is for later. However, if users are interested in more details at this point, they can follow the included links to the documentation on the Appsmith site.
Features (for end users)
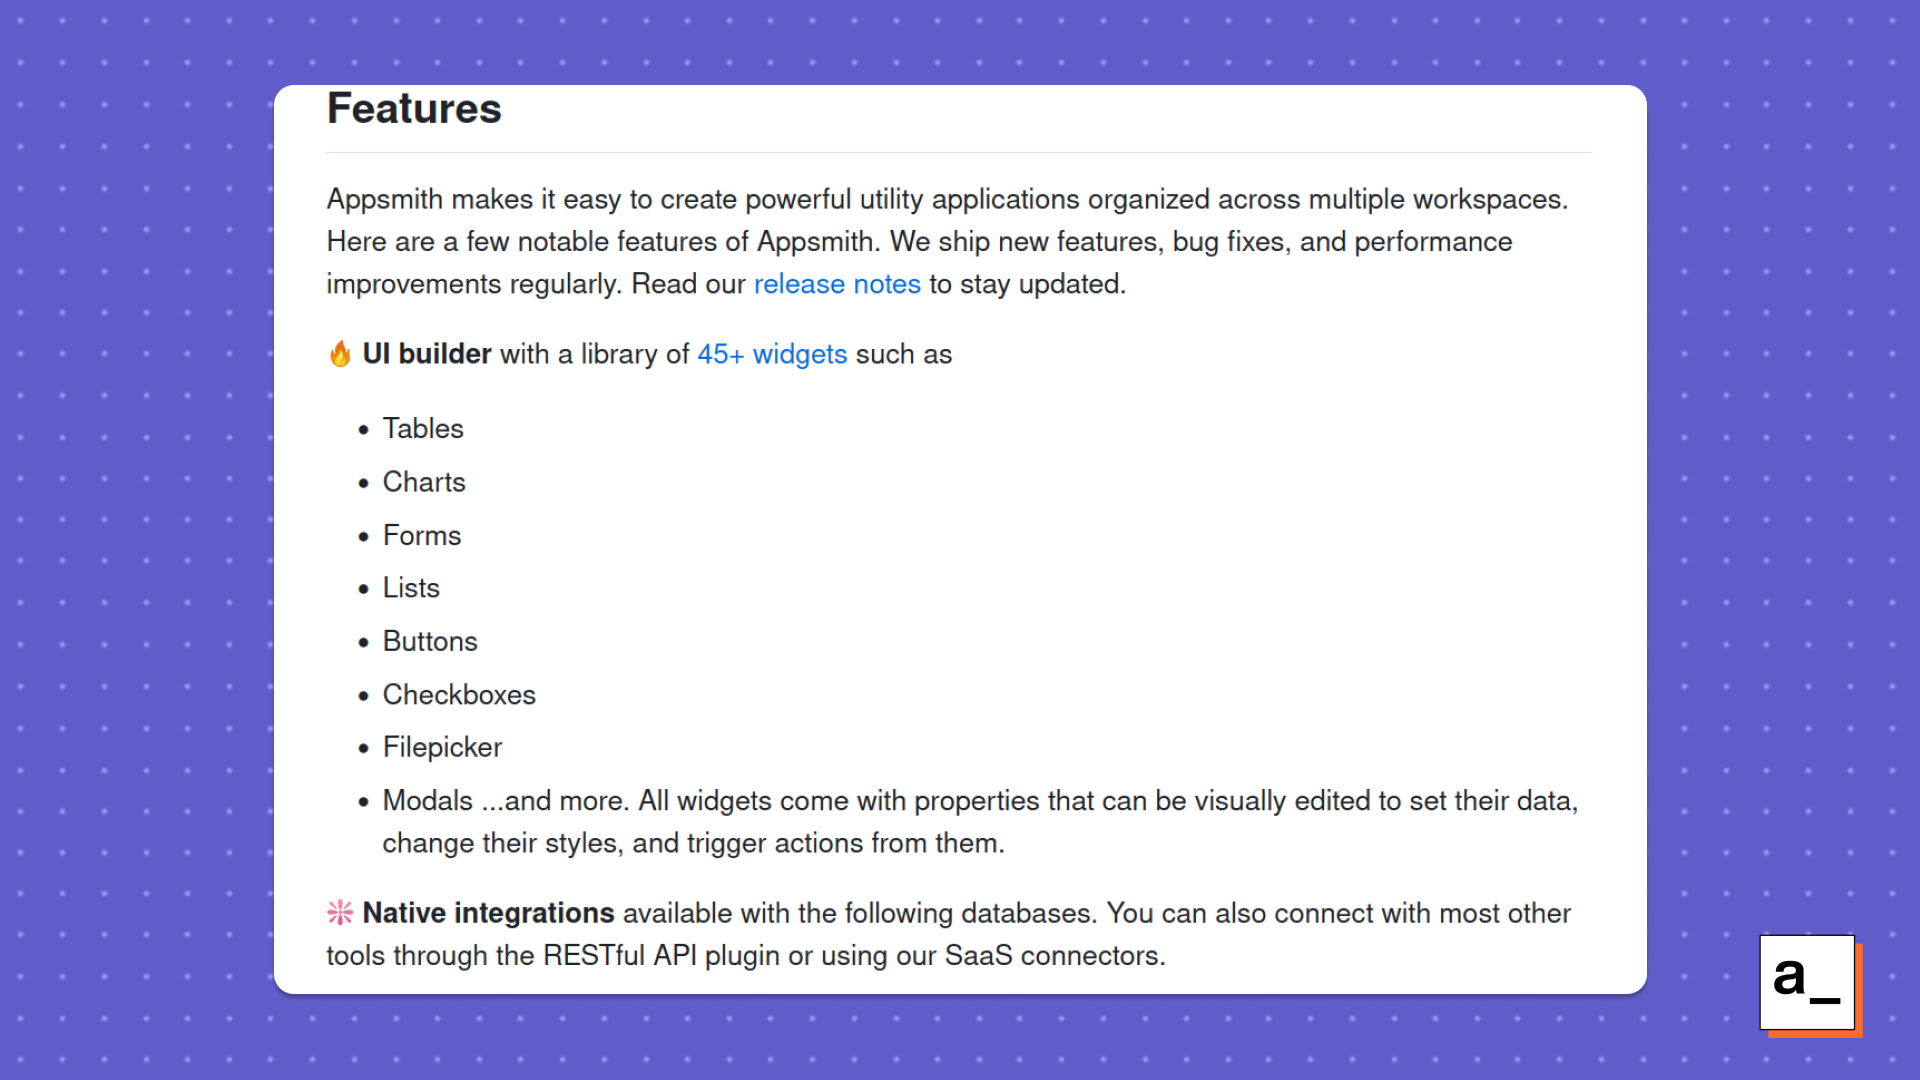
Only now do we get to the information that a lot of READMEs start with: a detailed list of features. At this point, if a reader has read all the way through, they already understand the intentions of the project. Or if a reader is skimming the README, which is more common, it is clear that this is the section geared towards users more familiar with Appsmith who are looking for more details.
Either way, this is the part where we start telling readers more about Appsmith. Text now takes precedence over illustrations so that we can increase the density of information as we explain concepts like our UI builder, pre-built widgets, native database integrations, etc.
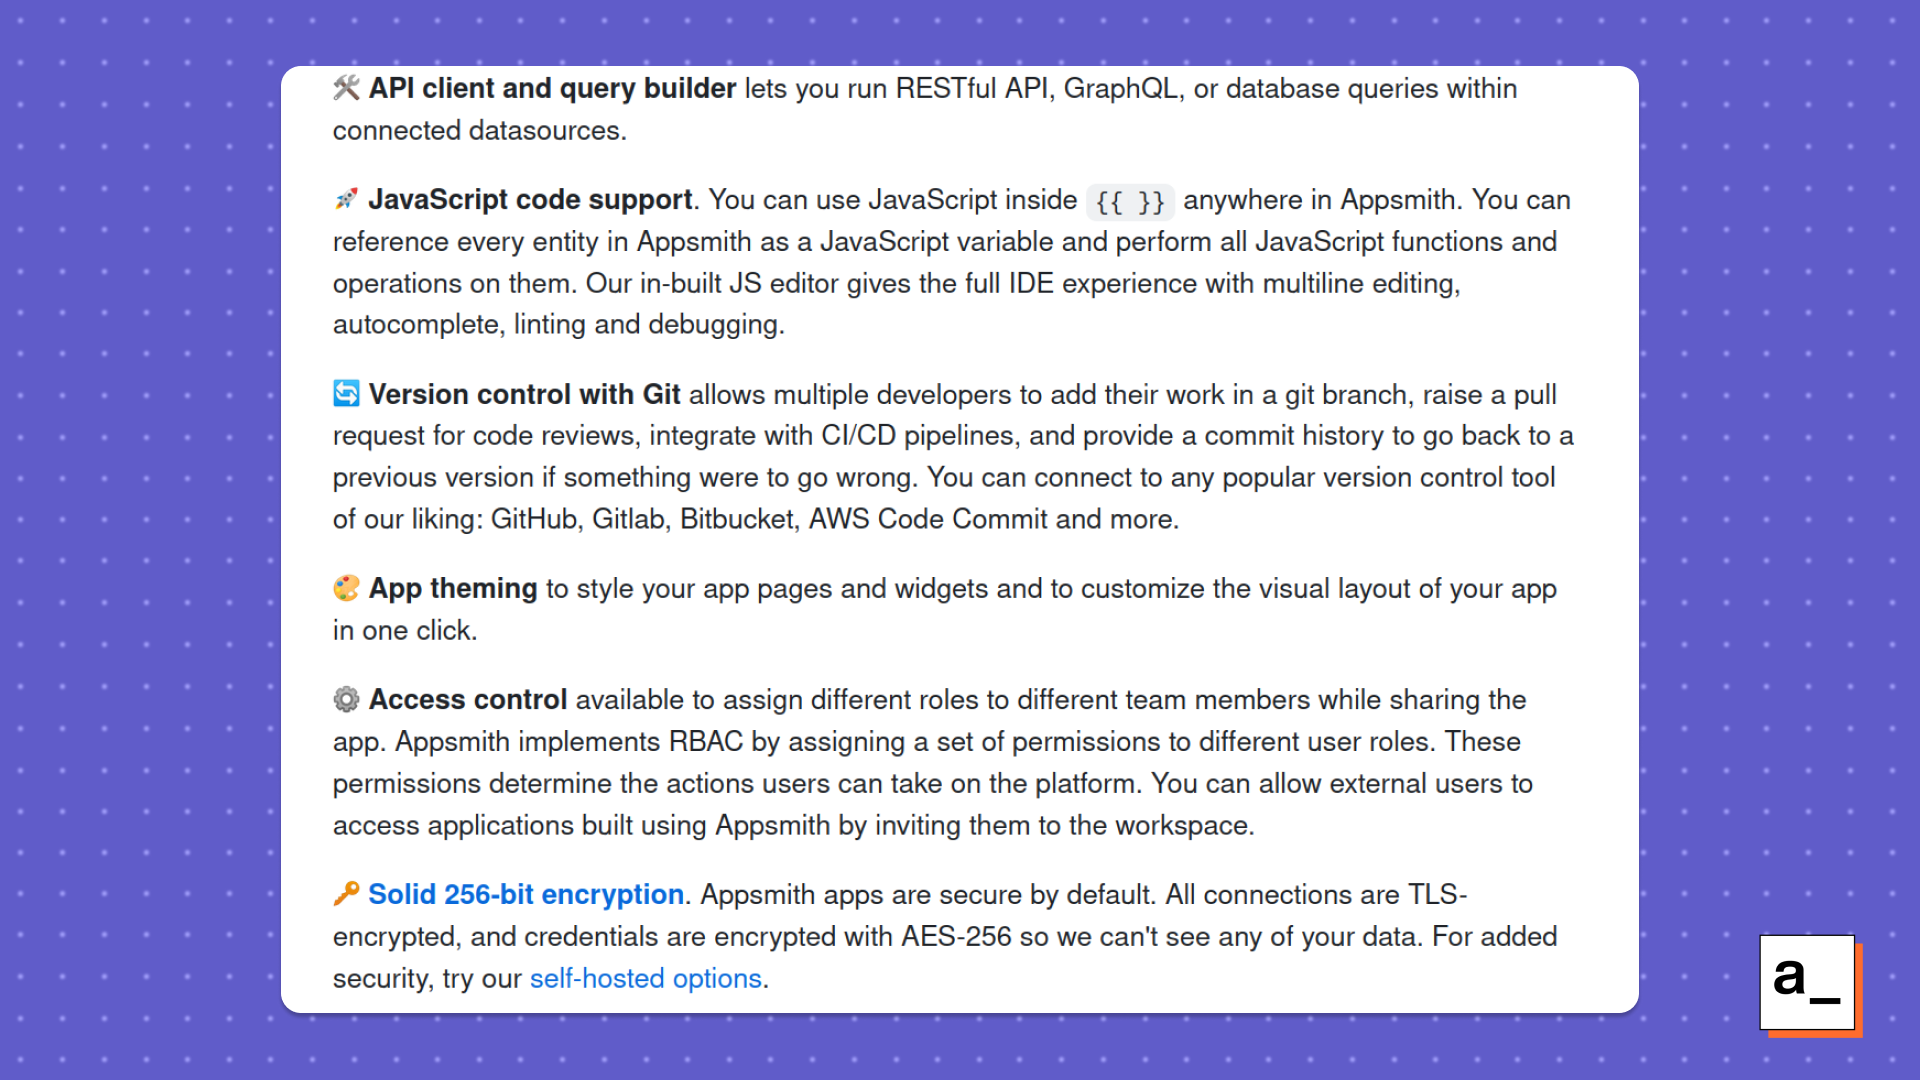
Towards the end of the README we start to get into the real technical details. To keep our README skimmable, we do everything we can to avoid walls of text: users should be able to quickly navigate to the major sections, guided by structured, eye-catching formatting.
To assist with this, every feature is bolded with an intuitive icon, with a maximum of one paragraph for the details. We also try to include code snippets wherever it makes sense (for example, when explaining our JavaScript support). And we link out to other resources where it is useful, particularly in sections that include complex topics such as encryption.
How to get set up (for end users)
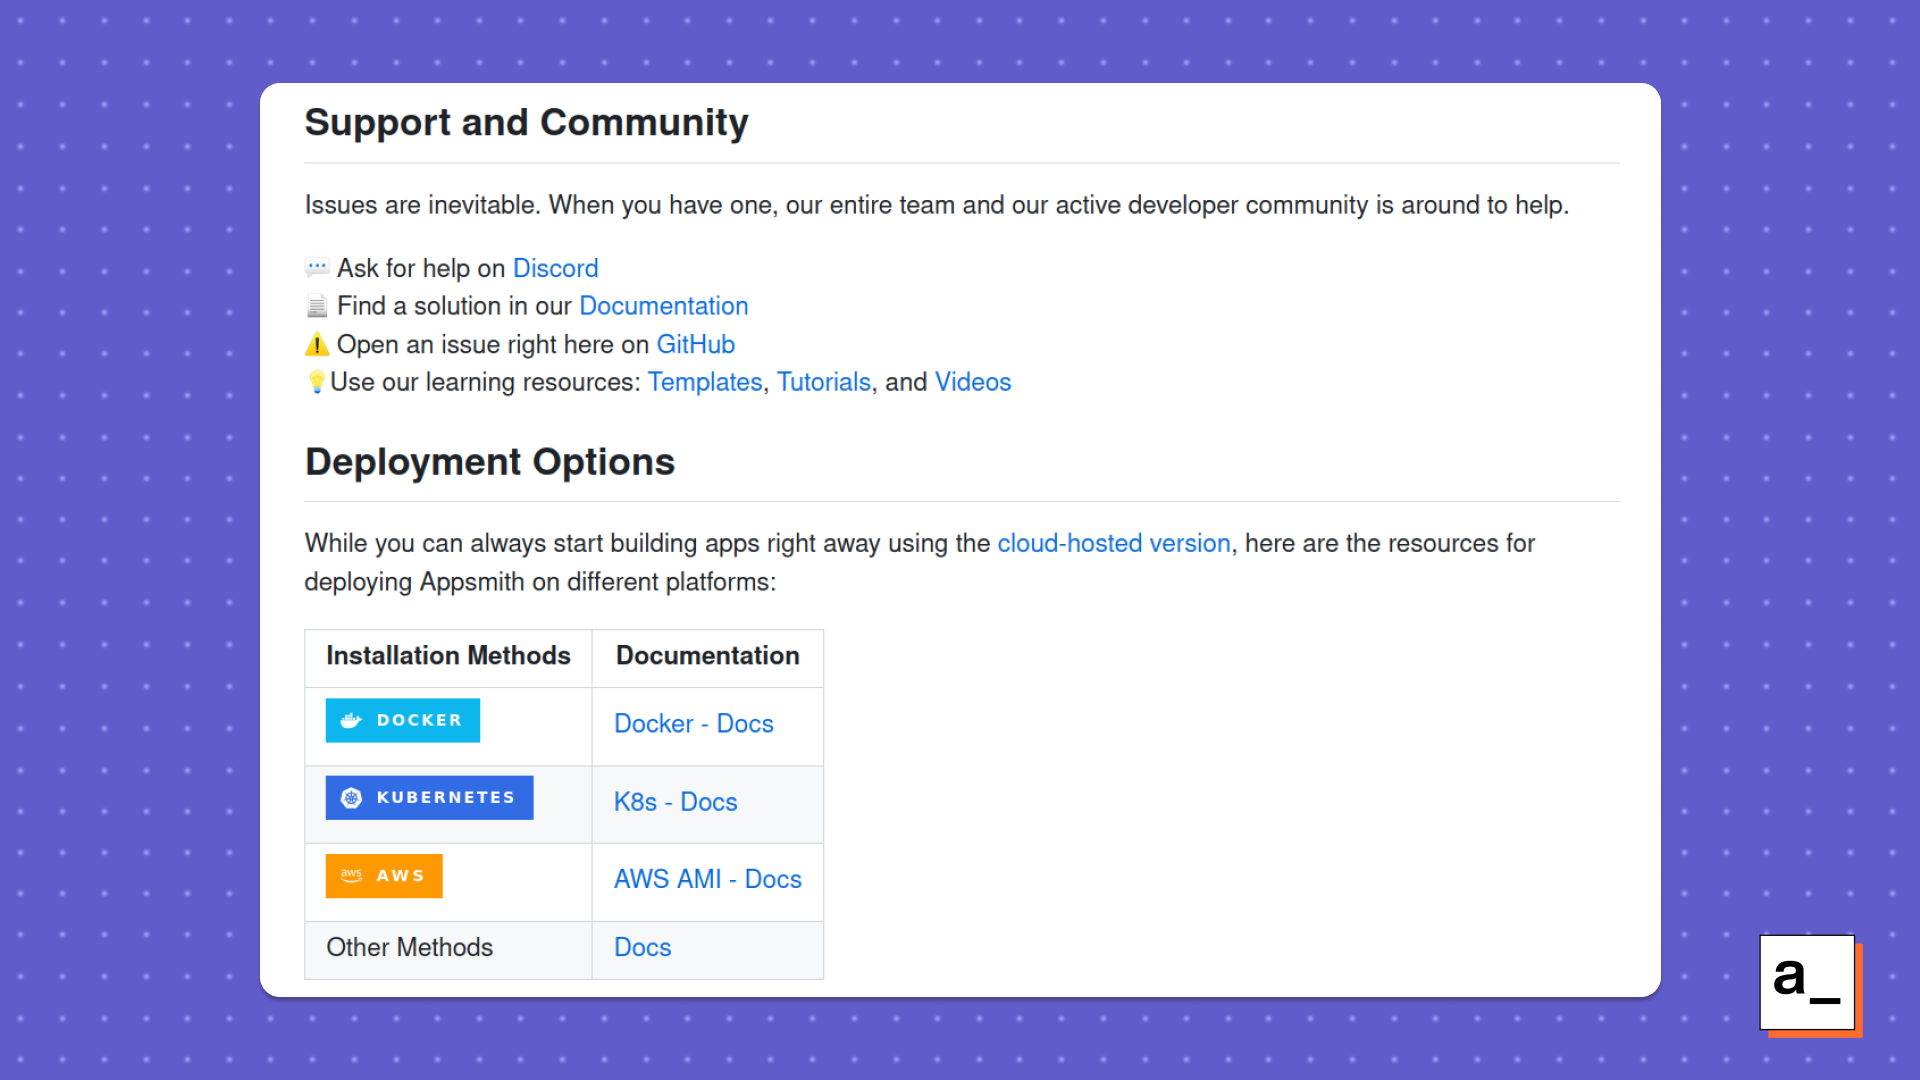
Users reaching this section either have engaged with the previous content and are interested in the project, or have arrived looking for installation instructions and clicked straight through on the appropriate CTA in the heading.
Our installation instructions are succinct and actionable, showing our deployment options and linking to the relevant documentation. We also have many additional deployment options, but we intentionally limit the ones we show here because we believe in recommending only the best to our users and keeping the README skimmable.
This emphasizes that the Appsmith project is easy to set up and has great community support. And of course, we’re still following all of the principles from before: we rely very lightly on text, link out for more details wherever possible, and make sure to include intuitive visuals that are easy on the eyes.
The contributor section

Here’s where we show off our favorite part of Appsmith: the community! We explain our values and how we make sure we maintain a community that people want to be a part of. We then explain more technical information that would benefit contributors, from how to make contributions to how to set up their development environment.
When creating a community around a project, a Code of Conduct can help shape the communication inside the community. We use our Code of Conduct to clearly explain up front what type of community we’re trying to build, as well as which behaviors aren’t acceptable and how enforcement works. This section helps readers tell whether they share Appsmith’s values and whether they should trust that those values will be maintained.
Assuming that they want to be a part of the Appsmith community after reading the Code of Conduct, the next two components show them how. The contribution guide helps new contributors understand how to make an impact while the setup docs show how easy it is to make a contribution. Both of these are designed to cut down the friction to starting, so that potential contributors can jump right in.
Another addition that has been great for us is the good first issues section in GitHub. We feel that it’s important to make it as easy as possible to start contributing to Appsmith. We do this by tagging open issues in GitHub with “Good First Issue,” which is a trend that GitHub has encouraged over the last few years. This helps new contributors get early wins, improving the project without having to understand the deep, complicated architecture of a project.
All of these components play an integral part in the contributor section. Each document by itself is short and to the point, so we can communicate what kind of community we’re building and how they can be a part of it without massive walls of text.
We then conclude our README on a high note — with a showcase of our top contributors. We want to show all of the developers who are working to make the Appsmith project great and encourage others to join.
An often overlooked part of the README — the license
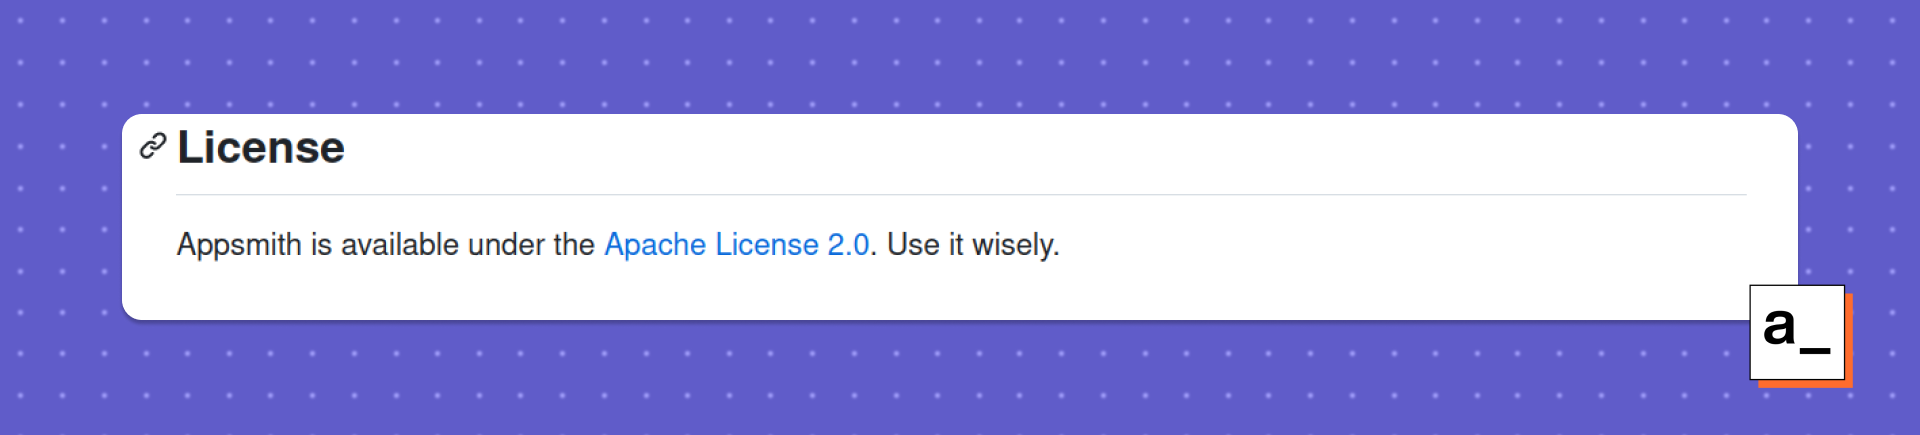
As a footnote, we close out our README with a link to the project license. The license should be a separate file stored within your repository and linked at the bottom of the README.
Many people overlook the license as the boring legal component, but the license you choose often has a dramatic impact on your project in the open-source world. Your license can affect the type of users and contributors that you attract, and in some cases the types of derivative projects that exist years after you’ve created yours.
For that reason, it is important to pay special attention to your license up front to make sure that you choose the best one for your project in the short- and long-term. There are plenty of guides out there about how to choose the right license for your project, including this one from GitHub, so we won’t go too far into the details.
One thing we will say, however, is that we chose the Apache License 2.0 because we wanted to give others the opportunity to build on the work we’ve done (commercially or privately) to drive competition and innovation in the internal tools space.
Other great READMEs
The way we’ve built our README is of course not the only or best way. Each project has different goals and expectations. In order to give some more examples, we also wanted to discuss a couple of different READMEs that we liked across various types of projects.
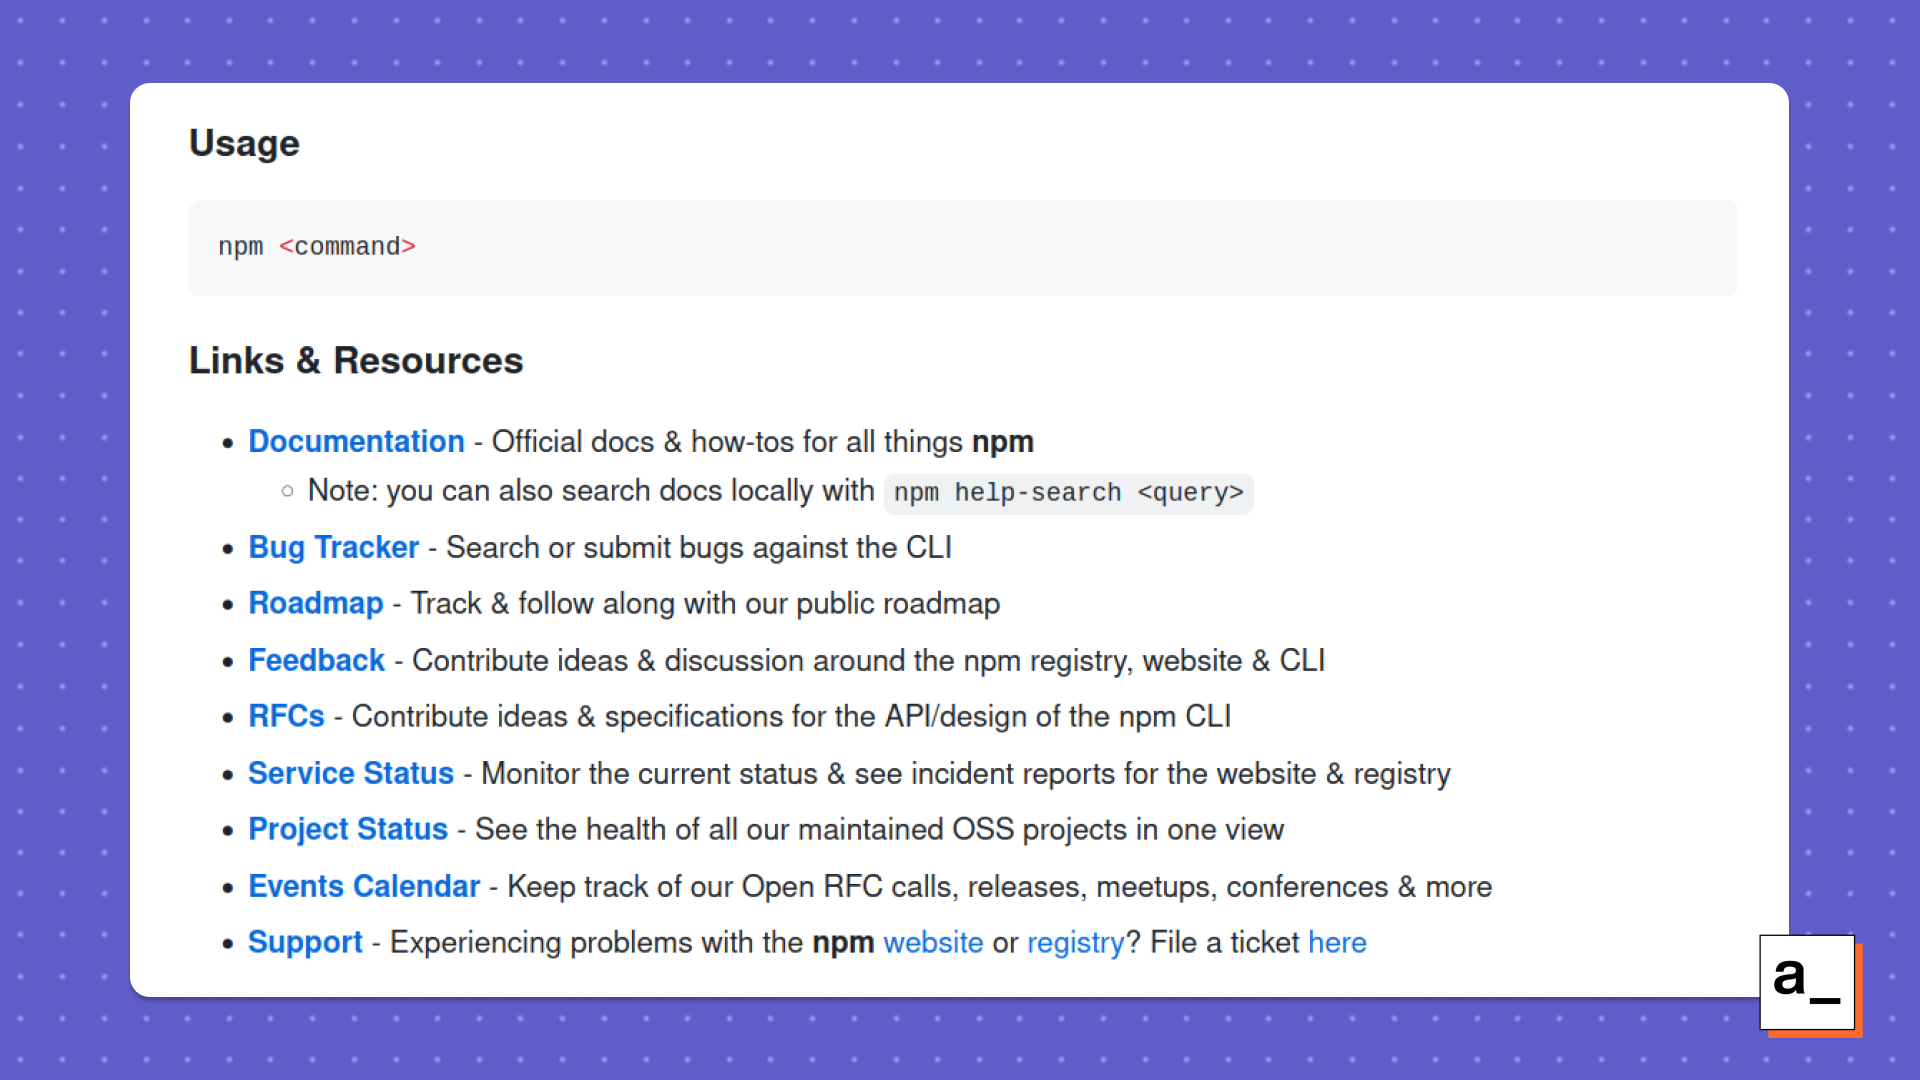
A great package manager README
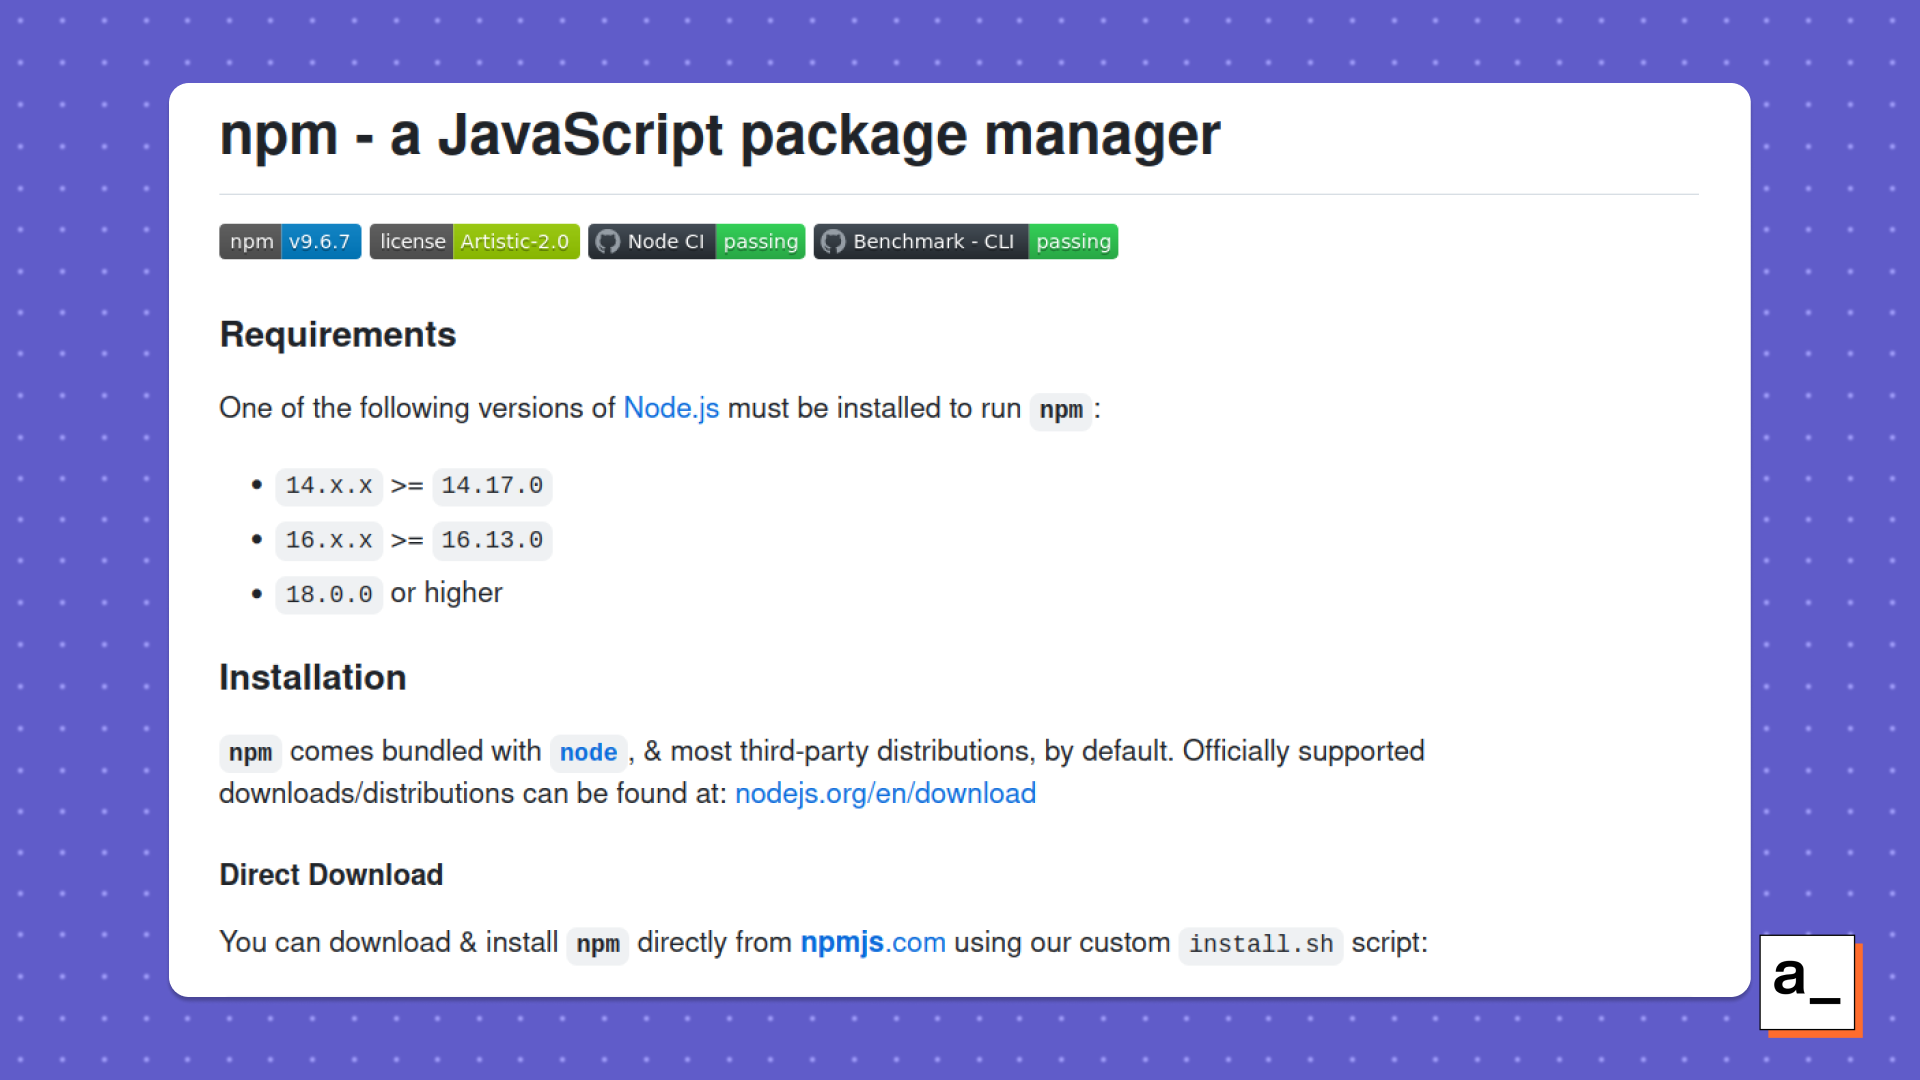
npm is the most popular package manager for JavaScript. Given that this is a package manager, it is harder to explain the project through visuals. This project does a great job of embracing simplicity in the README itself, keeping things incredibly to-the-point and linking out to the more complicated and detailed information.
A great framework README
We also really like the README for Laravel, a popular PHP framework. You can see that they pay attention to a lot of the principles that we focused on in our README, including linking out when more detail is required and avoiding major walls of text.
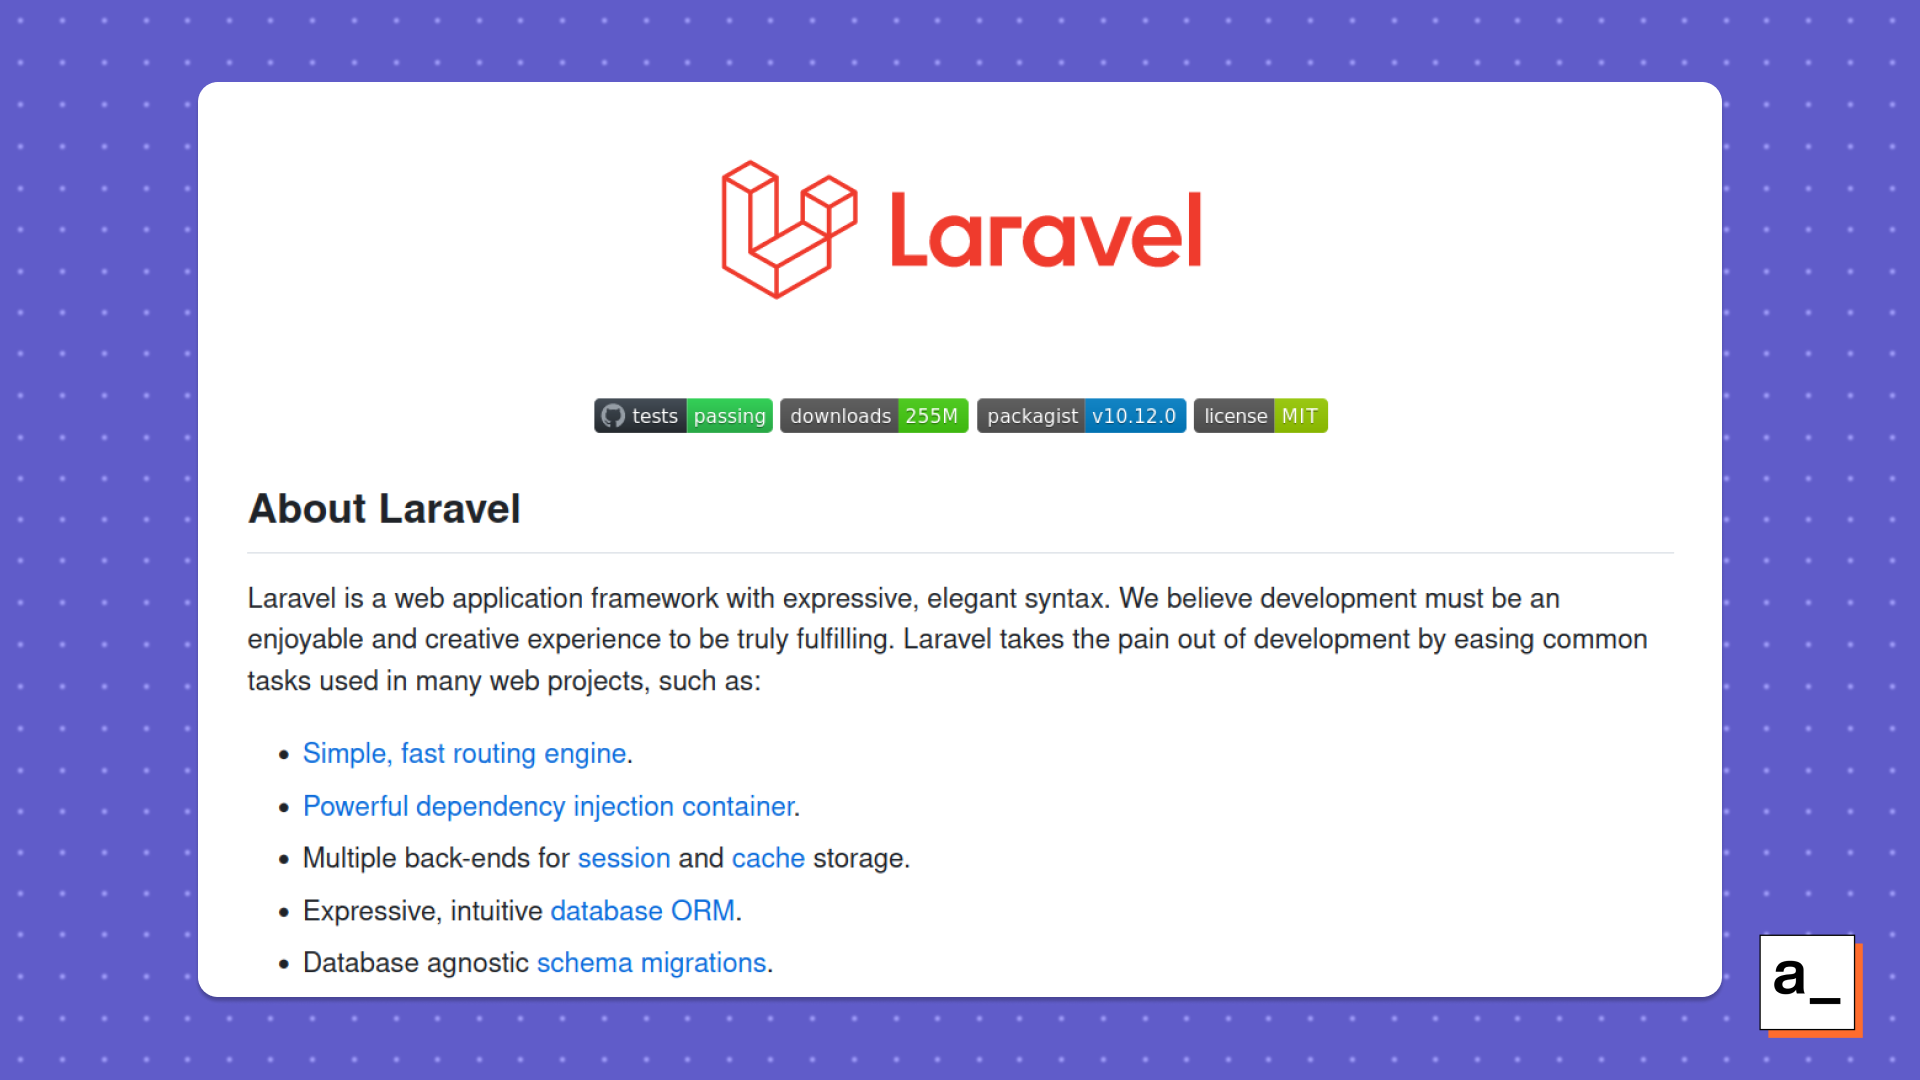
The Laravel README heavily links to the documentation, but, more importantly, it provides links to learning resources for the community. This includes the Laravel Bootcamp to quickly get up and running and Laracasts, a comprehensive video tutorial library. These resources are one of the most appreciated aspects of Laravel according to developers, so it’s important to communicate this to potential users as early as possible (i.e. in the README).
One thing that we did not include in our README, which can be beneficial for emerging open-source projects, is listing how to sponsor the project. Tools like Patreon are a great avenue for developers looking for additional resources to support their project.
A great desktop app README
VSCode is ubiquitous, and it also has a great README.
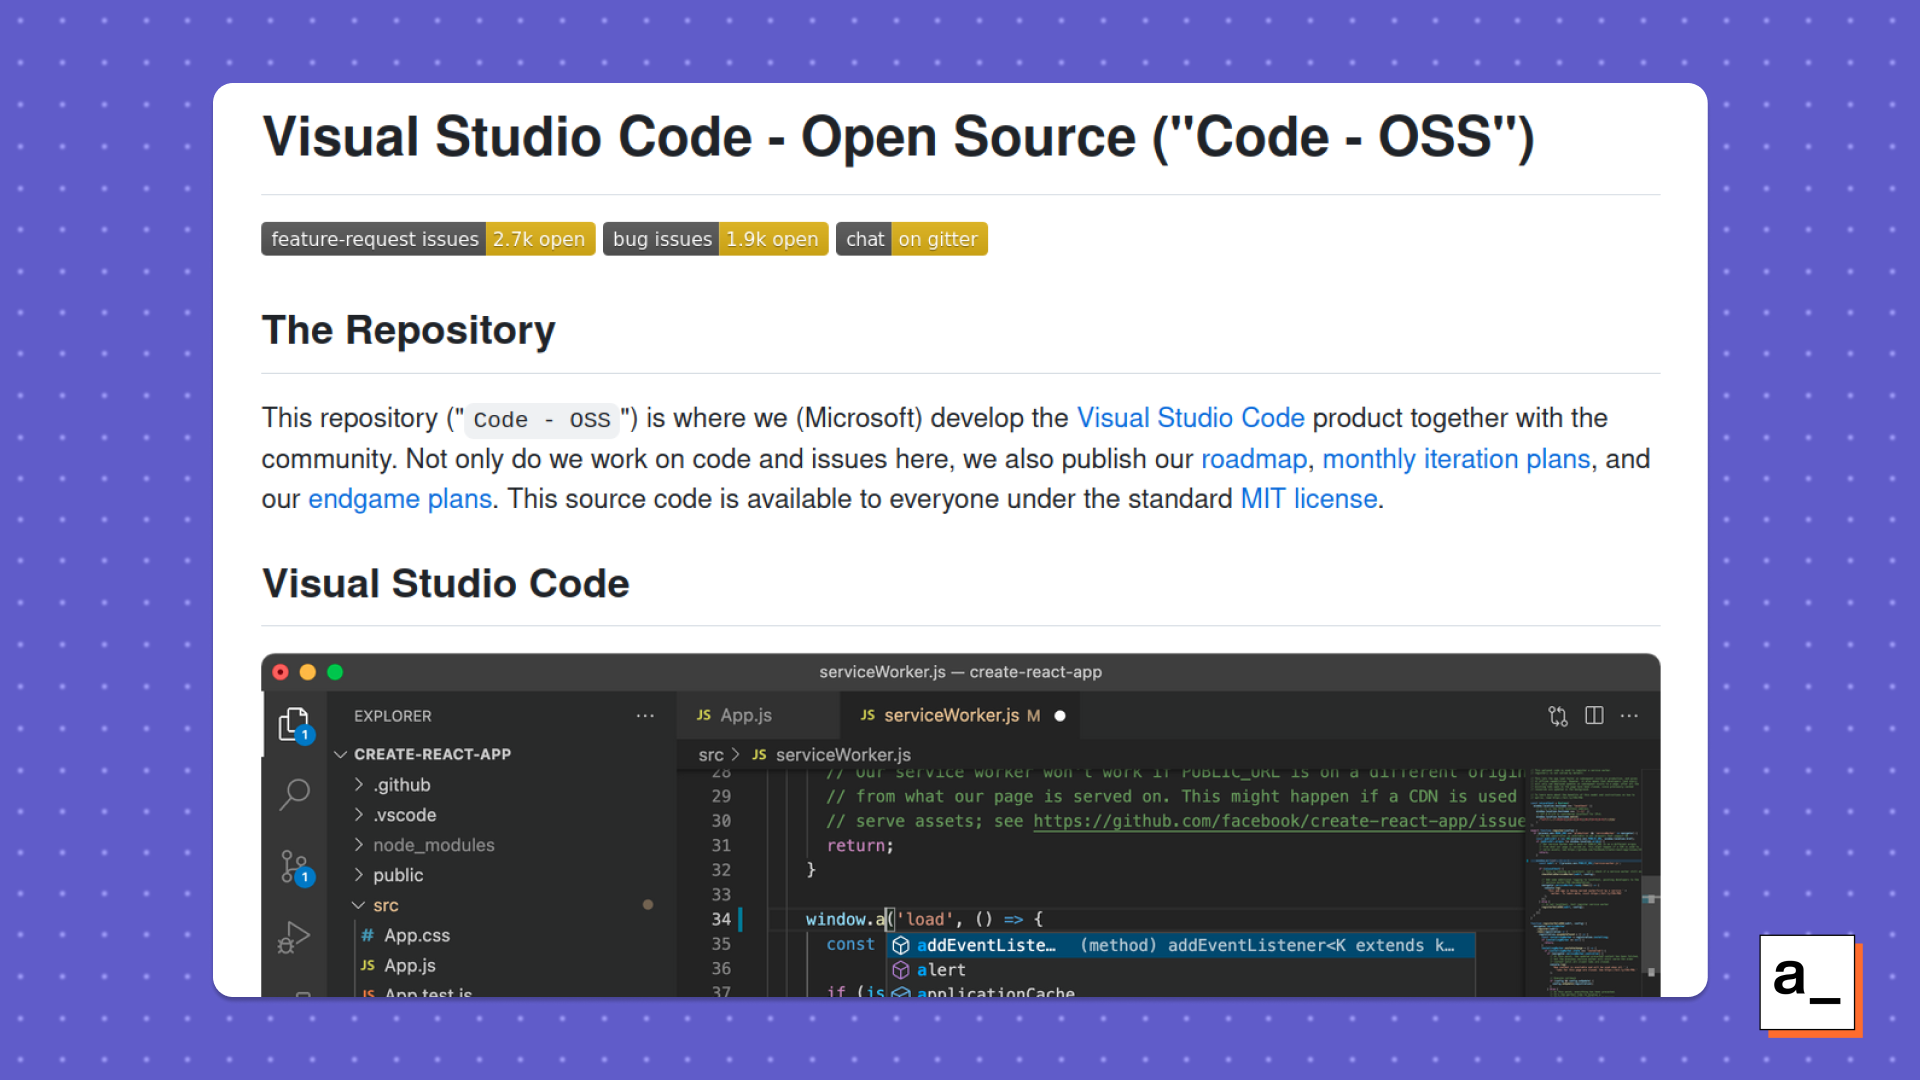
This README does a lot of things well, including showing what the IDE looks like during use so that users can immediately get an idea of what the product is. This product category is more established and understood by developers than internal tools builders like Appsmith, so more visuals aren’t necessarily required. It has short, to-the-point descriptions of the product with links to more detailed information.
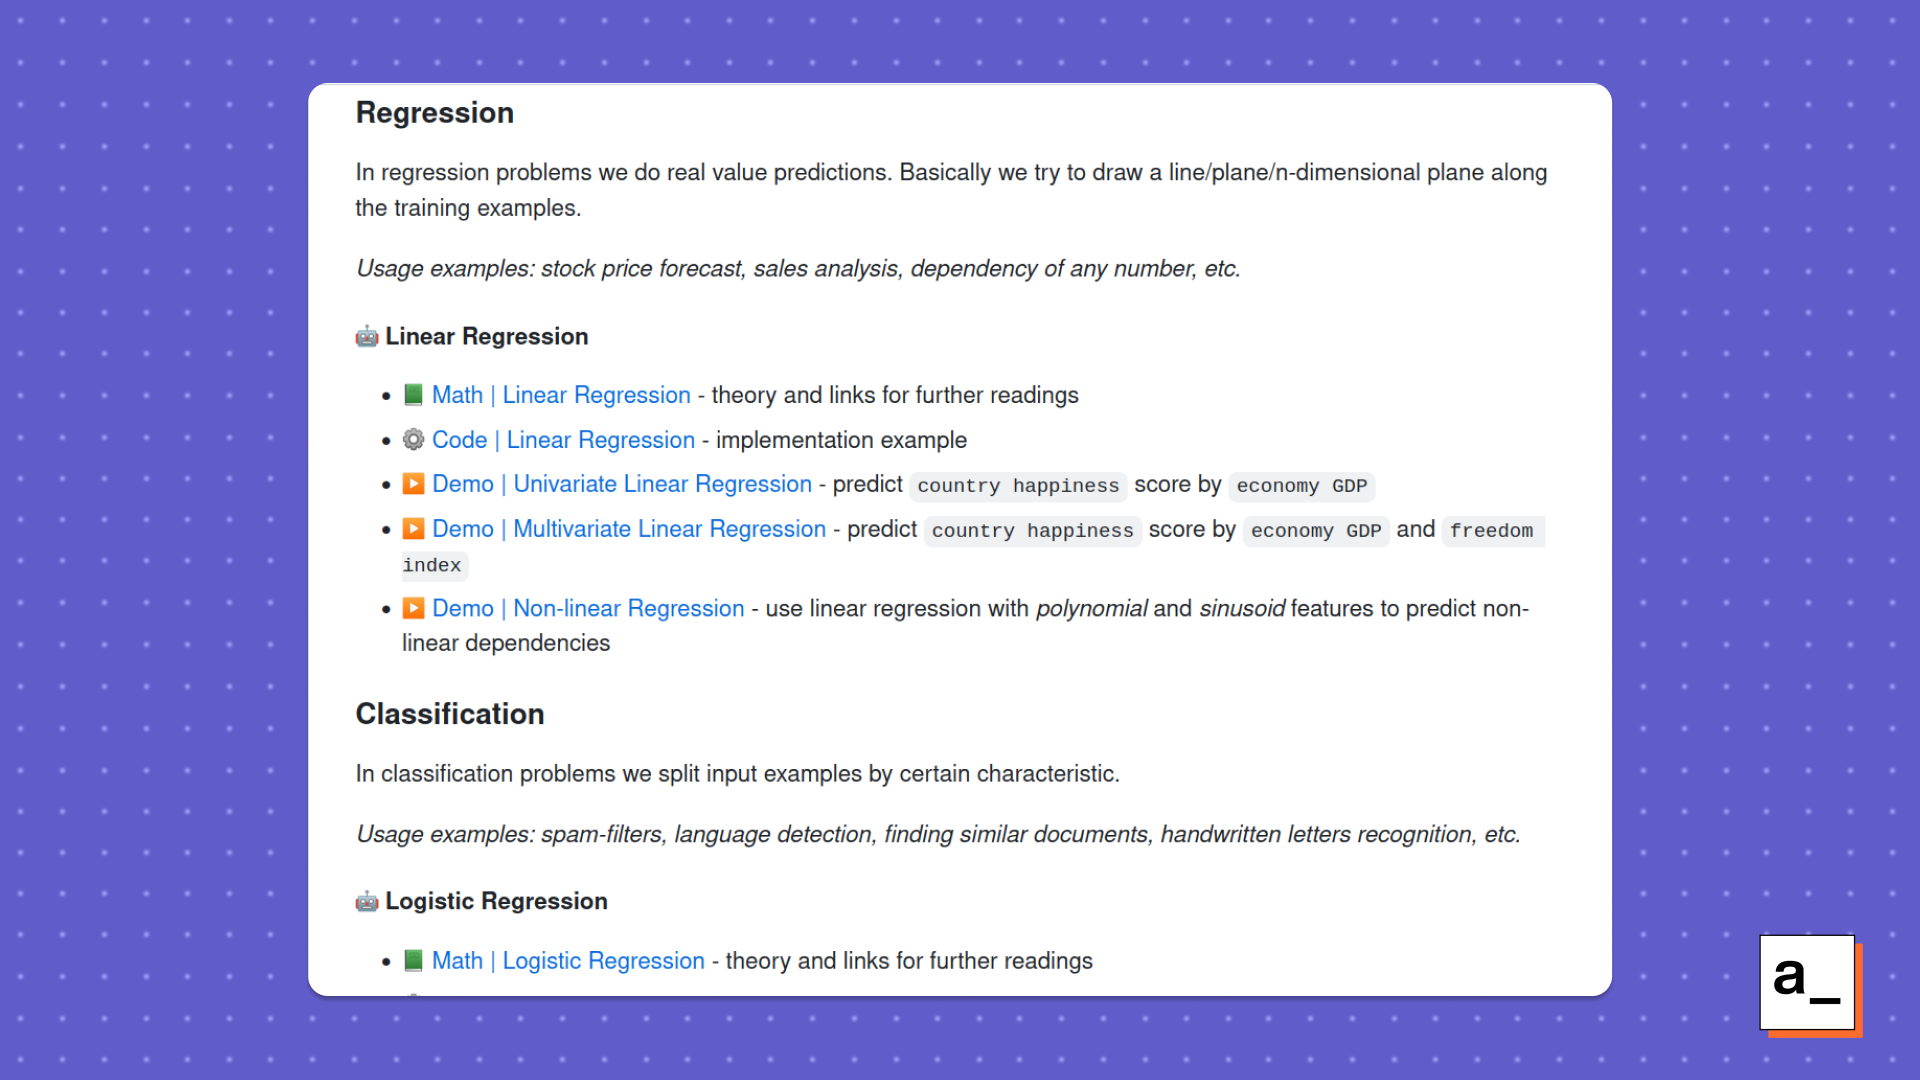
A great non-product README
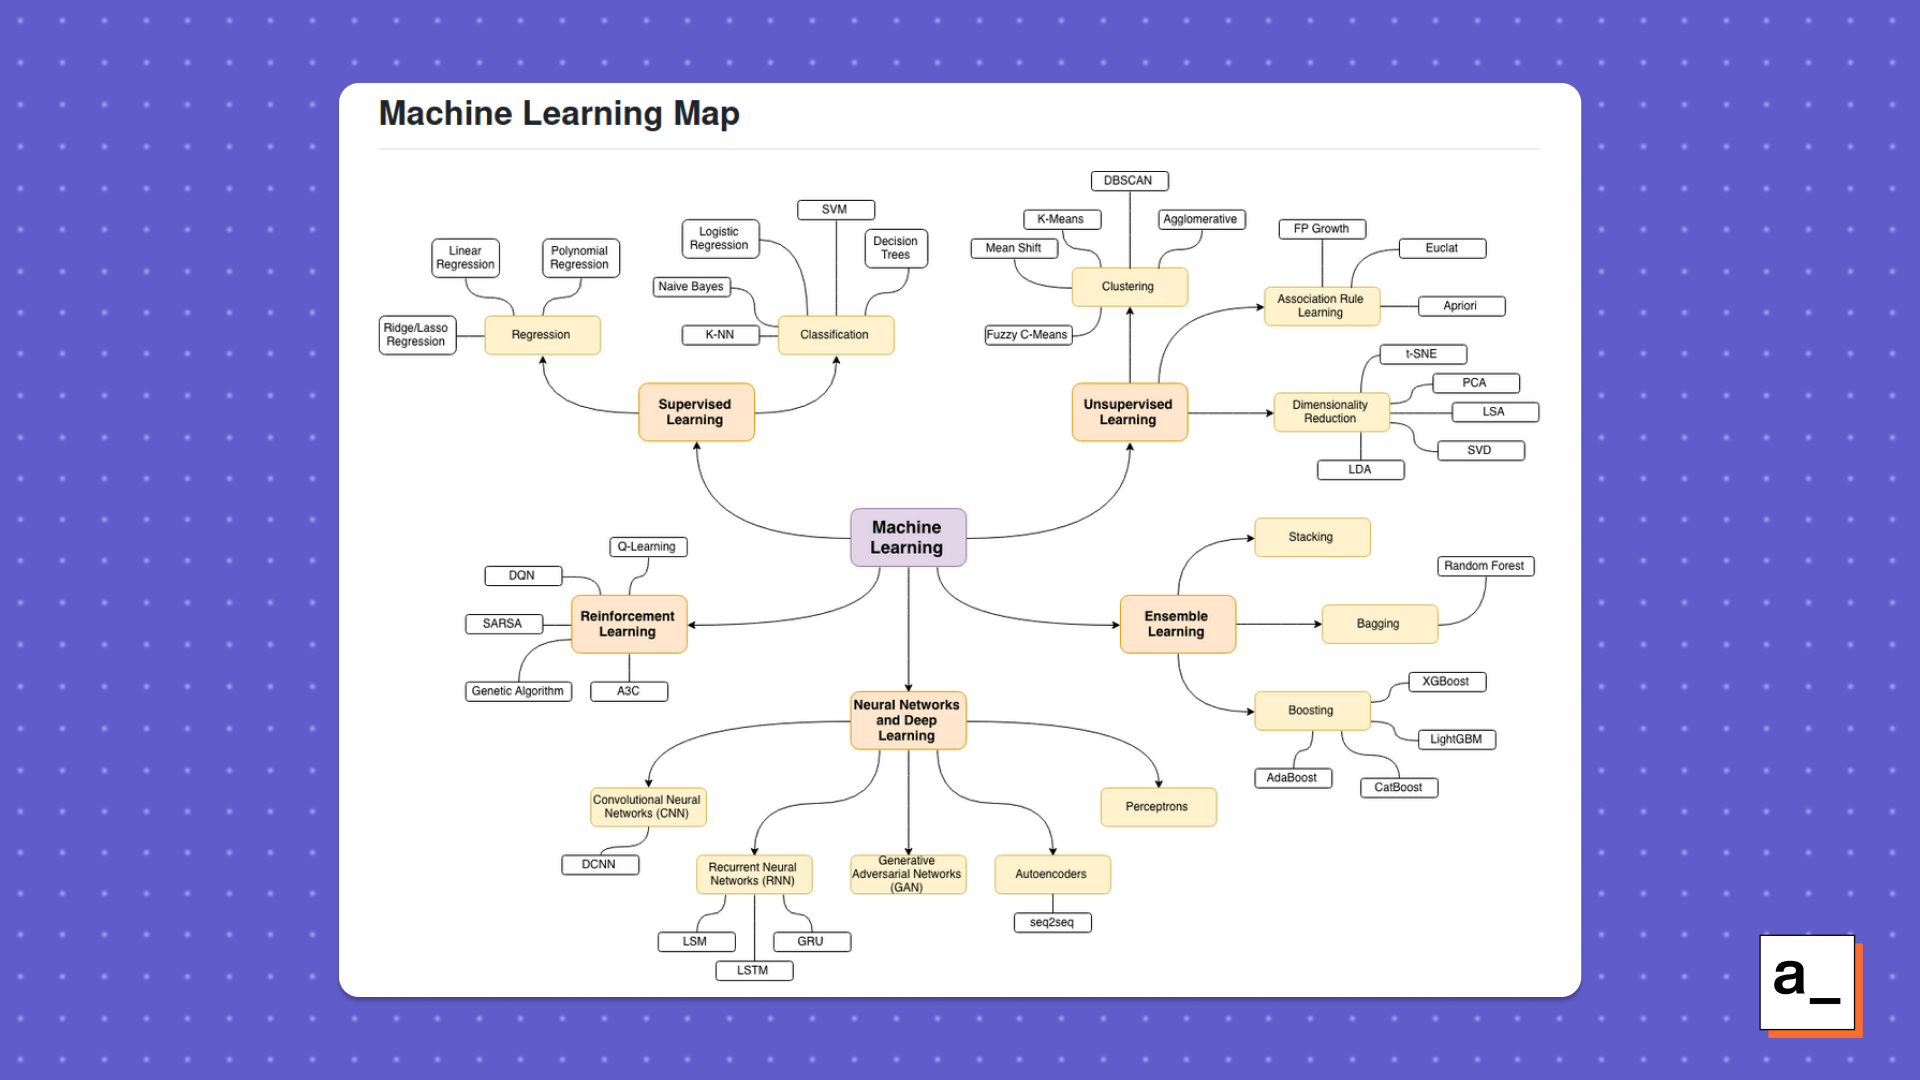
We also wanted to take a look at an example of a project that’s focused more on education than a product. Homemade Machine Learning from Trekhleb is one such example. Machine learning can get very complex, so a project like this can benefit heavily from good visuals and links. We find that this README does that very well, as it links out to great learning resources about different machine learning techniques.
This project makes great use of visuals to help students develop a mental model for the machine learning field, which is quite vast. There are so many different algorithms to learn, but after remembering them, there is a logical way to classify them, which this diagram shows well.
READMEs can go beyond providing the bare-minimum information and give your project an identity
We hope this article has spurred some ideas for your own project. In addition to telling users what your project does, your README sets expectations for quality and ease of use, and is a great way to establish your brand.
We’ve put a lot of thought into the content and structure of our README, and have found that with each iteration we’ve been able to engage more visitors as users and community members by prioritizing the content. We’re all on this development journey, and there’s no one right way…
Let us know if there’s something you think our README could do better, or you have your own to show off!