Appsmith Roundup: Powerful Widget Grouping Options, Undo-Redo, and New Widgets

We’re back again this month with updates from the last 30 days. We like to work hard! We’ve shipped many features, fixed bugs, and launched Hacktoberfest with a series of fun events. You can check them out here.
Powerful Widget Options
From grouping widgets to copy-pasting them to undoing or redoing them on the canvas, we’ve got everything covered for you to customize your applications on Appsmith. This makes your app-building experience much more accessible, smoother, and of course, fun!
To use the widget grouping feature, you have to select all required widgets on the canvas with your pointer. This will create a widget group highlighted in a rectangular dotted box; next, you can drag the rectangular box anywhere across the canvas to move them all in one go. Additionally, widget groups can also be duplicated and copied, or deleted. You can find all these options on the top-right corner of widget groups.
There’s no such thing as error-free creation; it’s common to make mistakes while building apps. Often, we accidentally delete widgets while building the UI and have to redo everything. With the new undo-redo feature, you can make changes in the canvas using simple keyboard shortcuts.
Undo - Command / Control + Z
Reo - Command / Control + Shift + Z
We also resolved some critical issues for copy-pasting widgets. Now, the widget won’t overlap, and all the functionalities such as deleting them, customizing them would be working as expected!
New Widgets and Customisation Options
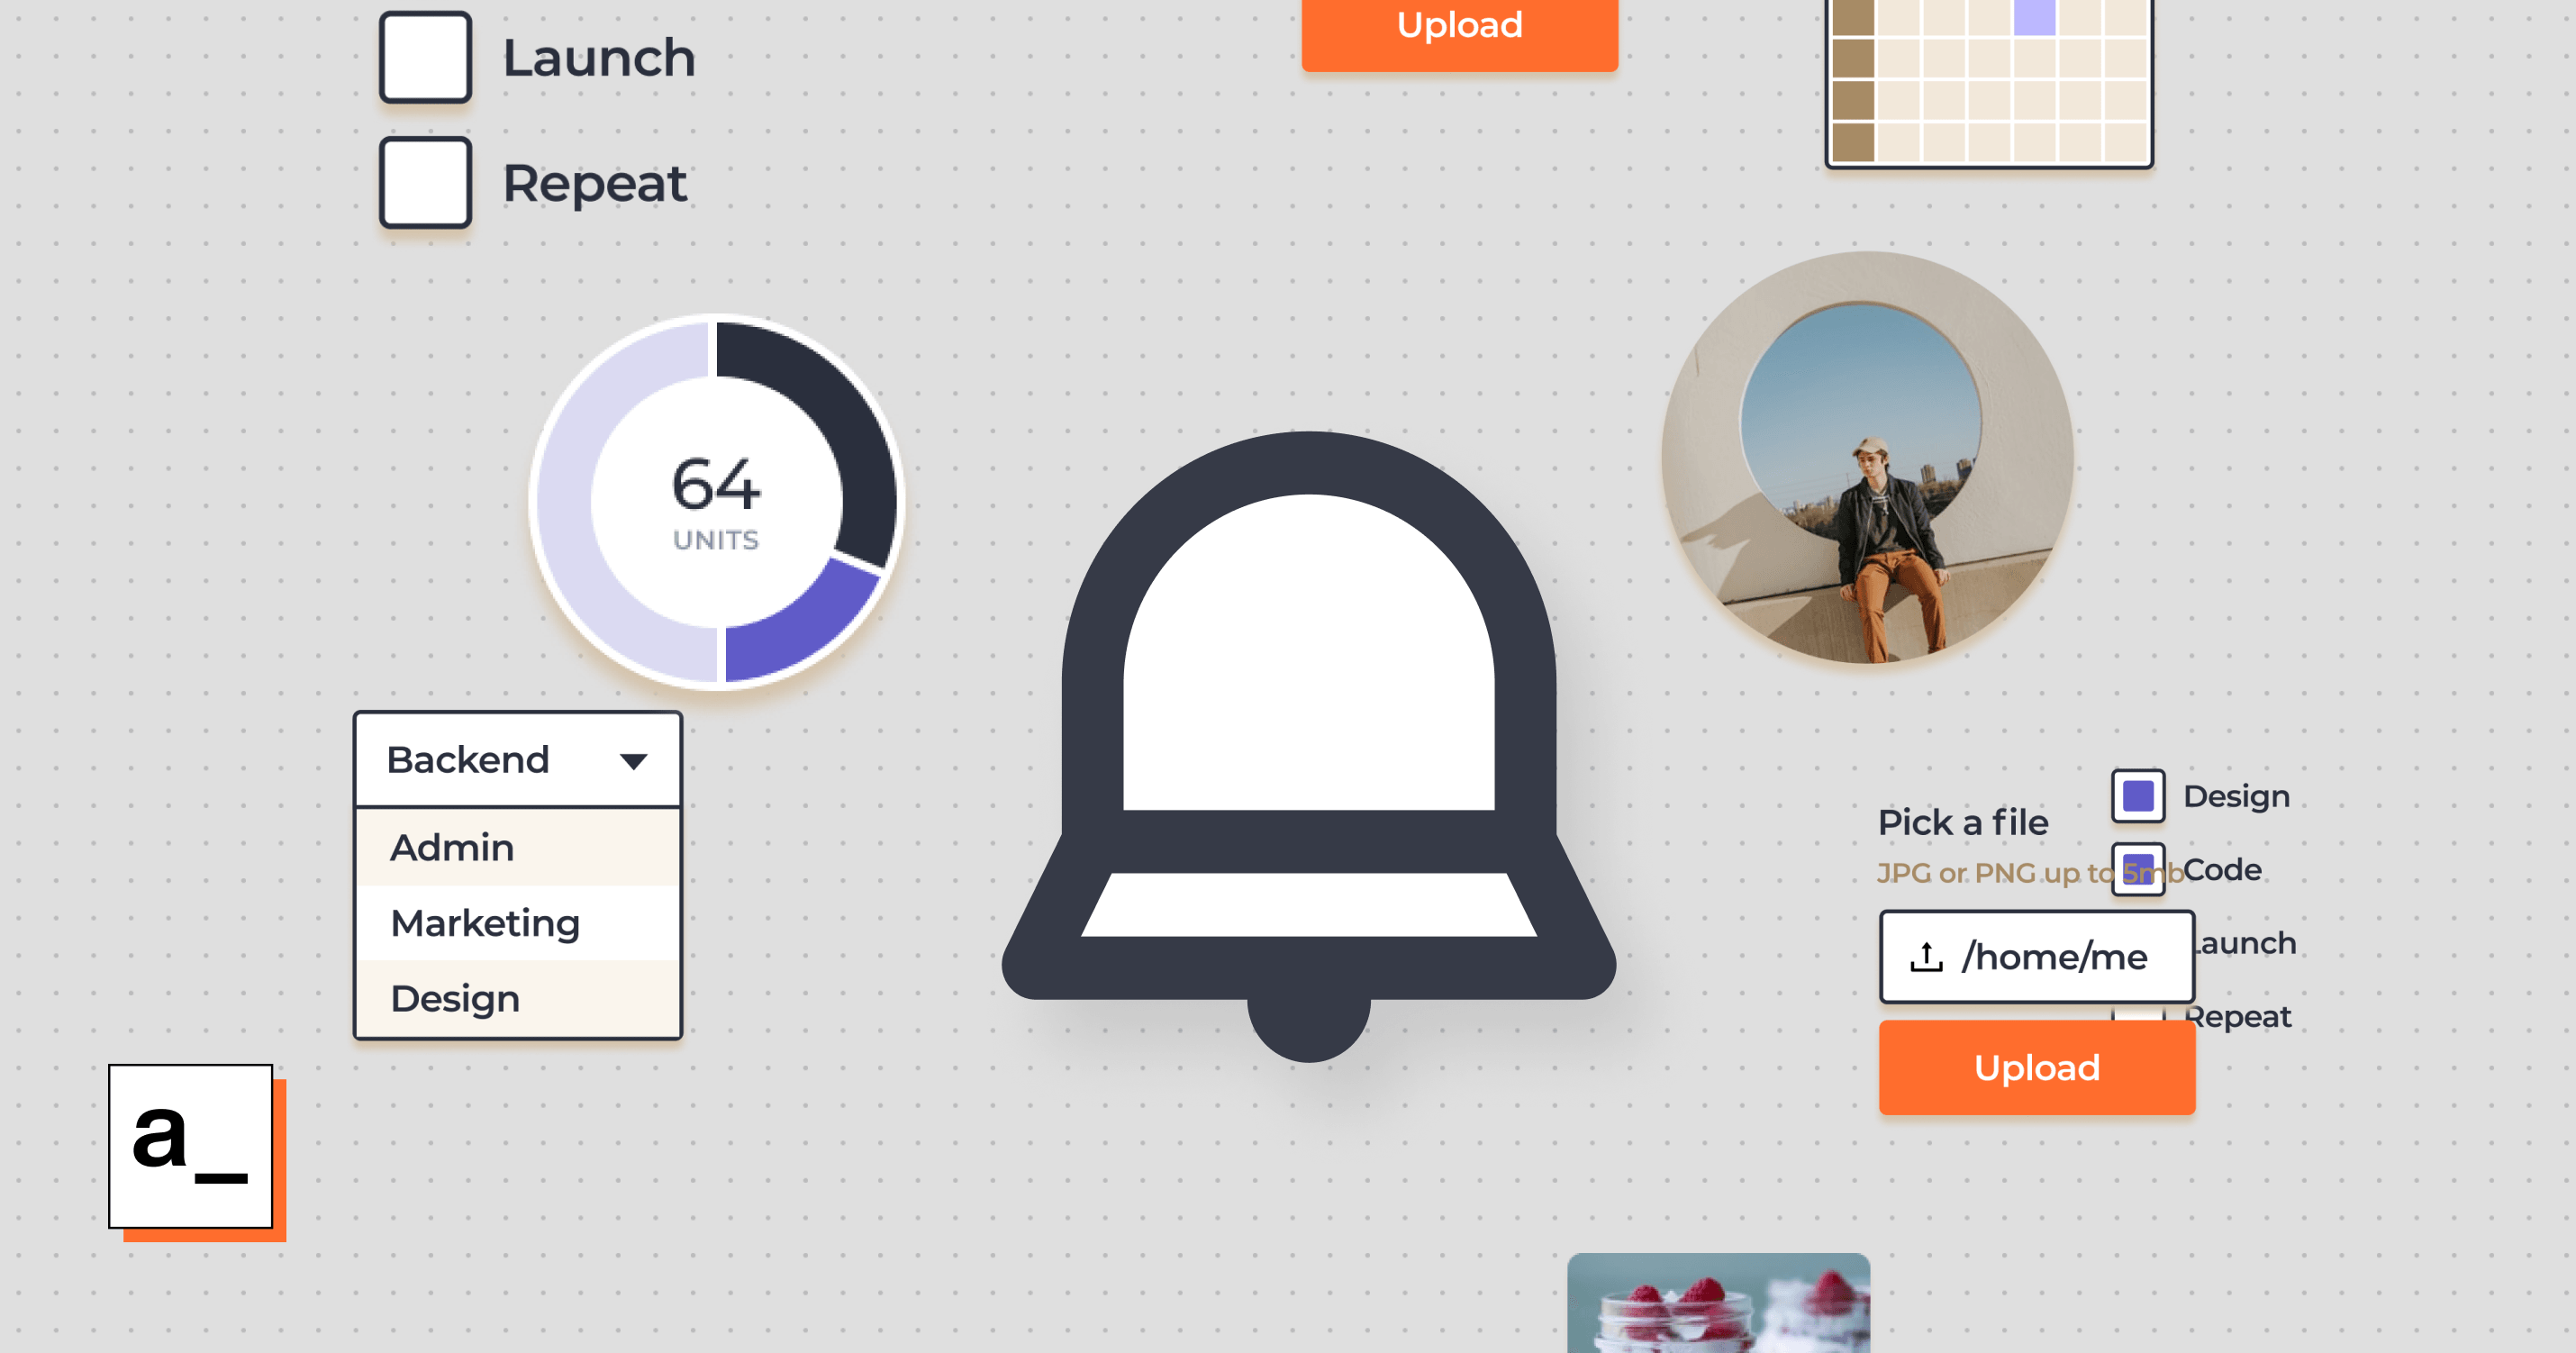
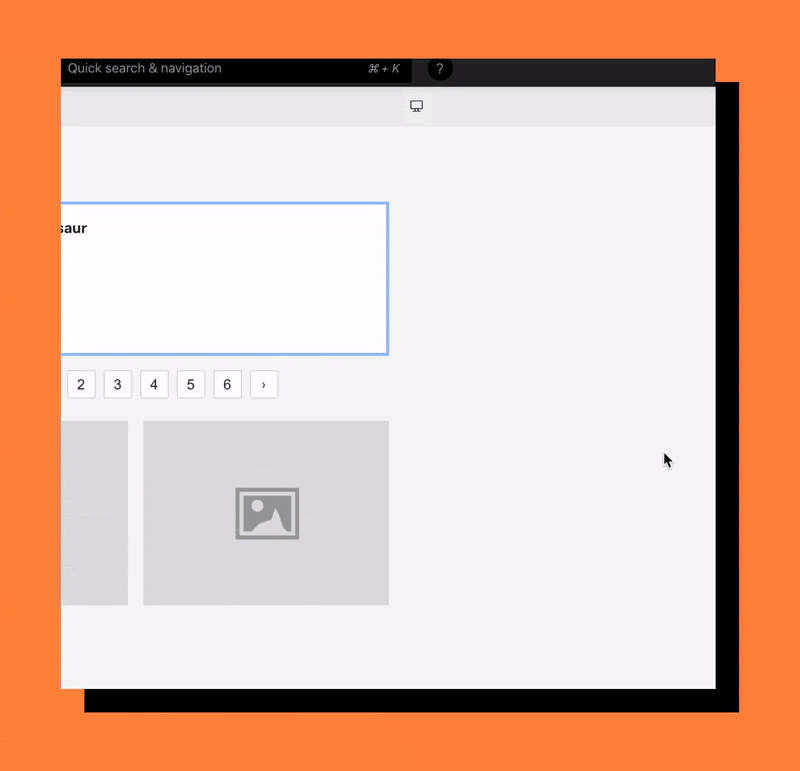
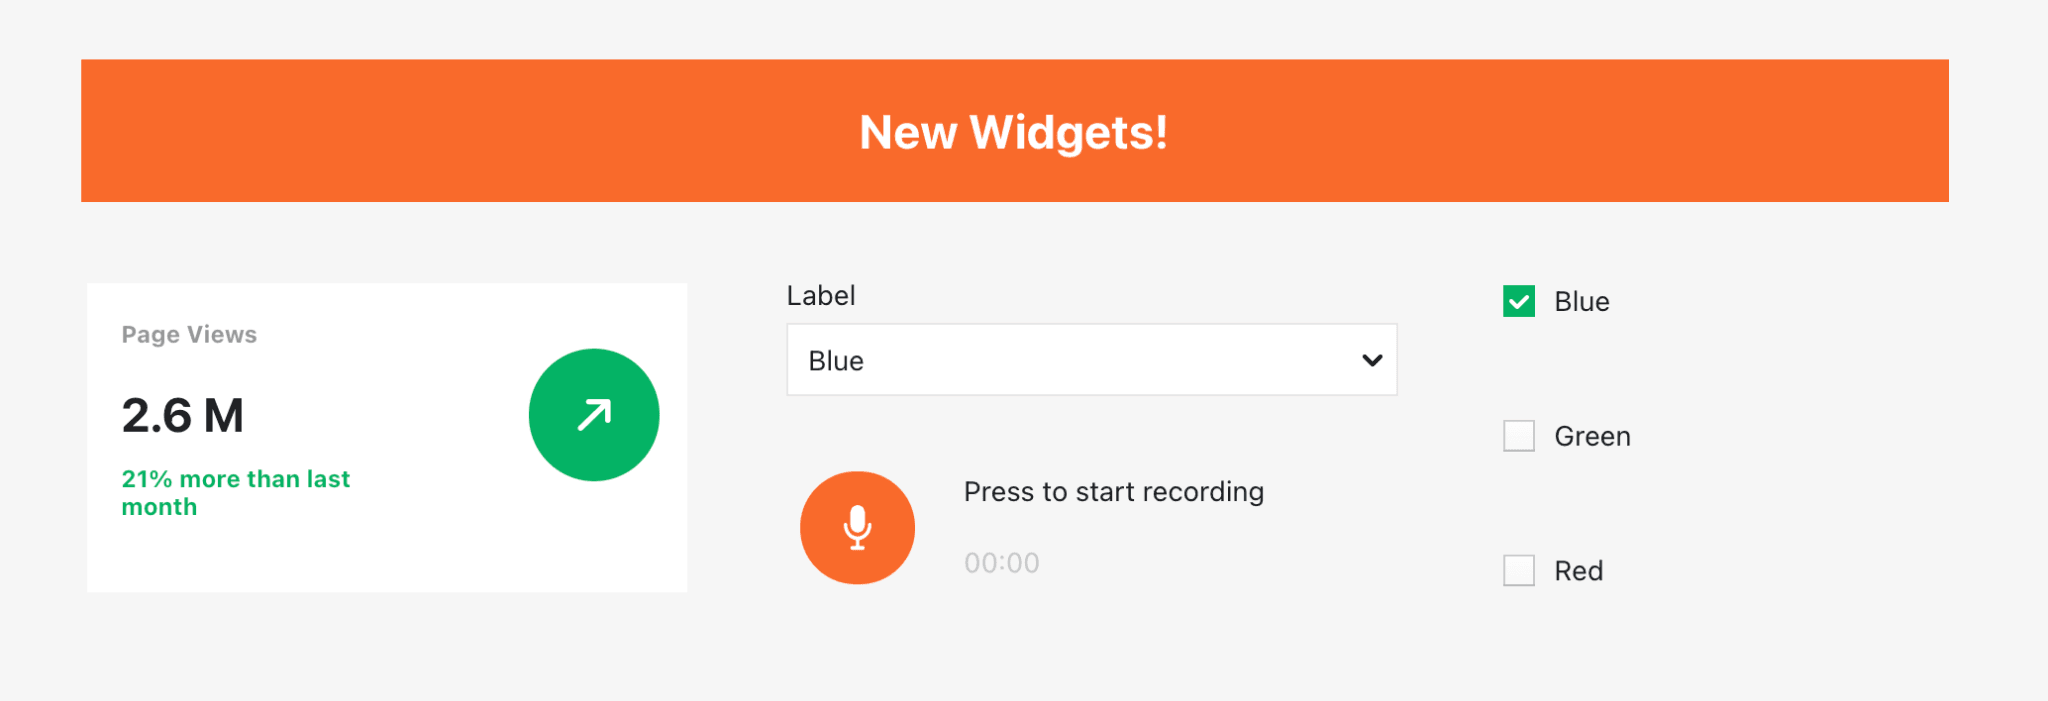
We got four more new widgets last month! A stat box widget to display all the metrics on your dashboards, a checkbox widget to configure multiple checkbox inputs, a beautiful audio recorder widget to record audio on your applications, and finally, a tree select widget for selecting options in a nested tree-like structure. Cool right? Here are the quick previews of these new widgets.
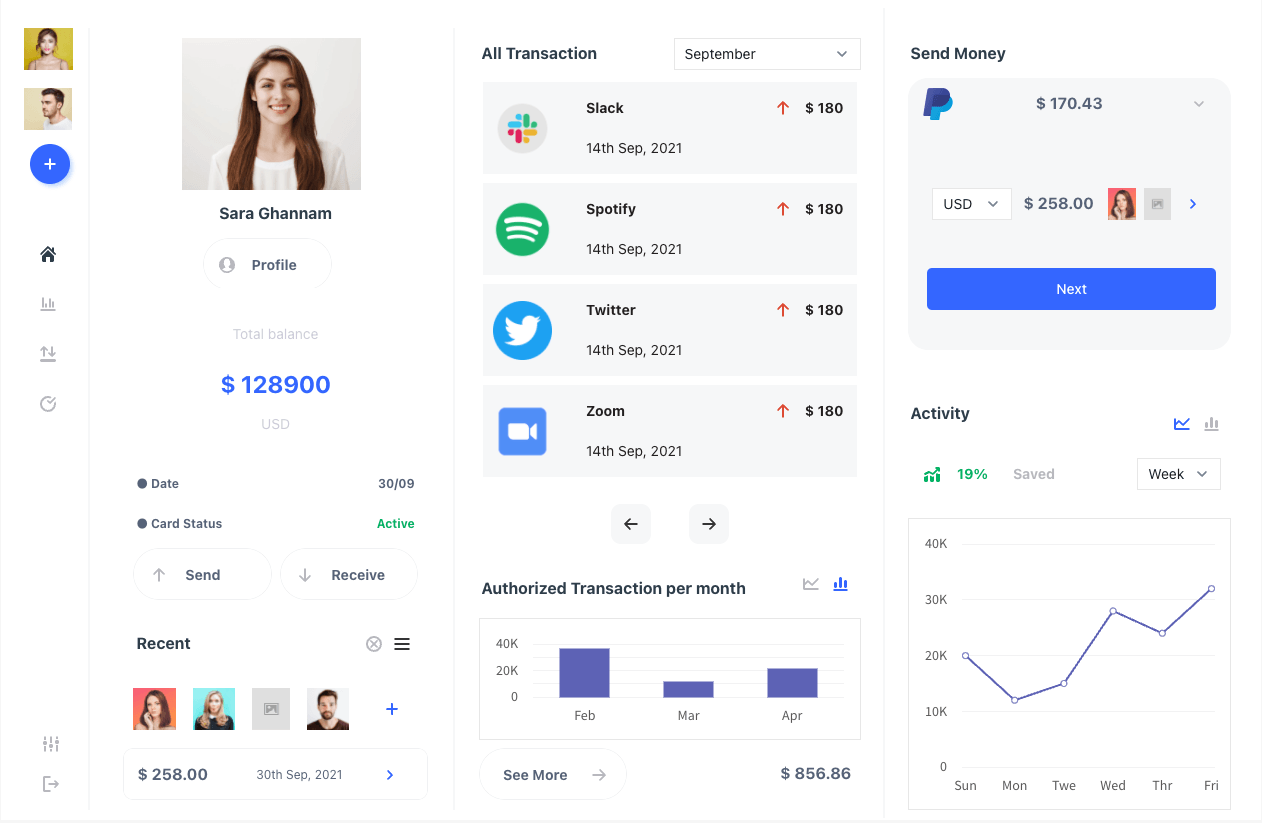
Additionally, we’ve upgraded all the widgets styling options to give developers more control over customization. Now, you can add background color, shadows, borders, border radius to almost all the widgets where there is a chance of customization. Of course, we’ve tried them. We have a new product designer who joined us recently who had built this beautiful dashboard on Appsmith.
Don’t forget to chat with us on our discord channel if you want to see more such internal tools and designs!
Configuring Page
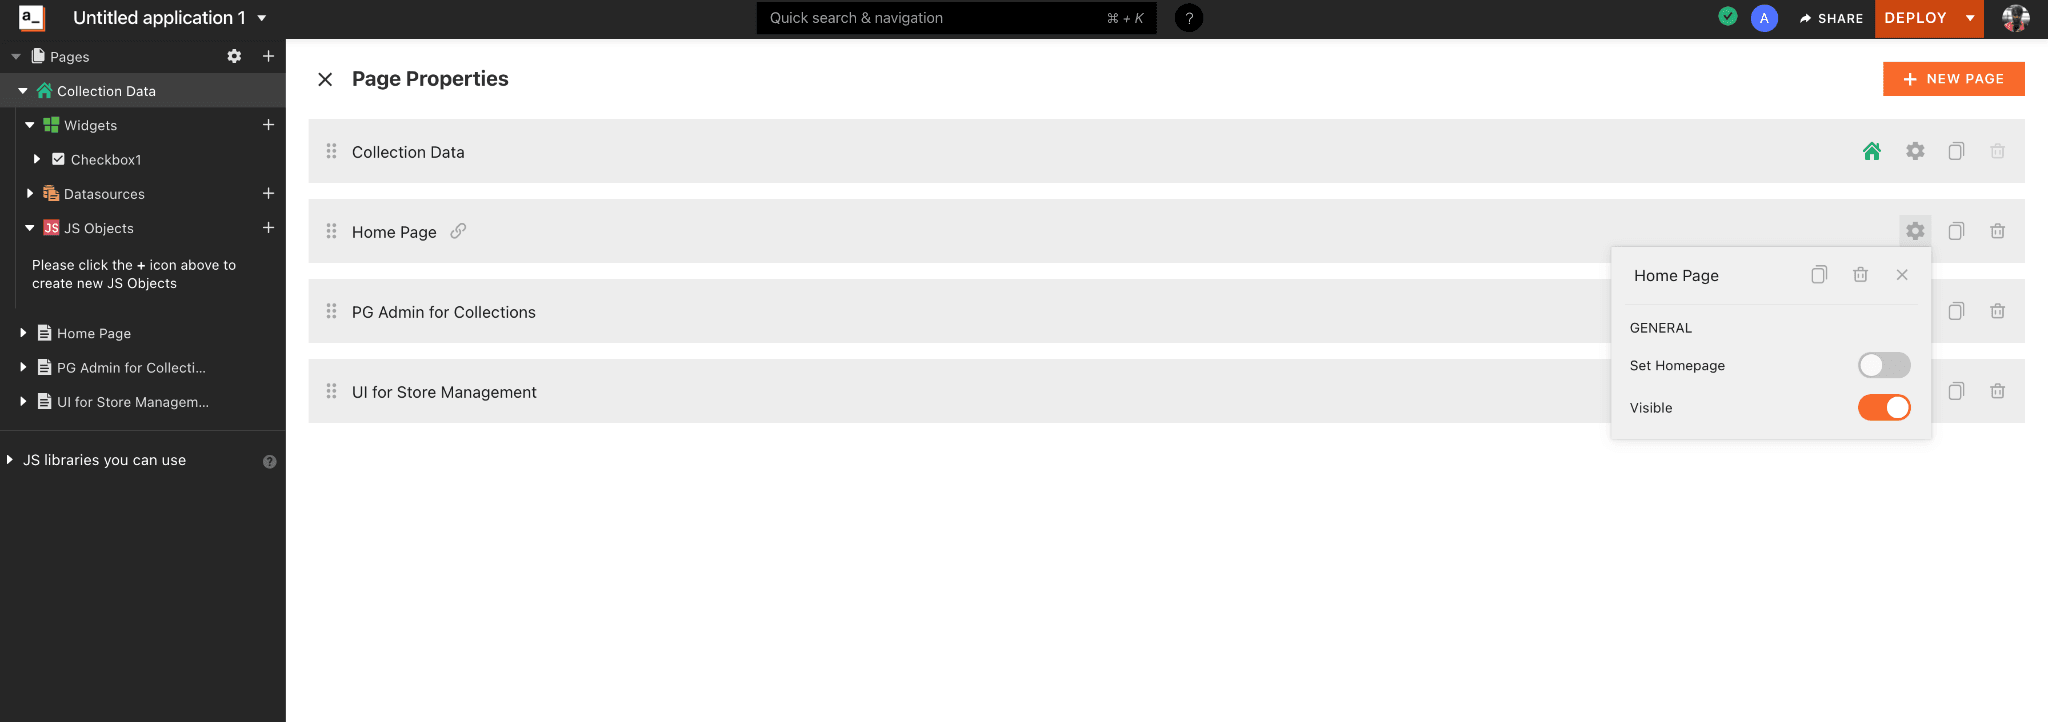
We’ve added a new option to configure all your pages in the application in one place. Using this, you can rename, reorder, duplicate, and delete pages within few simple clicks. To access it, click on the application name and select the page option from the dropdown to configure pages under the application. Below is a screenshot that shows how easy it is to manage your application pages on Appsmith!
Introducing JS Snippets!
JavaScript is like fuel at Appsmith. We can use JS anywhere across the application, from binding data to writing functions to implement complex JS transformations using the moustache bindings. But not everyone is a JS expert; even we sometimes google to get stuff done. Hence to make it handier we’ve introduced a super cool feature, the JS Snippets. Some common use-cases can help you with fundamental transformations, functions, binding, and many more.
Here’s how you can access this:
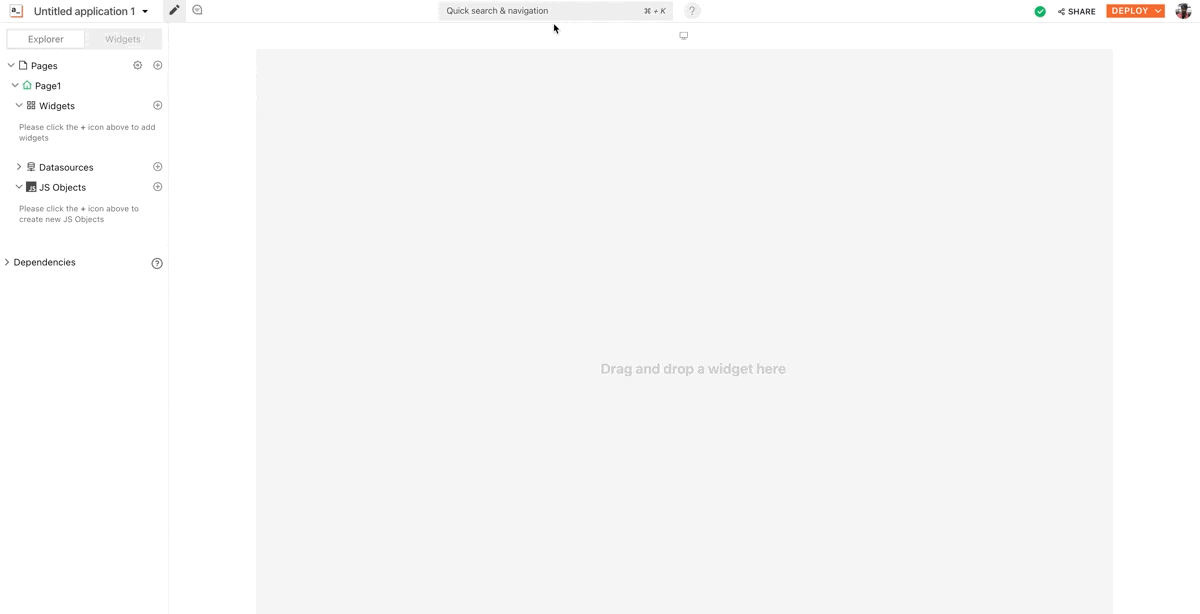
Open the Quick search and navigation on the top menu bar.
Select use snippets
Search for Snippets
Before you use them, you can also test them out with your connected data.
We’ve got a host of other bug fixes and updates too, be sure to check out our release notes here.
See you next month with more updates! Do follow us on Twitter, Youtube, and Linkedin to stay up to date.
Related Blog Posts