Build an Admin Panel with Redshift
Organizations rely on admin panels to manage, read and mutate data stored in their database. An admin panel is a console used to control feature configurations of an application and manage content in that application. Admins in most organizations use these to help control and manage content and provide security for the application. Anyone looking to handle applications or site functions easily will need to use an admin panel.
Why need an Admin Panel for Redshift
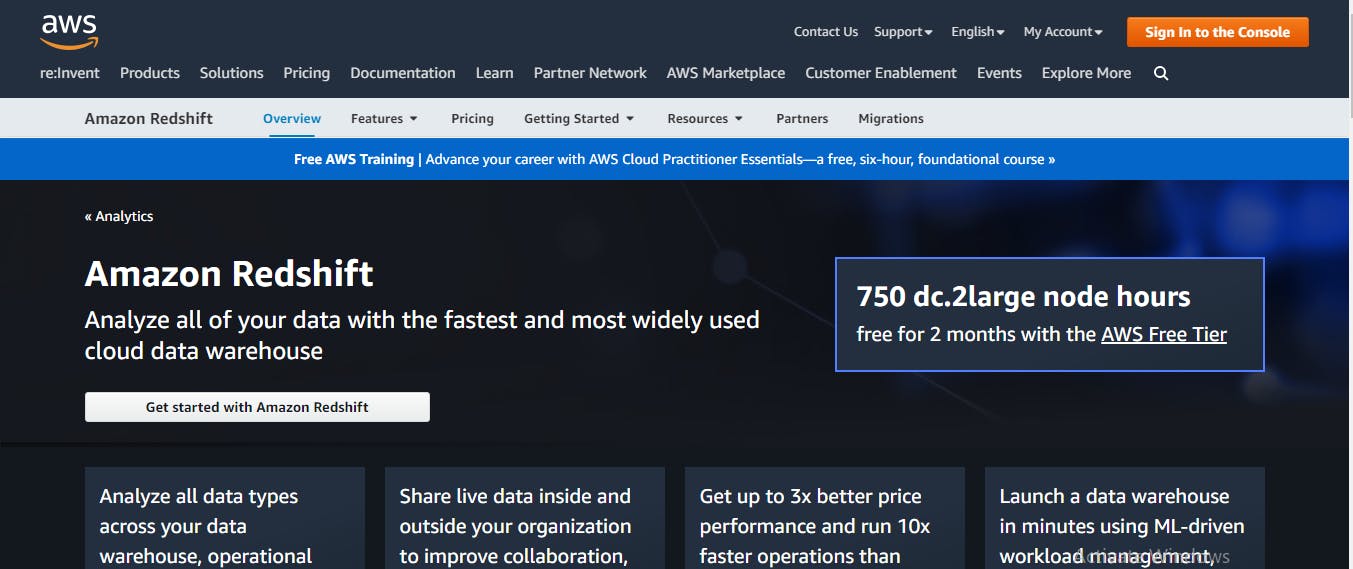
If you're reading this, chances are you're using Amazon Redshift, AWS' popular data warehouse service, built around SQL, with the ability to manage very large datasets and support high-performance analysis and reporting of those data.
This tutorial will teach you how to set up a Redshift data warehouse and create and deploy an admin panel template built on Appsmith. Since a data warehouse is a type of database, we will use the two terms interchangably in this tutorial.
Setting up a Redshift Data Warehouse
To set up your Redshift data warehouse, navigate your browser to Redshift. Click on the 'Get started with Amazon Redshift' button. Sign in if you already have an account; else, create a new user account.
Next, you need to set up a new role for RedshiftDB. Click on Services in the top navigation, then IAM. Choose Roles from the left navigation panel and click on Create role. In the AWS Service group, choose Redshift. Next, choose Redshift - Customizable, then select Next: Permissions. On the Attach permissions policies page, scroll down and select AmazonS3FullAccess. Enter the role name and description, then click on Create role.
Creating a Cluster
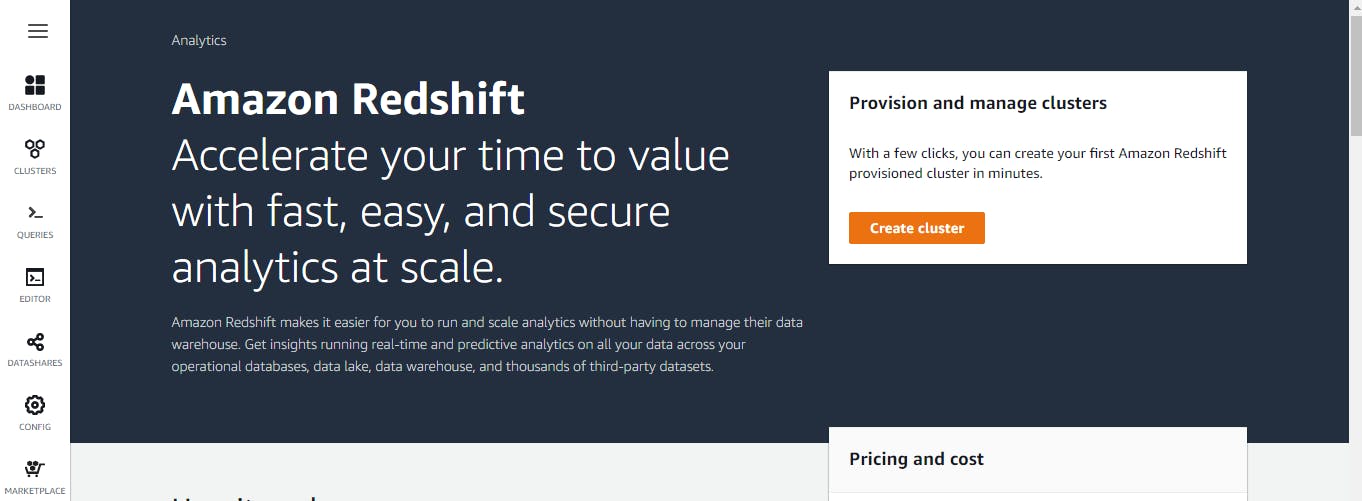
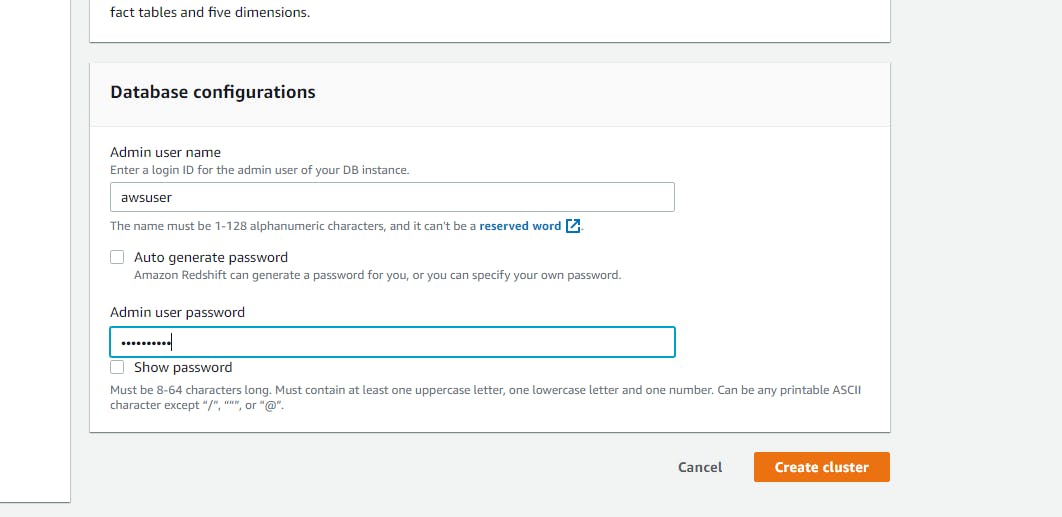
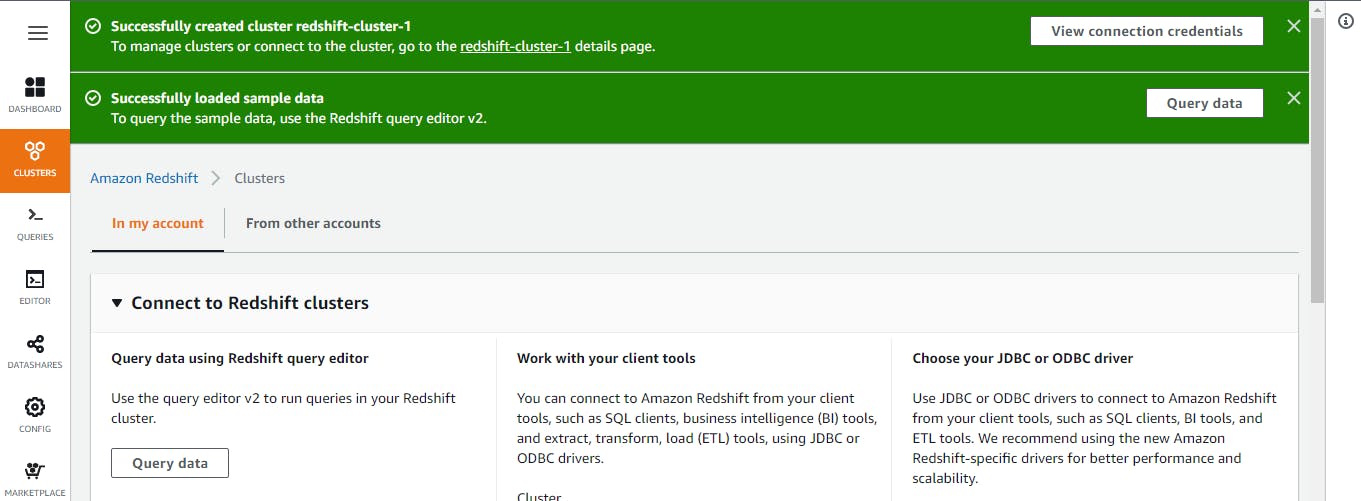
On the dashboard, click on ‘Create Cluster’ and enter your cluster name, cluster plan, admin username, and password in the form on the new page that opens up. Ensure to store your admin username and password, as you will be using them to connect the database to the Appsmith app. You can finally click the 'Create Cluster' button when you finish that.
When the cluster is created, select the cluster and click on Actions; under the 'permissions' section, click on Manage IAM roles. When the management screen appears, select the IAM role you had created earlier, click on the Associate IAM role, and click ‘Save Changes.’
With the newly created cluster, you can use a boiler template database. Click on the Query data button.
Testing the Redshift Database
Select the newly created cluster in the left panel to use a cluster.
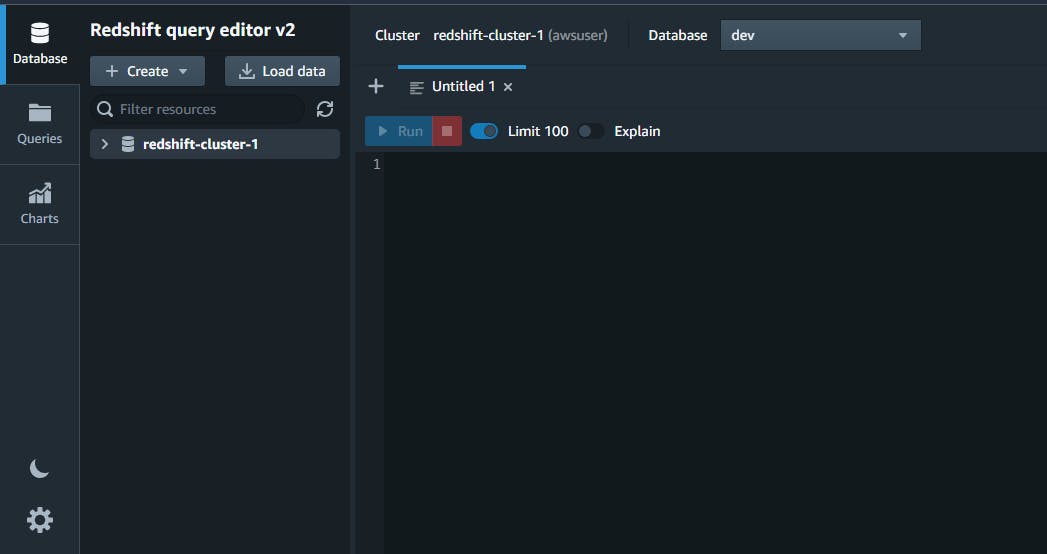
By default, Redshift creates a dev database that we will use in this tutorial. You can create your table data using the following command and run it to view your output.
Click on the 'save' button to save this query, enter the name of your query and finally, click save to store it.
To access the database's credentials, click on 'security credentials' in the dropdown menu on your user name at the top navigation bar. Click on 'Create new access key,' then download the key file in the access key.
Creating the Admin Panel on Appsmith
After setting up the database, the next step is to create the panel on Appsmith.
First, create a new application to get started.
Next, click on the '+' icon on Datasources in the left navigation pane.
Click 'Create new' and select Redshift from the list of databases.
By default, our data source is named 'Untitled,' you can change the name to something of your choice.
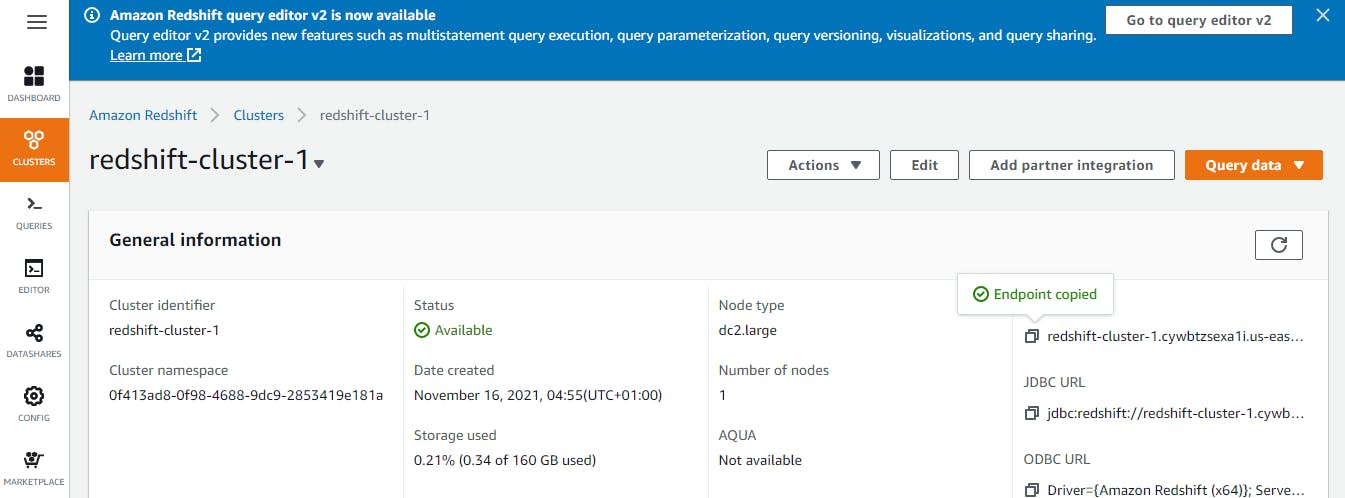
You can get your host address and port information from your cluster's information.
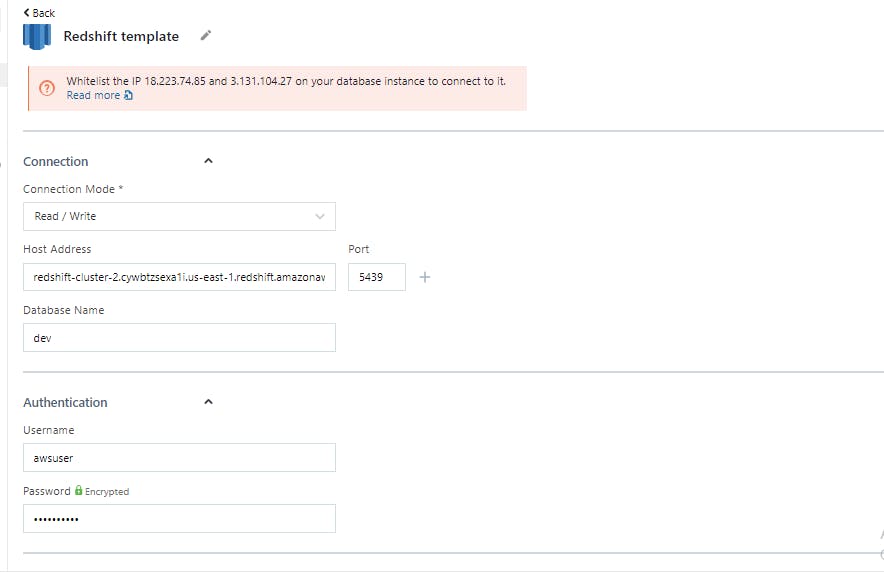
The endpoint is your hostname, copy and paste it into the required field without the port number at the end. By default, the port number is 5429, but you can find this information in your endpoint.
Enter the name of your database. In this case, the name of my database is dev.
Add your username and password to the authentication section
Whitelist the IP instances in your Redshift database settings
Finally, click on test, then save.
Creating our Table
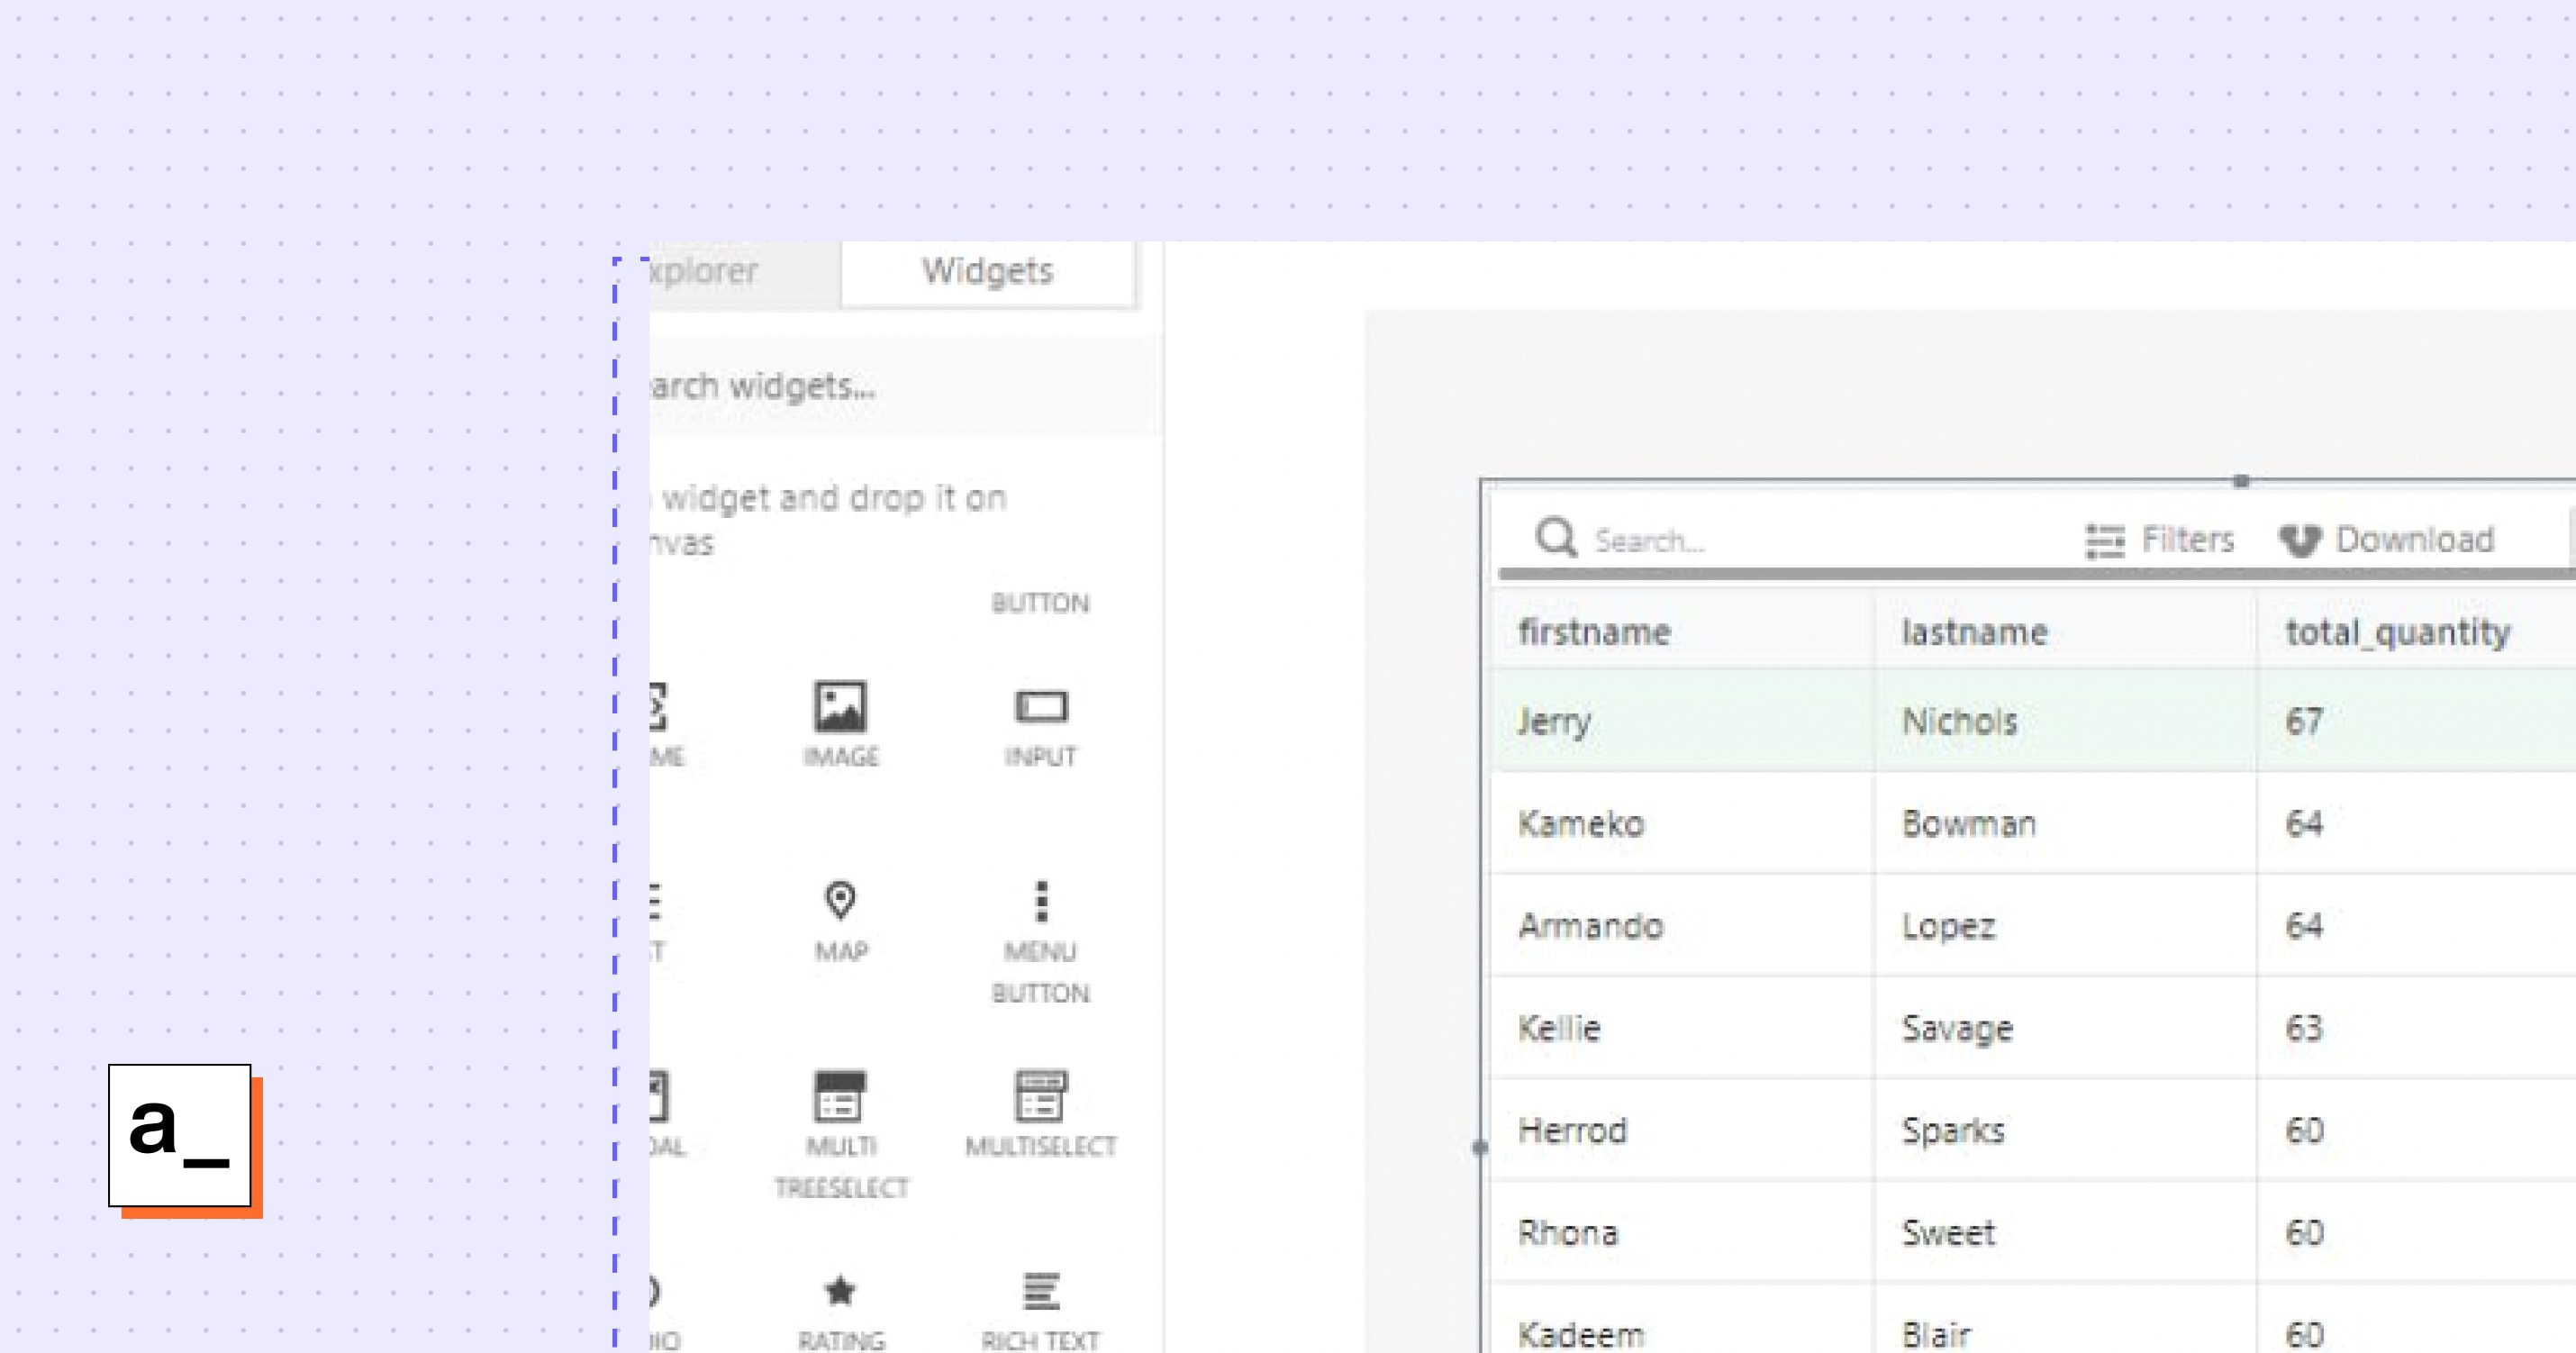
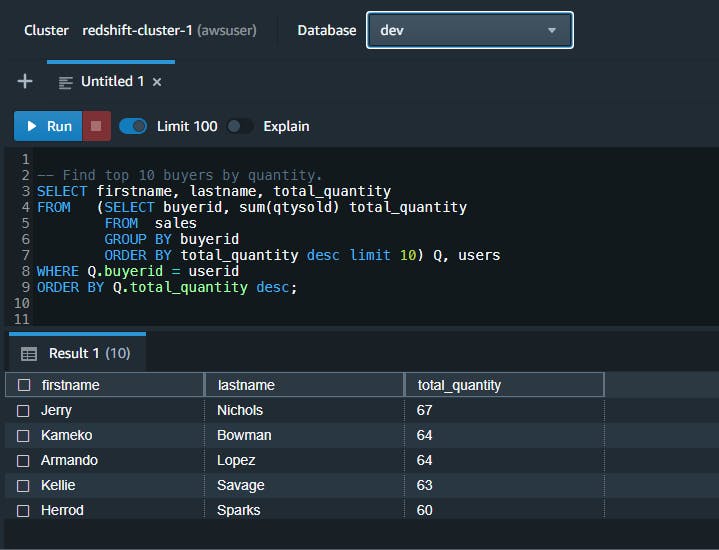
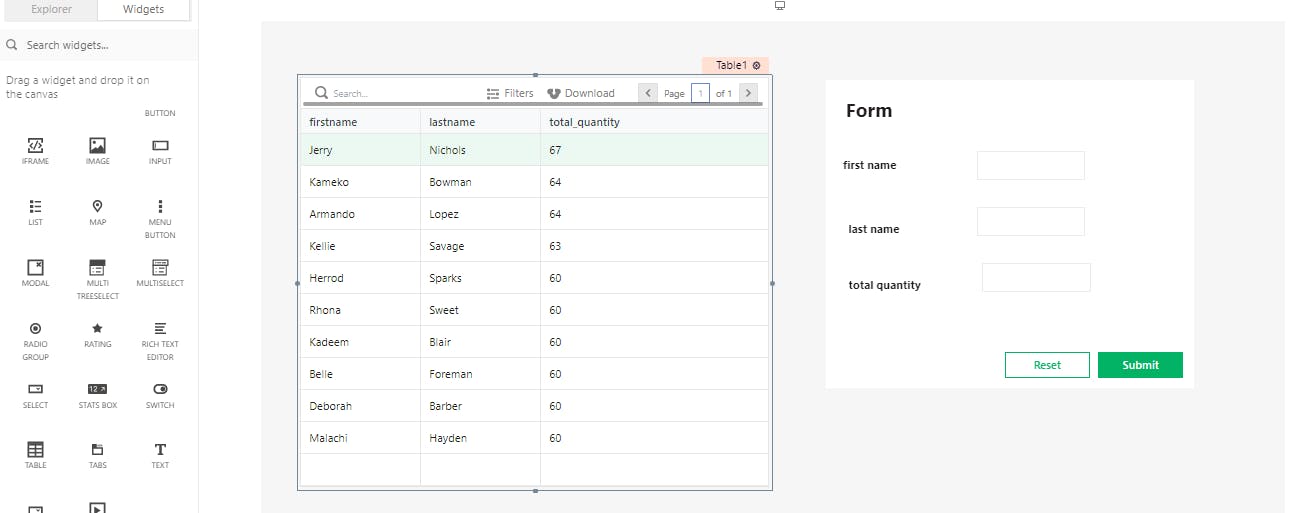
With the Redshift data source connected, the data from the database can be displayed using a table. Navigate to the page and add a Table Component from the widgets section by dragging and dropping it onto the canvas. Next, open the table's property pane by clicking on the cogwheel icon on the table.

Before that, we need to set up a query for the data with the command:
SELECT firstname, lastname, total_quantity
FROM (SELECT buyerid, sum(qtysold) total_quantity
           FROM sales
           GROUP BY buyerid
     ORDER BY total_quantity desc limit 10) Q, users
WHERE Q.buyerid = userid
ORDER BY Q.total_quantity desc;
Then on our page, we can get this data. In Appsmith, we use the mustache syntax {{}} to add Javascript. To get our query, we use {{Query1.data}}
Setting up a Form with Update Functionality
Apart from reading the data to the table, you can use Appsmith to create and update functionalities.
To do this:
First, we will create a form that will contain the input parameters for our table.
This form will contain text fields for the firstname, lastname, and total_quantity.
Drag the form widget onto the canvas from the widgets section and add the fields for the firstname, lastname, and total_quantity.
You will need to link the form to the database to add the new data with the form setup. You will need to write a query to collate the data from the form when the submit button is clicked and append it to the table. To do this, click on the cogwheel icon on the submit button. Then set the onClick to execute a database query and then click on create a query:
INSERT INTO users ('firstname', 'lastname', 'userid') VALUES ('{{Input1.text}}', '{{Input2.text}}', '1'); INSERT INTO sales ('qtysold', 'salesid', 'listid', 'sellerid', 'buyerid', 'eventid', 'dateid') VALUES ('{{Input3.text}}', '1', '1', '1', '1', '1', '1')
Here we entered the values of the input fields into the firstname, lastname, and qtysold. Also, I've set the id's to '1' for every entry; usually, you may use default values for this. You can now add new entries through the form to the table.
Updating and Deleting Table Data
Apart from reading and creating table entries, we can also update and delete data from our table. You must first target a particular row and set it as the default value in the form's input fields to update the data.
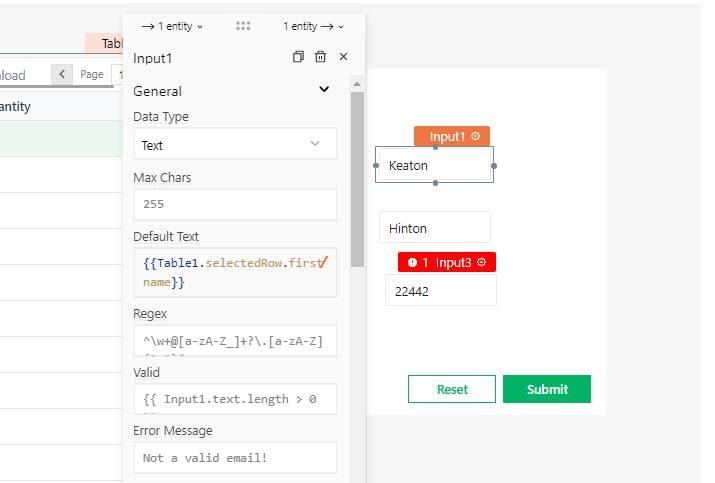
Above, we set the Default Text for the input field to {{Table1.selectedRow.firstname}} to always get the data from the firstname column of the selected row in the input field. We repeat this step for lastname and total_quantity by entering {{Table1.selectedRow.lastname}} and {{Table1.selectedRow.total_quantity}} as their default text respectively. We need to add new functionality via a button to update the table. Add a button from the widgets pane and name the ‘Update’ button.
Next, create a new Javascript query for the on-click handler in the button option pane. For our new query to handle updates, we have the following:
update users set firstname='{{Input1.text}}', lastname='{{Input2.text}}' where firstname='{{Table1.selectedRow.firstname}}';
The query above checks for the row where the firstname corresponds to the selected row's firstname column value. It then replaces the firstname and lastname columns with the value of the input fields.
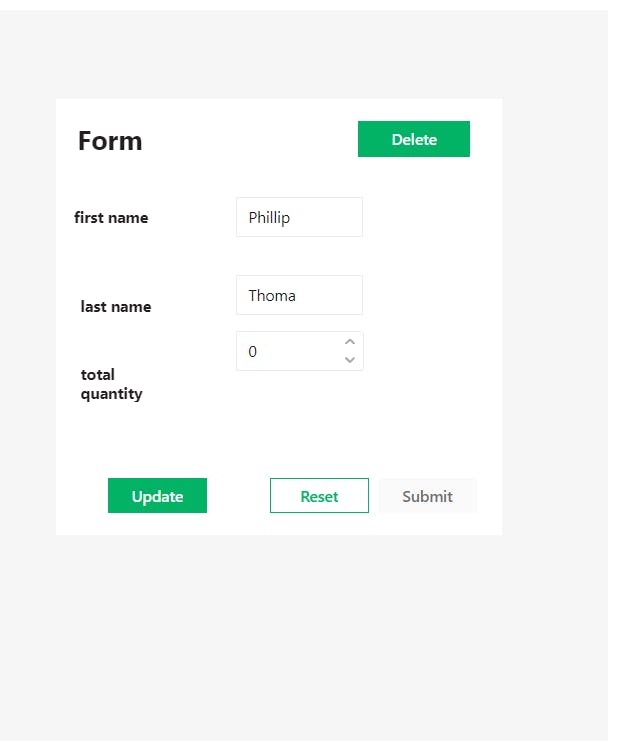
Delete Functionality
We can add another button called Delete to our form to do this.
Create a new query as follows:
delete from public.users where firstname = '{{Input1.text}}'
When executed at the click of the Delete button, this query checks the user's table and deletes the corresponding row, which has a firstname with its value corresponding to the selected data.
You can try out the query and observe that the selected row is removed when the 'Delete' button is clicked.
Deploying the Redshift Admin Panel
To deploy the Redshift panel template, click on the deploy button at the top right of the navigation bar. You can then make it publicly accessible or share it with specific individuals via email. The admin panel can be further modified with added functionalities such as user authentication for restricted access and email integrations to inform the admin when a change has occurred.


