Automatically Generate a PDF from a Database with Appsmith


One of the most ubiquitous ways to communicate important business information is through PDF reports. Weekly reports on development progress to the leadership team, reports for external stakeholders, and PDF invoices to customers must contain up-to-the-minute information, but can be time-consuming to put together.
Fortunately, with Appsmith and APITemplate, you can build a tool in as little as five minutes to automatically create PDF reports from your own company database. Here’s how to do it.
Step-by-step walkthrough: automatically generate a PDF from your own database
Prerequisites
A free Appsmith account and an new Appsmith application (or fork our template)
A free APITemplate account
To start off, sign up for a free account of the cloud-based version of Appsmith (if you haven’t done so already). If you want to immediately get up and running with the final application, you can fork our community template and just alter the APITemplate datasource in Step 2. You can also create a new empty application from your Appsmith dashboard to get started.
In addition to an Appsmith account, you’ll need to create a free account with APITemplate. APITemplate is a tool that allows you to create PDFs or images from reusable HTML templates with data fed through a REST API.
Step 1: Set up your PDF template
Once you've logged into APITemplate, follow these steps to create a HTML template for this project:
Go to the Manage Templates tab of the APITemplates dashboard.
Select New PDF Template.
On the next screen, name the template "Appsmith Template".
Select Create PDF with HTML, leave the default example template selected (you can add custom HTML later), and click Create.
After you have a template created, it should show up in the Manage Templates tab of your dashboard. Click the Editbutton next to the new template and you’ll be brought to a page to edit the HTML of the PDF directly. Replace the HTML of the existing template with the below before saving the template:
<h1 class="text-3xl md:text-4xl font-medium mb-2 mt-2 text-center text-label">Appsmith PDF Report</h1> <div class="section">
  <h1 class="text-3xl md:text-2xl font-medium mb-2 mt-2 text-label">Summary</h1>
  <p>{{summary}}</p>
</div> <div class="section">
    <table class="table">
   	 <thead>
   		 <tr>
   			 <th>Date</th>
   			 <th>Revenue</th>
   		 </tr>
   	 </thead>
   	 <tbody>
   		 {% for item in revenue_data%}
   		 <tr>
   			 <td>{{item.date_revenue}}</td>
   			 <td>{{item.showroom_revenue}}</td>
   		 </tr>
   		 {% endfor %}
   	 </tbody>
    </table>
</div>
Step 2: Build your PDF generation UI
After you’ve set up your APITemplate account and created an HTML template for the PDF, it’s time to start building your application. The basis of the user interface will be an interactive table, provided by an Appsmith Table widget.
To add a table widget to your app, go through the following steps:
Open the UI menu in the Editor pane.
Click the + New UI element button.
Search for the Table UI widget.
Drag and drop a Table widget onto the canvas.
Click on the widget to show its properties on the right and name it table_revenue.
After creating the table, copy and paste the following mock data into the Table data field (accessible by clicking the JSbutton in the table properties):
[
  {
	"showroom_revenue": 35000000,
	"date_revenue": "2020-04-30"
  },
  {
	"showroom_revenue": 35000000,
	"date_revenue": "2020-05-31"
  },
  {
	"showroom_revenue": 22000000,
	"date_revenue": "2020-06-30"
  },
  {
	"showroom_revenue": 40000000,
	"date_revenue": "2020-07-31"
  },
  {
	"showroom_revenue": 41000000,
	"date_revenue": "2020-08-31"
  },
  {
	"showroom_revenue": 47000000,
	"date_revenue": "2020-09-30"
  },
  {
	"showroom_revenue": 47000000,
	"date_revenue": "2020-10-31"
  },
  {
	"showroom_revenue": 45000000,
	"date_revenue": "2020-11-30"
  },
  {
	"showroom_revenue": 40000000,
	"date_revenue": "2020-12-31"
  },
  {
	"showroom_revenue": 50000000,
	"date_revenue": "2021-01-31"
  }
]
Of course, if you're familiar with Appsmith you can connect your own datasource straight away using Appsmith's integrations and API support, and adapt the rest of this tutorial to meet your own data formats.
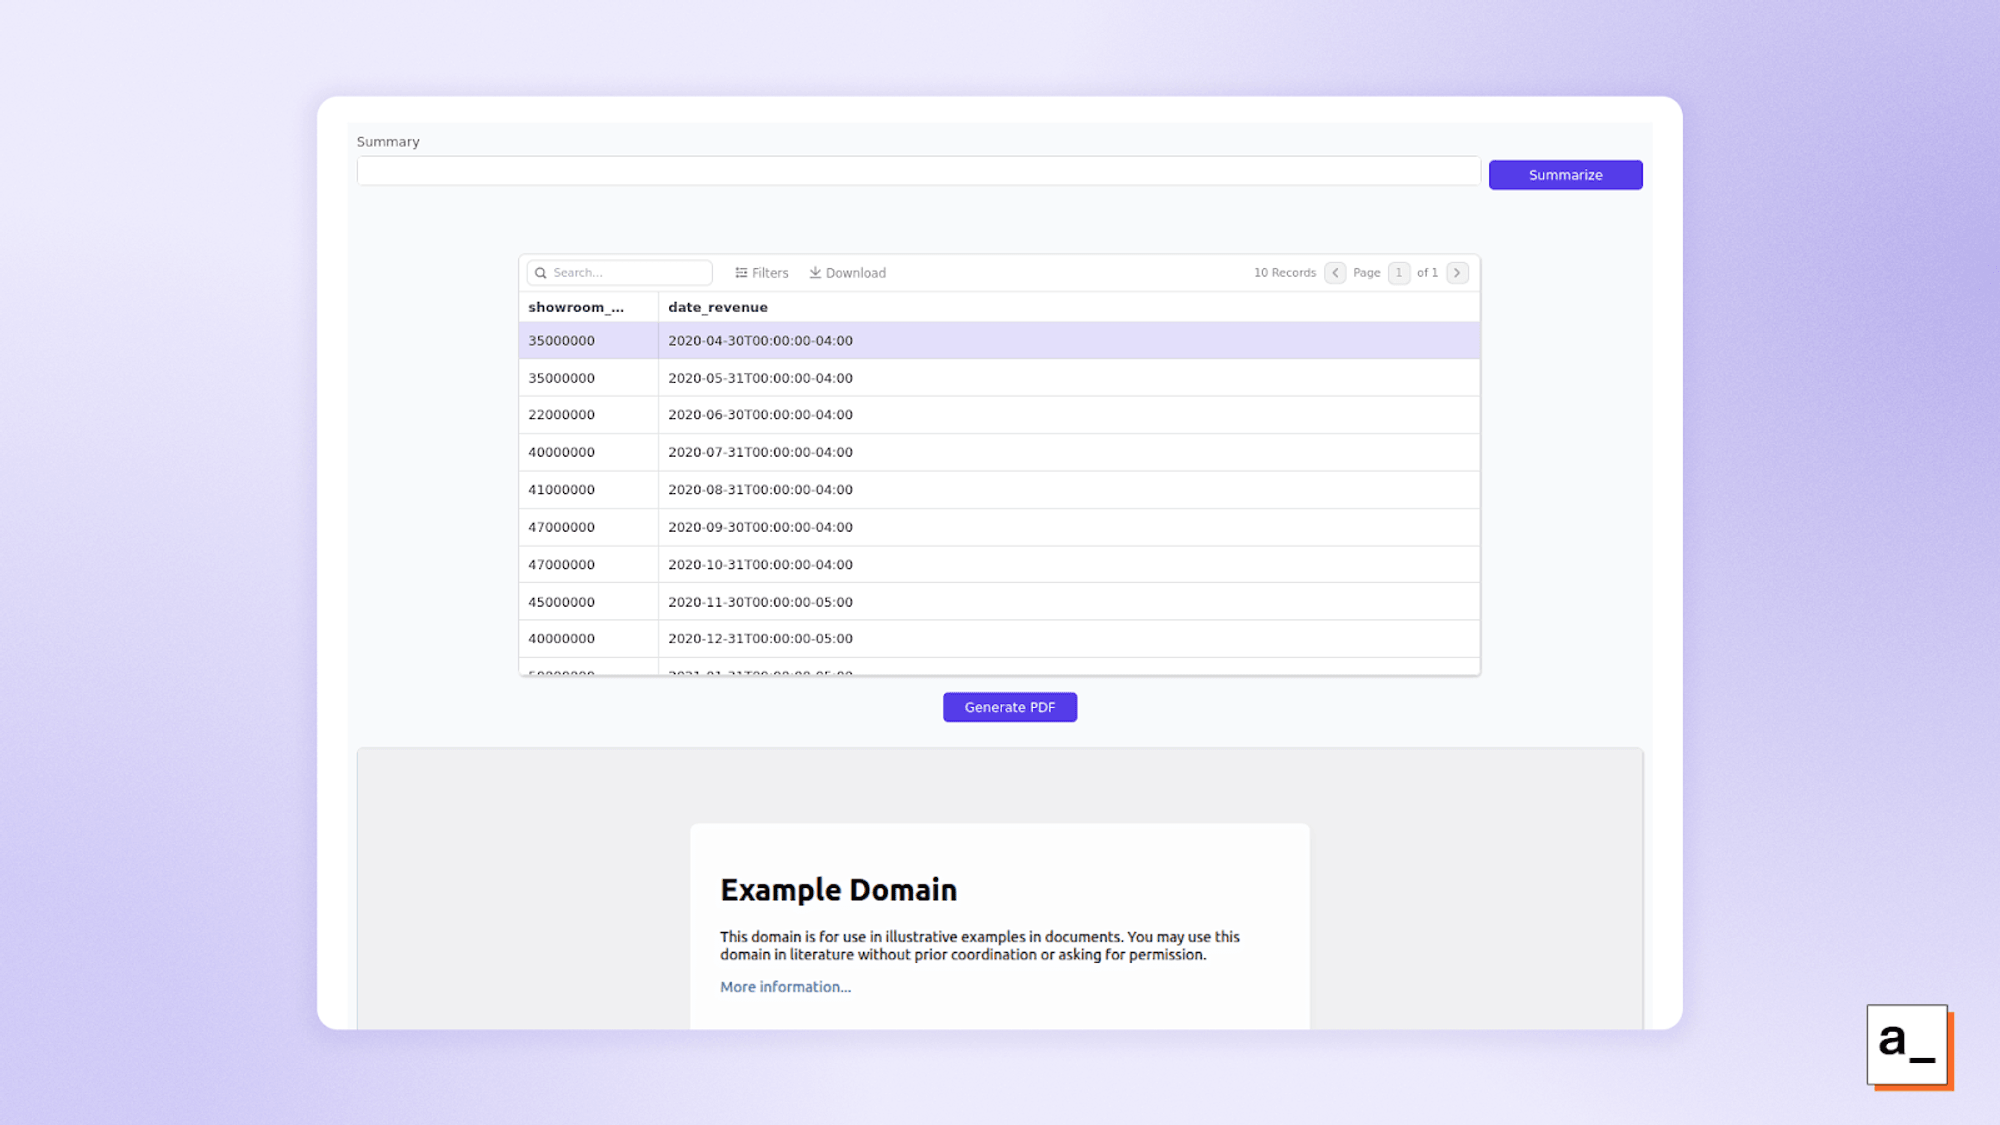
To complete the user interface for your PDF report app, continue by adding the following UI elements for your app:
An Input widget named input_summary above the existing table for a summary of the data in the table
A Button widget named button_summarize (with a label of Summarize) above the existing table for some bonus AI functionality that we'll introduce later
A Button widget named button_generatePDF (with a label of Generate PDF) below the existing table to generate a PDF from the data in the table
Finally, an iframe widget named iframe_embedPDF below the existing table to embed the PDF in the application after it has been generated
After adding these, your UI should look something like this:
Step 3: Build a query to create a PDF through APITemplate
Now that you have your APITemplate PDF template and Appsmith user interface, you need to create a REST API connection for Appsmith to talk to APITemplate. You can do this manually by following APITemplate’s documentation or you can take advantage of Appsmith’s cURL import functionality.
The cURL import allows you to copy and paste an example cURL request and automatically construct a valid REST API call in Appsmith. We’ll feed the following snippet into Appsmith’s cURL importer:
curl --header "Content-Type: application/json" \
-H 'X-API-KEY: xxxxxxxxxx' \
--data '{ "summary": {{ this.params.summary }}, "revenue_data": {{ this.params.revenue_data }} }' \
"https://rest.apitemplate.io/v2/create-pdf?template_id=xxxxxxxxxx"
Be sure to fill in the X-API-KEY with your own from your APITemplate configuration and the template_id with the Template ID from the template you created earlier on the bottom left in the Manage Templates section of the APITemplate dashboard. Then copy and paste your snippet into Appsmith’s cURL importer by going to the Queries menu on the Editorpane, selecting + New query/API, and then selecting New cURL import. After creating the new API, be sure to name it generate_PDF.
You’ll notice that this query passes in summary and revenue_data through input parameters in the body of the request. If you try to test the request, it will fail because these inputs will not be populated. In the next step, you’ll construct and pass in these input parameters with custom client-side code using a JS Object.
Step 4: Create a JS Object to connect the table data to the generate_PDF query
In the Editor pane, navigate to the JS menu, click the + New JS object button, add a JS Object named utils, and populate it with the code below:
export default {
  async generatePDF () {
       /* Get string currently in text_summary input widget */
   	 const summary = await input_summary.text    	 /* Get revenue data currently in table widget (returned as an array) */
   	 const revenue_data = await table_revenue.tableData;
   	 /* Pass those queries into the generatePDF API */
   	 const response = await generate_PDF.run(
        {
    	       summary: summary,
   		 revenue_data: revenue_data
        }
	)    	 /* Embed URL on UI */
   	 iframe_embedPDF.setURL(response.download_url)
    }
}
This client-side JavaScript code extracts the data currently in the table_revenue widget and the text summary in the input_summary widget, then supplies both of those as input parameters when it triggers the generate_PDF API call. It then takes the response from the generate_PDF API call, which includes a link for a downloadable PDF, and uses it to populate the iframe_embedPDF widget so that the generated PDF is available on the dashboard.
After adding this code to your JS object, call the generatePDF() function in the onClick event handler (available in the properties on the right after clicking the button) of the button_generatePDF widget on the UI.
Now when you click the Generate PDF button, the data in the table_revenue widget as well as any summary of the data that you type into the text_summary widget will be passed into the APITemplate API call to generate a downloadable PDF and display it in your app.
At this point, you can generate a fully-customized PDF from your own data automatically with the push of a button.
Bonus step: use Appsmith AI to summarize the metrics in the PDF report
To really supercharge this PDF generation tool, you can use AI to write the summary for you (at least for a first draft). With Appsmith, you can connect to the most popular AI solutions including OpenAI, GoogleAI, and Anthropic using your own API keys. We also support Appsmith AI, our own natively supported AI integration which is available for free with no API keys, usage limits, or additional configuration required.
To connect a new Appsmith AI datasource, go to the Data pane, click +, and select Appsmith AI. There's no need to enter any API keys or credentials, because Appsmith AI is native and 100% free!
Next, build a text generation query from this new datasource with the following steps:
Navigate back to the Editor pane.
Go to the Queries menu, then click the + New query/API button, and select + New datasource.
Create a new query named ai_summarize from the Appsmith AI datasource.
From here, you’ll need to configure the action to Generate text and enter the following prompt to supply the data in the table_revenue widget to Appsmith AI:
Use the following revenue data: {{table_revenue.tableData}} Then do the following.
* Provide a 2-sentence summary about the general trend in the data.
* Provide a 1-sentence summary on any anomalies where revenue decreased.
* Provide 1 sentence with possible reasons for any anomalies and suggestions on how to correct them.
Next, go back to the utils JS Object that you created earlier and add a JavaScript function to format and pass the data in the table_revenue widget to the query you just created, then add the response to the text_summary widget on your UI.
Here’s the code for the full JS Object (so you can just paste this entire code snippet) with the new aiSummarize()function added to the previous code:
export default {
  async generatePDF () {
       /* Get string currently in text_summary input widget */
   	 const summary = await input_summary.text    	 /* Get revenue data currently in table widget (returned as an array) */
   	 const revenue_data = await table_revenue.tableData;
   	 /* Pass those queries into the generatePDF API */
   	 const response = await generate_PDF.run(
        {
    	      summary: summary,
   		revenue_data: revenue_data
        }
	)    	 /* Embed URL on UI */
   	 iframe_embedPDF.setURL(response.download_url)
    },

    async aiSummarize () {
   	 const ai_summary = await ai_summarize.run()

   	 await input_summary.setValue(ai_summary.response)
    }
}
Finally, go to the button_summarize widget in the UI menu and add the aiSummarize function you just added to its onClick method.
Now, when you click the Summarize button on your UI, the application will take in the data in the table and the prompt in your Appsmith query as inputs and generate an AI-generated summary that you can tweak before creating your PDF.
This is just the start for AI-powered PDF report generation
To continue building on this app and generate more sophisticated PDFs from your databases, you could add more integrations to consolidate and report more of your data, adjust any of your JS Objects, queries, or API calls, or restructure the HTML template for your PDF.
You could use other functionality within Appsmith like generating graphs, automatically emailing reports after generating them, or almost anything else you could imagine!
Appsmith is open-source and free forever, so you can feel comfortable building your business infrastructure on top of it. We also offer Business and Enterprise versions for those who need more in-depth support. Reach out today to discuss.
Related Blog Posts