Building an Expense Manager for your Startup!

From startups to large multinational corporations, every organization needs a tool or an application to keep a track of expenses. These apps usually help different departments, for example, the CEO’s office or finance teams to keep track of salaries, reimbursements and other company expenses.
There are several tools that one can find to manage expenses, however, these are either expensive or lack some crucial features that do not serve a large number of use-cases and finance goals.
We think that building expense managers shouldn’t be too complicated. So, we built an expense management dashboard using Appsmith and Google Sheets, which can be used by an organisation to manage reimbursements expenses based on their monthly budget limitations. Additionally, admins of the app can also either approve or reject it based on the reimbursement request that is raised by an employee.
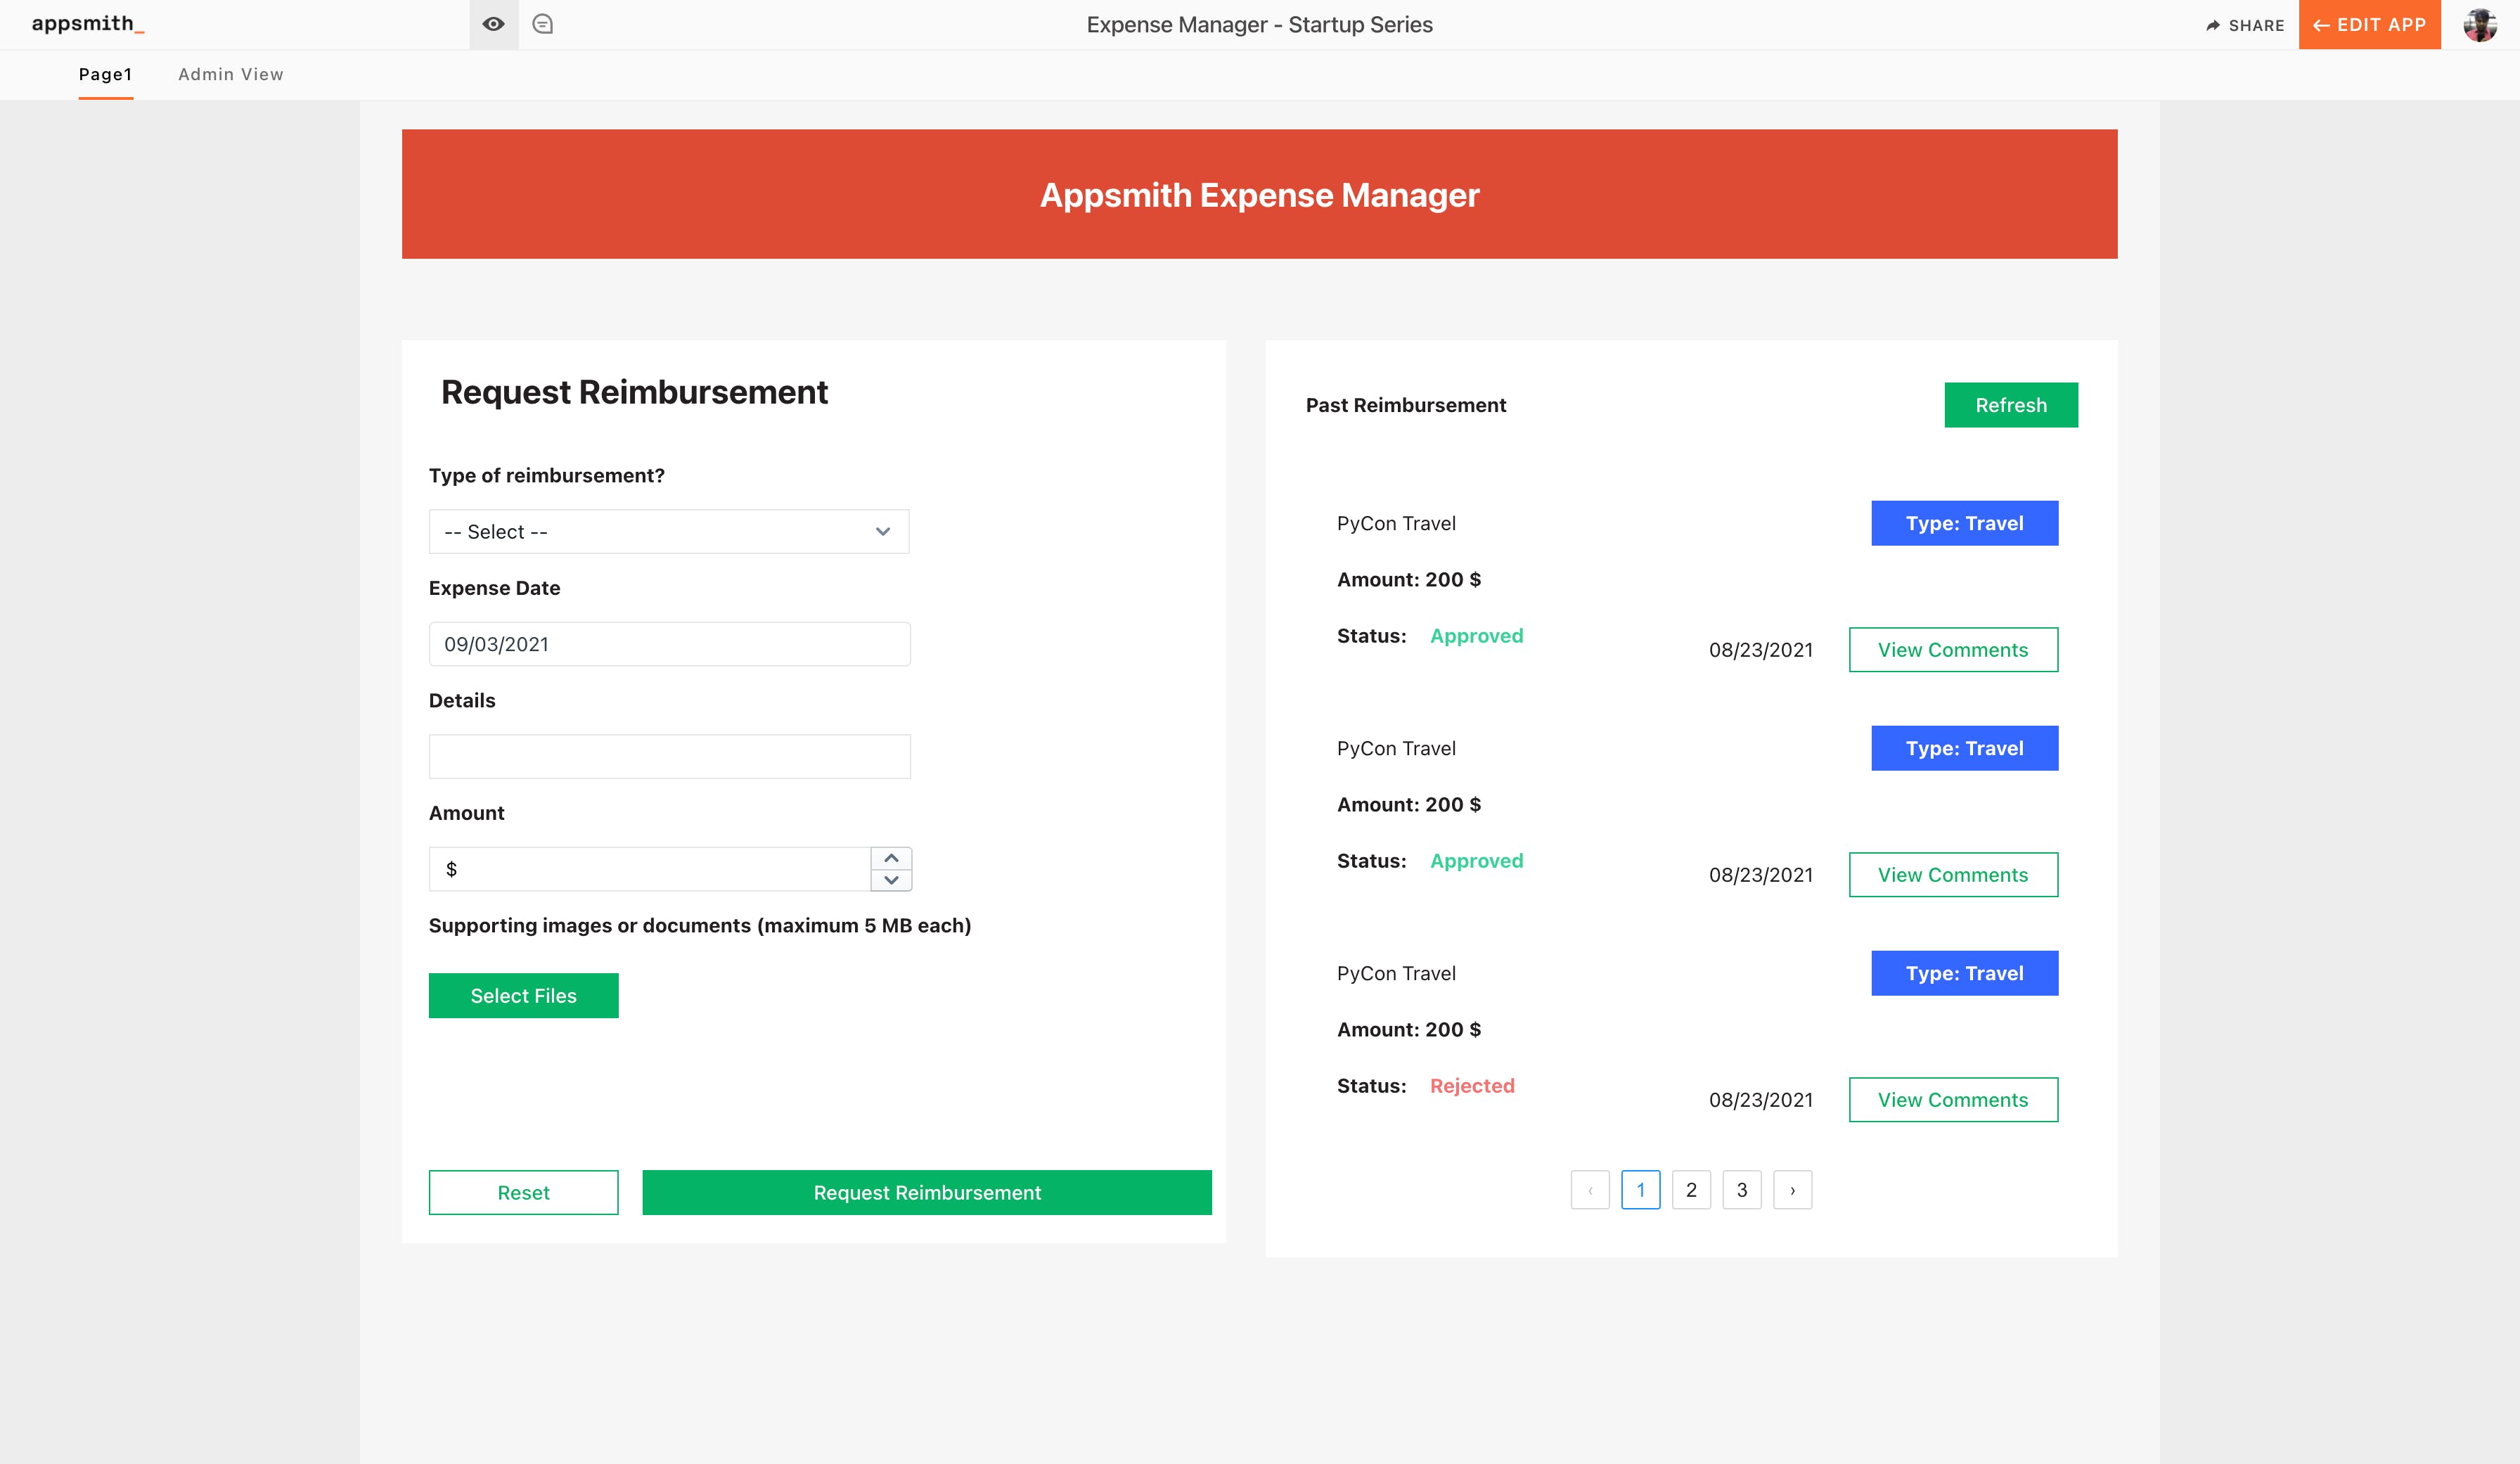
Here’s a sneak peek of what the app looks like.

“”is an open-source framework that lets developers build dashboards, workflows, and CRUD apps with only the necessary code. You can connect to any API or databases like MongoDB, PostgreSQL, or MYSQL and get access to multiple widgets, including charts, tables and forms, for building a UI fast.
Following are the table of contents:
Getting Started with Appsmith and Gsheets
Fetch Data from Google Sheet to Appsmith
Posting Data for Requesting Reimbursement
Expense Manager Admin
Adding some additional metrics to track expenses!
Set Up Google Sheets and Appsmith
Follow the steps below to use Google Sheets with Appsmith:
Create a new account on Appsmith (it’s free!), if you are already an existing user, log in to your Appsmith account.
Create a new application by clicking on the Create New button under the Appsmith dashboard.
We’ll now see a new Appsmith app with an empty canvas and a sidebar with Widgets, APIs and DB Queries.
Click on the + icon next to the APIs section and choose the Google Sheets option.
Next, click on the New Datasource button and set the scope to Read and Write and click Authorise.
This will ask us to log in from our Google Account, choose the account we want to access Google Sheets with and log in. After successful authorisation, this will redirect back to your Appsmith account.
Now, you’ll find your Google Sheets Datasource under your APIs, and you can create the necessary queries by choosing this data source.
Awesome! Now that our Google Sheets Plugin is set up, let’s create a new Google Sheet and add the necessary fields required for managing expenses.
Following are the fields we’ll be considering:
Date
Requested On
Type
Reason
Amount
Status
Requested By
Attachment(s)
Comments from Admin
To make this more precise, we’ve made a sample Google Sheet with some mock data here. We’ll be using the same Sheet throughout this guide, and you can either follow with this or create your own based on our requirements.
docs.google.com/spreadsheets/d/1b7BuwDx0He4..
Fetch Data from Google Sheet to Appsmith
Now that we are connected to our Google Sheets data source, let’s connect to our Google Sheet and query all the data onto a list widget in Appsmith. To do this, navigate to the created data source under the APIs section and click on the New API button on the top right. Next, follow the below steps:
After clicking the New API button, you’ll be redirected to a new query tab, name your API to getReimbursement by double-clicking on the existing one.
Now set the method to Fetch Sheets Row, this method will query the data that’s present in the given Google Sheet.
In the SpreadSheet URL property, paste the URL of your Google Sheet, in this tutorial we’ll be following with the following URL:
https://docs.google.com/spreadsheets/d/1b7BuwDx0He41wtKYazxX3uJyIgQDHDRWyfyycL6mLMk/edit#gid=0
Next, in the Sheet name, add the name of our first sheet which is Reimbursement
The Table Heading Row Index property takes in the row number that basically has our column heading, we’ll set this to 1.
Next, we’ll set the Row Offset to 1 and Row limit to 100, this will query only the first 100 rows of our Google Sheet.
Lastly, click on the Run button on the top right, we should see the sheet information in JSON format in the response pane at the bottom.
Awesome, now that we have our data from the Google Sheet, let’s put this in a list; drag and drop a new table widget and paste the following in the Table Data property:
{{
    getReimbursement.data.filter((item) => {
        return item["Requested By"] == appsmith.user.name;
    })
}}
Quick Hack: For making the application more readable, let’s change the colour of the text based on the Reimbursement status. Appsmith allows us to write JS for styling widgets, now open the Text3 property pane and toggle JS in the text colour property and paste the following code:
Text1: {{currentItem.Reason}}
This will display the reason from the sheets row onto the list item

Text2: {{Amount: ${currentItem.Amount} $}}
Display’s the amount of the expense

Text3: {{Status: ${currentItem.Status} $}}
Display’s the status of the expense from the sheets row onto the list item

Text4: {{currentItem["Date"]}}
Display’s the status of the expense from the sheets row onto the list item

Text5: {{Type: ${currentItem.Type}}}
Display’s the Expense type from sheet

Text6: {{currentItem["Date"]}}
Display’s the date from the sheet
With this, our list widget is colourful and feature-rich.
Here’s how it looks like:
Post Data for Requesting Reimbursement
In this section, we’ll create a new form that will allow users to post new reimbursement requests to the admins. For this, let’s use the Form and Input components and Google Sheets integration on Appsmith. Follow the below steps:
First, let’s add a container component to wrap all the widgets on the canvas.
Drag and drop the Form widget onto the container widget, here we’ll see two button’s that’ll allow to submit a form and reset a form.
Add the following widgets onto the form widget that’ll allow us to collect all the data to request a reimbursement.
Select Widget (Name it as claimType)
We’ll add the select widget onto the form to set the type of reimbursement. Open the property-pane of the select widget and let’s add the options by pasting the following code:
{{
function () {
      let skills = ["Travel", "Hotel and Accomodation", "Food", "Medical", "Telephone","Fuel", "Imprest", "Other"];

      let options_list = skills.map((item) => {
        return {
          label: item,
          value: item,
        };
      });

      return options_list;
    }()
}}
Here we define an array of all the options and iterate through a for-loop and render them all in the select widget.
DatePicker Widget (Name it as expenseDate) The date picker widget allows us to add the date of the expense. To set the default date, open the property pane and set the Default Date to moment.now()
Input Widget (Name it as expenseDetail) Allows users to add the details of reimbursement.
Input Widget (Name it as expenseAmount) Allows the user to add the amount that’s requested for the reimbursement. Here, to make it more precise, ser the input type to float, to accept decimals in the given input.
Now that we have our form ready, let's write the logic to push the values from the form to the Google Sheet whenever submitted. Follow the below steps:
Create a new API from the existing Google Sheets data source and set the query method to Insert Sheet Row. This query method helps us insert new data to the Google Sheet from Appsmith.
Name the query as postReimbursement
Next, in the SpreadSheet URL property, add the link to our Google Sheet.
The Sheet Name will be Reimbursement as named in our Google Sheet.
The Table Heading Row Index will be the row where the names of the columns are listed; in our case, this will be 1,
Lastly, the Row Object takes a JSON object with keys set to the column names associated with the desired values. In our case, below is how the Row Object should look like:
{
    "Date": "{{expenseDate.formattedDate}}",
    "Requested On":"{{moment().format("L")}}",
    "Type": "{{claimType.selectedOptionValue}}",
    "Reason": "{{expenseDetail.text}}",
    "Amount": "{{expenseAmount.text}}",
    "Status": "Pending",
    "Requested By": "{{appsmith.user.name}}"
}
Here, the keys are the column names in the Google Sheet, and the values associated with them are the names of the input widgets. The .text method is used to pick the text that's written in the input widgets.
Lastly, in the form below for the submit button, set the on click property to Call an API and call the postReimbursement query from the options. With this, we should be able to add new rows to Google Sheet from Appsmith.
In the next section, we will build an Admin Dashboard where admins can approve or reject the requested reimbursement.
Expense Manager Admin
The expense manager admin can be only viewed by the admins of the application. Here we’ll be displaying all the information regarding the reimbursement’s and add an option to approve and reject them with a comment.
To build this, follow the steps below:
Create a new page by clicking on the + icon next to the pages and rename it to Admin View.
Add a container widget across the canvas to group all the widget’s Copy the getReimbursement query from Page1 to Admin View page
We’ll now add a table to show all the pending reimbursements and add an option to approve and reject them. Drag and drop a table widget onto the container, open the property pane and set the Table Data to the following:
{{getReimbursement.data.filter((item) => {
  return item["Status"] == "Pending";
})}}
With this, we should see all the reimbursement requests with pending status on the table widget. Now, add to add options to approve and reject follow the below steps:
Open the Table’s property pane, and add click on the add new custom column, set the label to Approve and column type to Button.
Now create a new API from the Sheets Expense Manager data source and rename it to aprroveReimbursement, the idea here is to update the status of reimbursement whenever the approve button is hit on the Table. Now, in the query set the method to Update sheet row and row object to the following:
{
    "rowIndex":{{Table1.selectedRow.rowIndex}},
    "Status": "Approved"
}
Similarly, create another query for rejecting the reimbursement (rejectReimbursement), use the following code snippet in the Row Object property:
{
    "rowIndex":{{Table1.selectedRow.rowIndex}},
    "Status": "Rejected",
    "commentsInput":"{{commentsInput.text}}"
}
Now, go back to the Table Widget, and set the Approve button onClick property to execute a query and select the aprroveReimbursement query.
For rejecting the query select the rejectReimbursement on the Reject button’s onClick property.
Similarly, add two more tables to show all the approved and rejected reimbursement for future references, drag and drop two table widget’s and set the Table Data to the following:
Table2, Table Data:
{
    {{getReimbursement.data.filter((item) => {
  return item["Status"] == "Approved";
})}}
}
{
Table3, Table Data:
{{getReimbursement.data.filter((item) => {
return item["Status"] == "Rejected";
})}}
}Add some additional metrics to track expenses!
Our dashboard is almost ready, now to give the admins an overall picture of expenses, let’s add some metrics that’ll help quickly look at the pending, paid, and rejected amounts. For this, we’ll need to drag and drop the text widgets and use the following snippet to do the calculations from the table widget.
In this code snippet, we’re iterating over the Table1 data and counting the summing up the Amount column. As the text widget accepts a string, the function will be returning the same data type. Similarly, let’s drop two more text widget’s and calculate the total amount approved and total amount rejected.
Use the following snippets:
Total Amount Pending
Text Widget Value:
Total Amount Rejected
{
 {{
function(){
    let count =0;
    for(let i=0;i < Table1.tableData.length; i++){
        count = count+ parseInt(Table1.tableData[i]["Amount"])
    }
        return"Total Amount Pending:  " + count
}()
}}
}
Now, finally, this is how the admin view looks like:
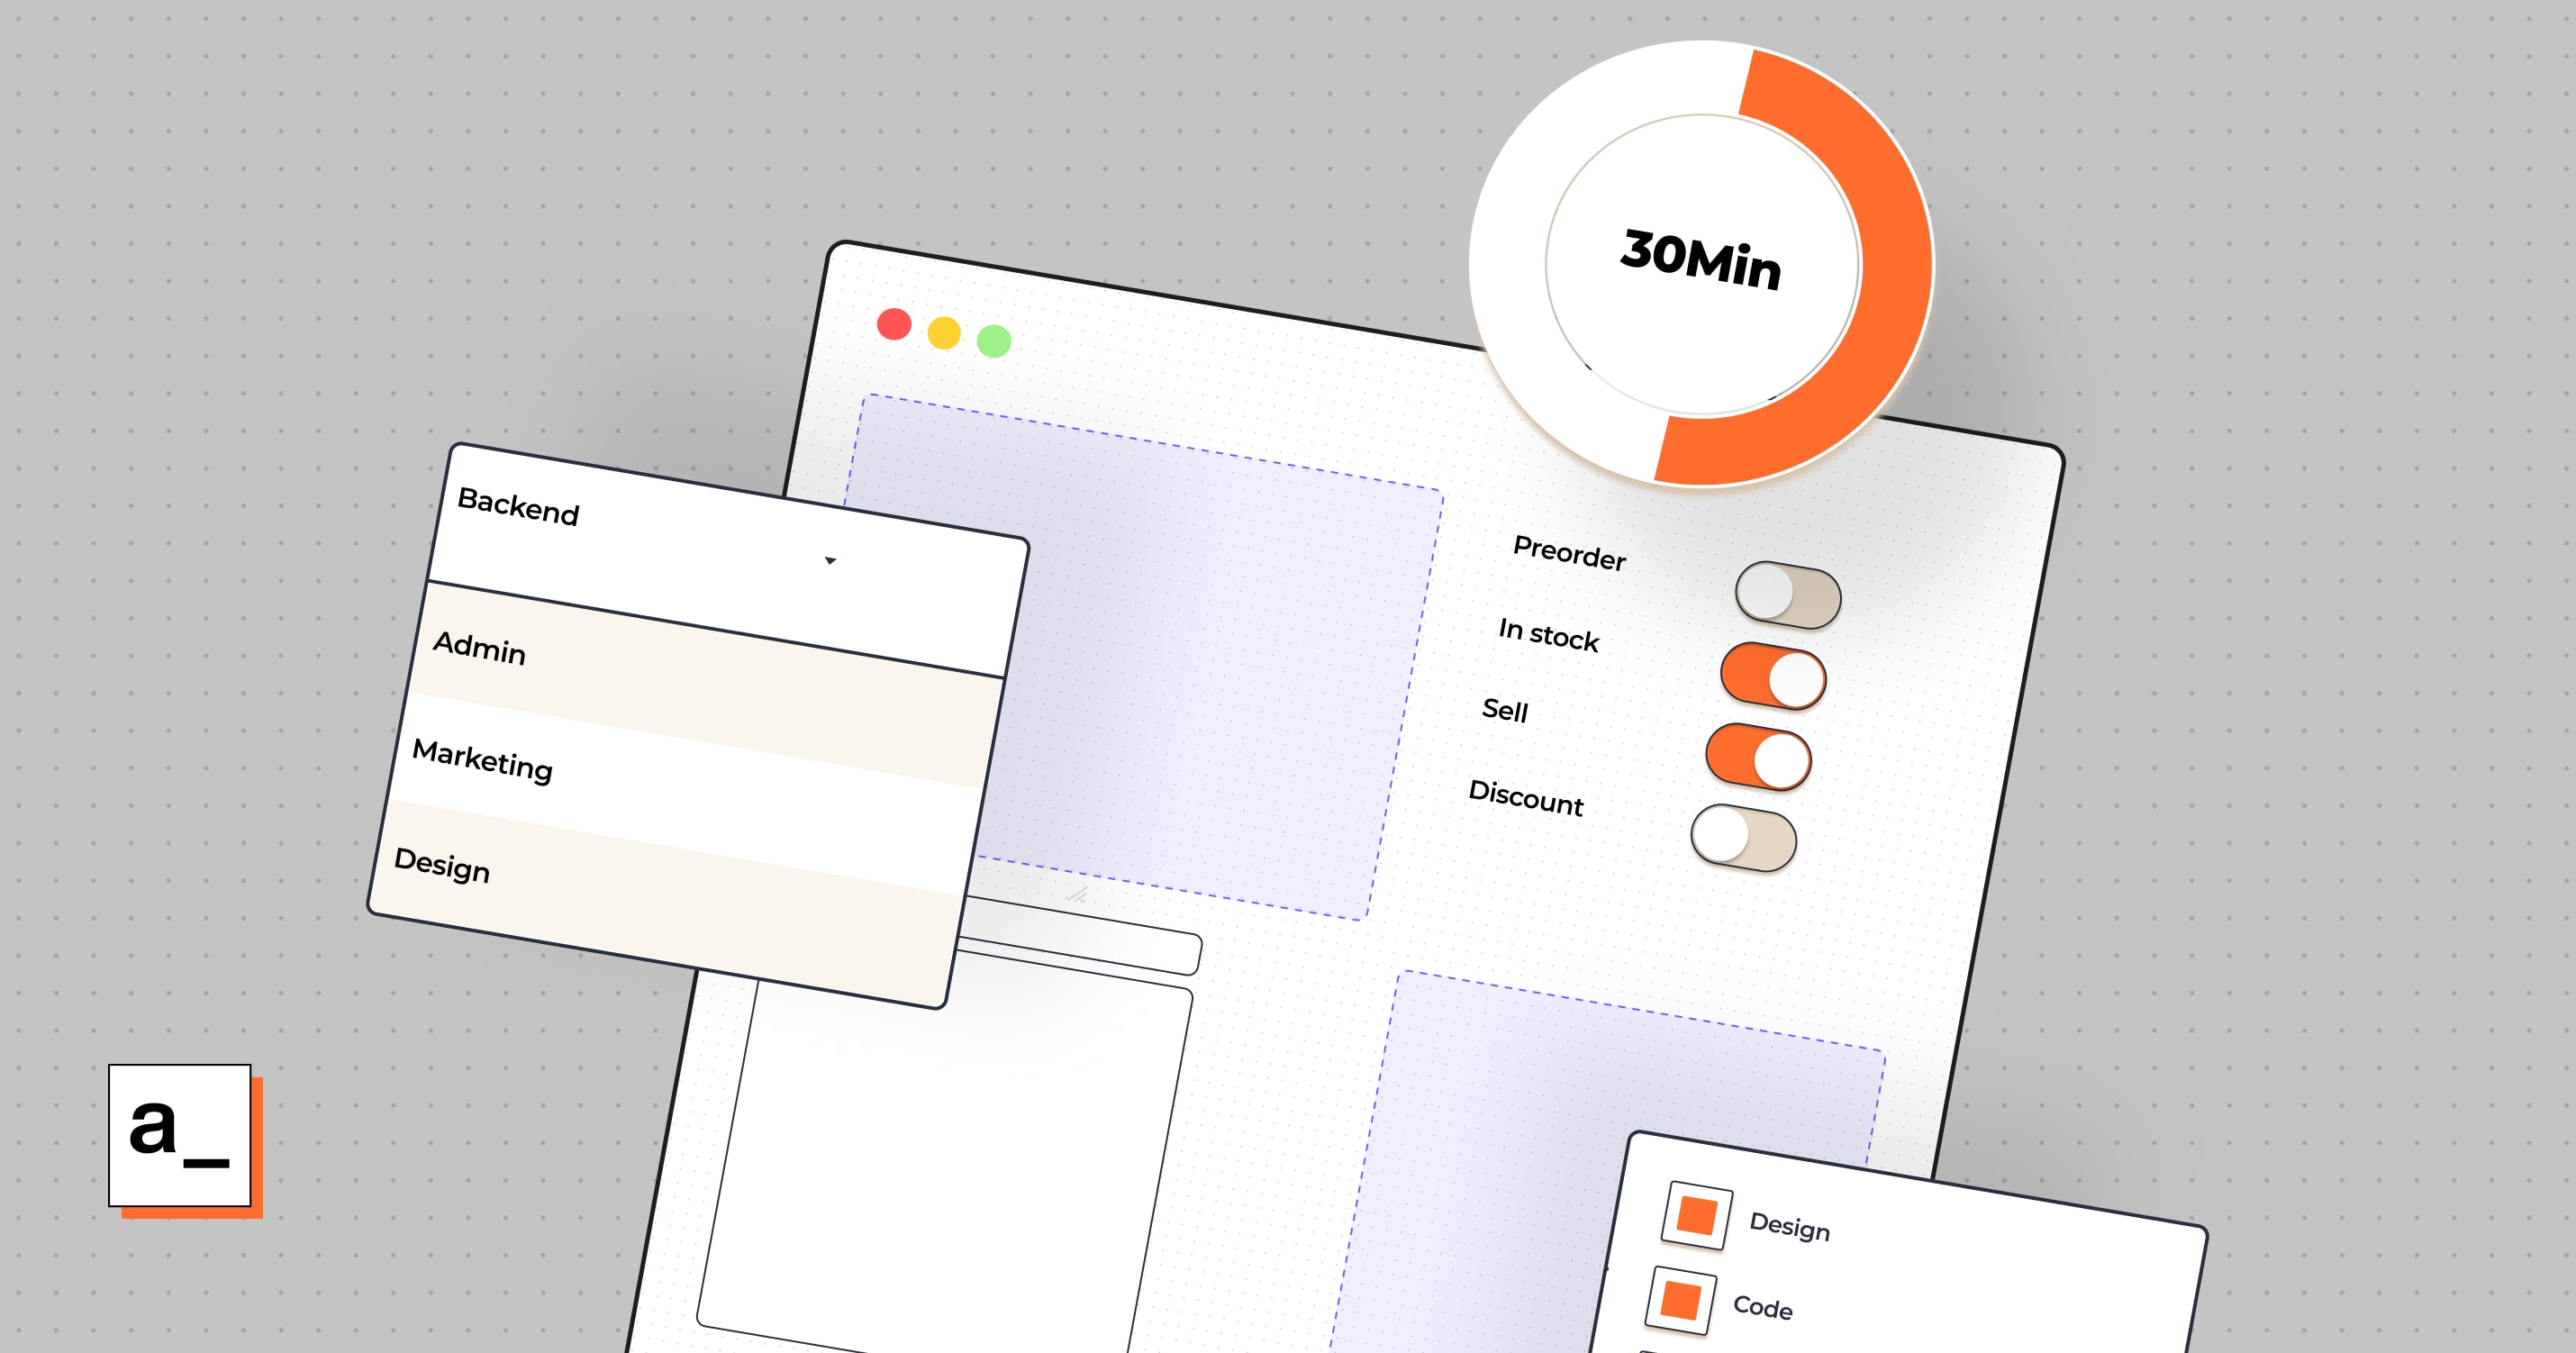
Building this app from scratch, including writing snippets of code is likely to take 30 minutes! Isn’t that simple?
If you liked this tutorial, and are planning to build this, let me know. I’d love to help you make it as complex as you’d like. Write to me at vihar@appsmith.com


