Self-host Appsmith in Just a Few Minutes on Digital Ocean


Appsmith is a low-code open-source framework that’ll help build your internal applications, admin panels, CRUD apps, and many more 10x faster. In this tutorial, we’ll learn how to deploy Appsmith on DigitalOcean by using the Appsmith droplet from Digital Ocean’s 1-Click Apps Marketplace and host it on your custom domain.
To get started, you’ll need an account on DigitalOcean; don’t worry, if you don’t currently have an account, use this link and get $25 credit on DigitalOcean!
If you’re already an existing user, use your account and follow the steps listed below:
Login to your DigitalOcean account.
Find Appsmith from the DigitalOcean marketplace here.
Click on the Create Appsmith Droplet button; this will redirect you to a new page where you can set up all your configurations.
For a base configuration, use the following settings.
Shared CPU: Basic
CPU Options: Regular Intel with SSD (1 GB CPU / 25GB SSD / 1000GB Transfer )
Data Center Region: (Choose the nearest location to your place)
Additional Options: IPV6 Enabled
In the authentication section, you can either choose SSH or set up a password if you want to log in to your server.
Lastly, click on Create Droplet button.
Here’s how it should look like:

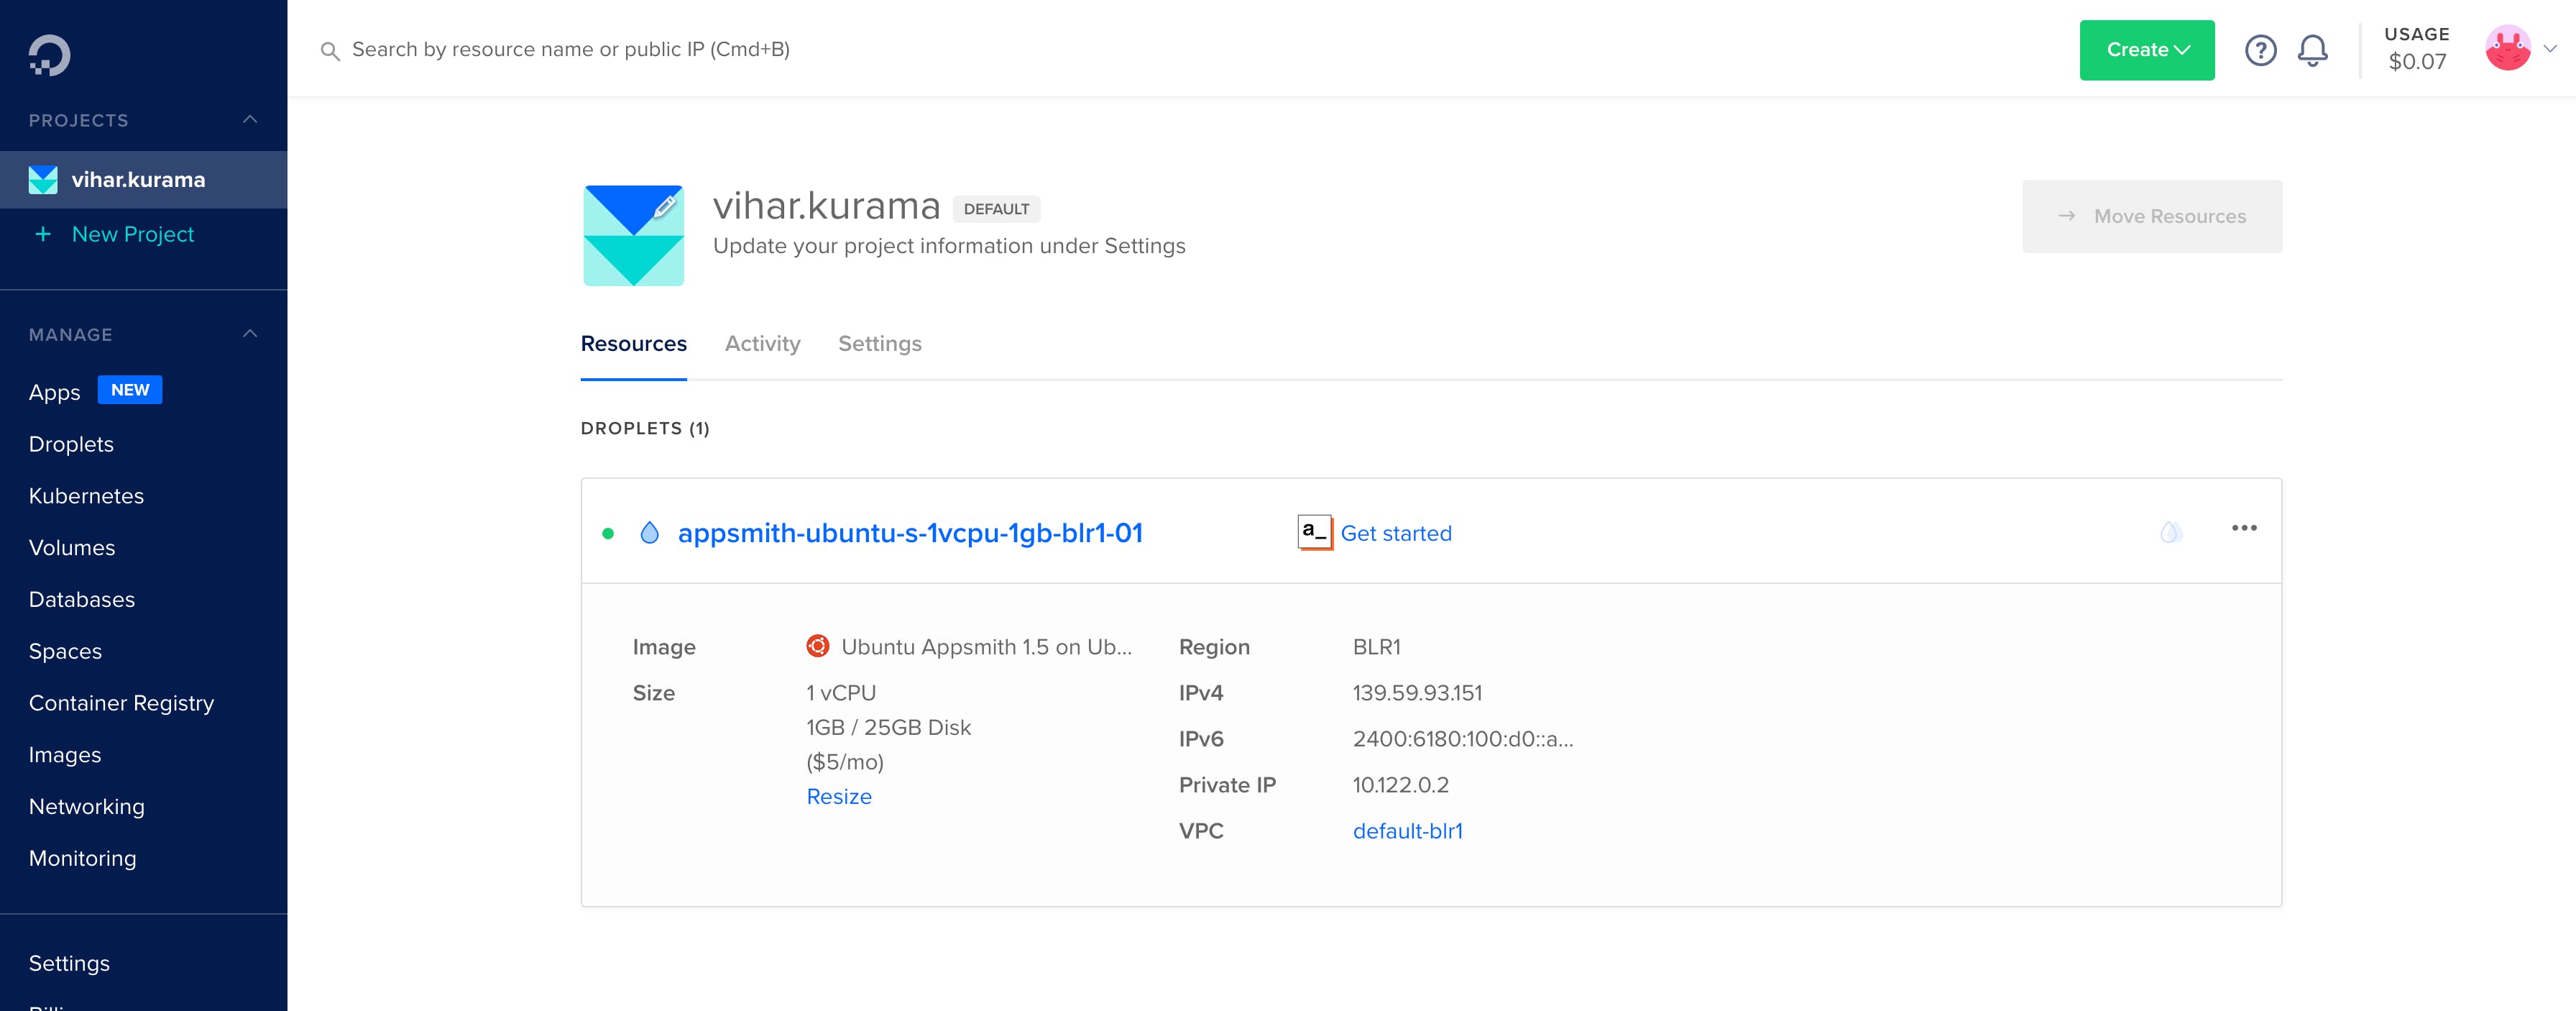
Great! It will take a few minutes (approximately 3-4 minutes) to install Appsmith on the DigitalOcean droplet. After this, you’ll find the deployed droplet on your dashboard with all the details of the selected configuration.
Now, to use Appsmith, you’ll need to copy the IPv4 address from the settings and open it in a new tab. This will take you to Appsmith’s login page. You’ll have to sign up for a new account on Appsmith since it’s the first time you’ll be using it.
Follow the steps shown in this GIF:

Hosting Appsmith DigitalOcean Droplet on Your Domain To host the Appsmith DigitalOcean droplet on a custom domain, you’ll need to select the Add a domain option from the dashboard.
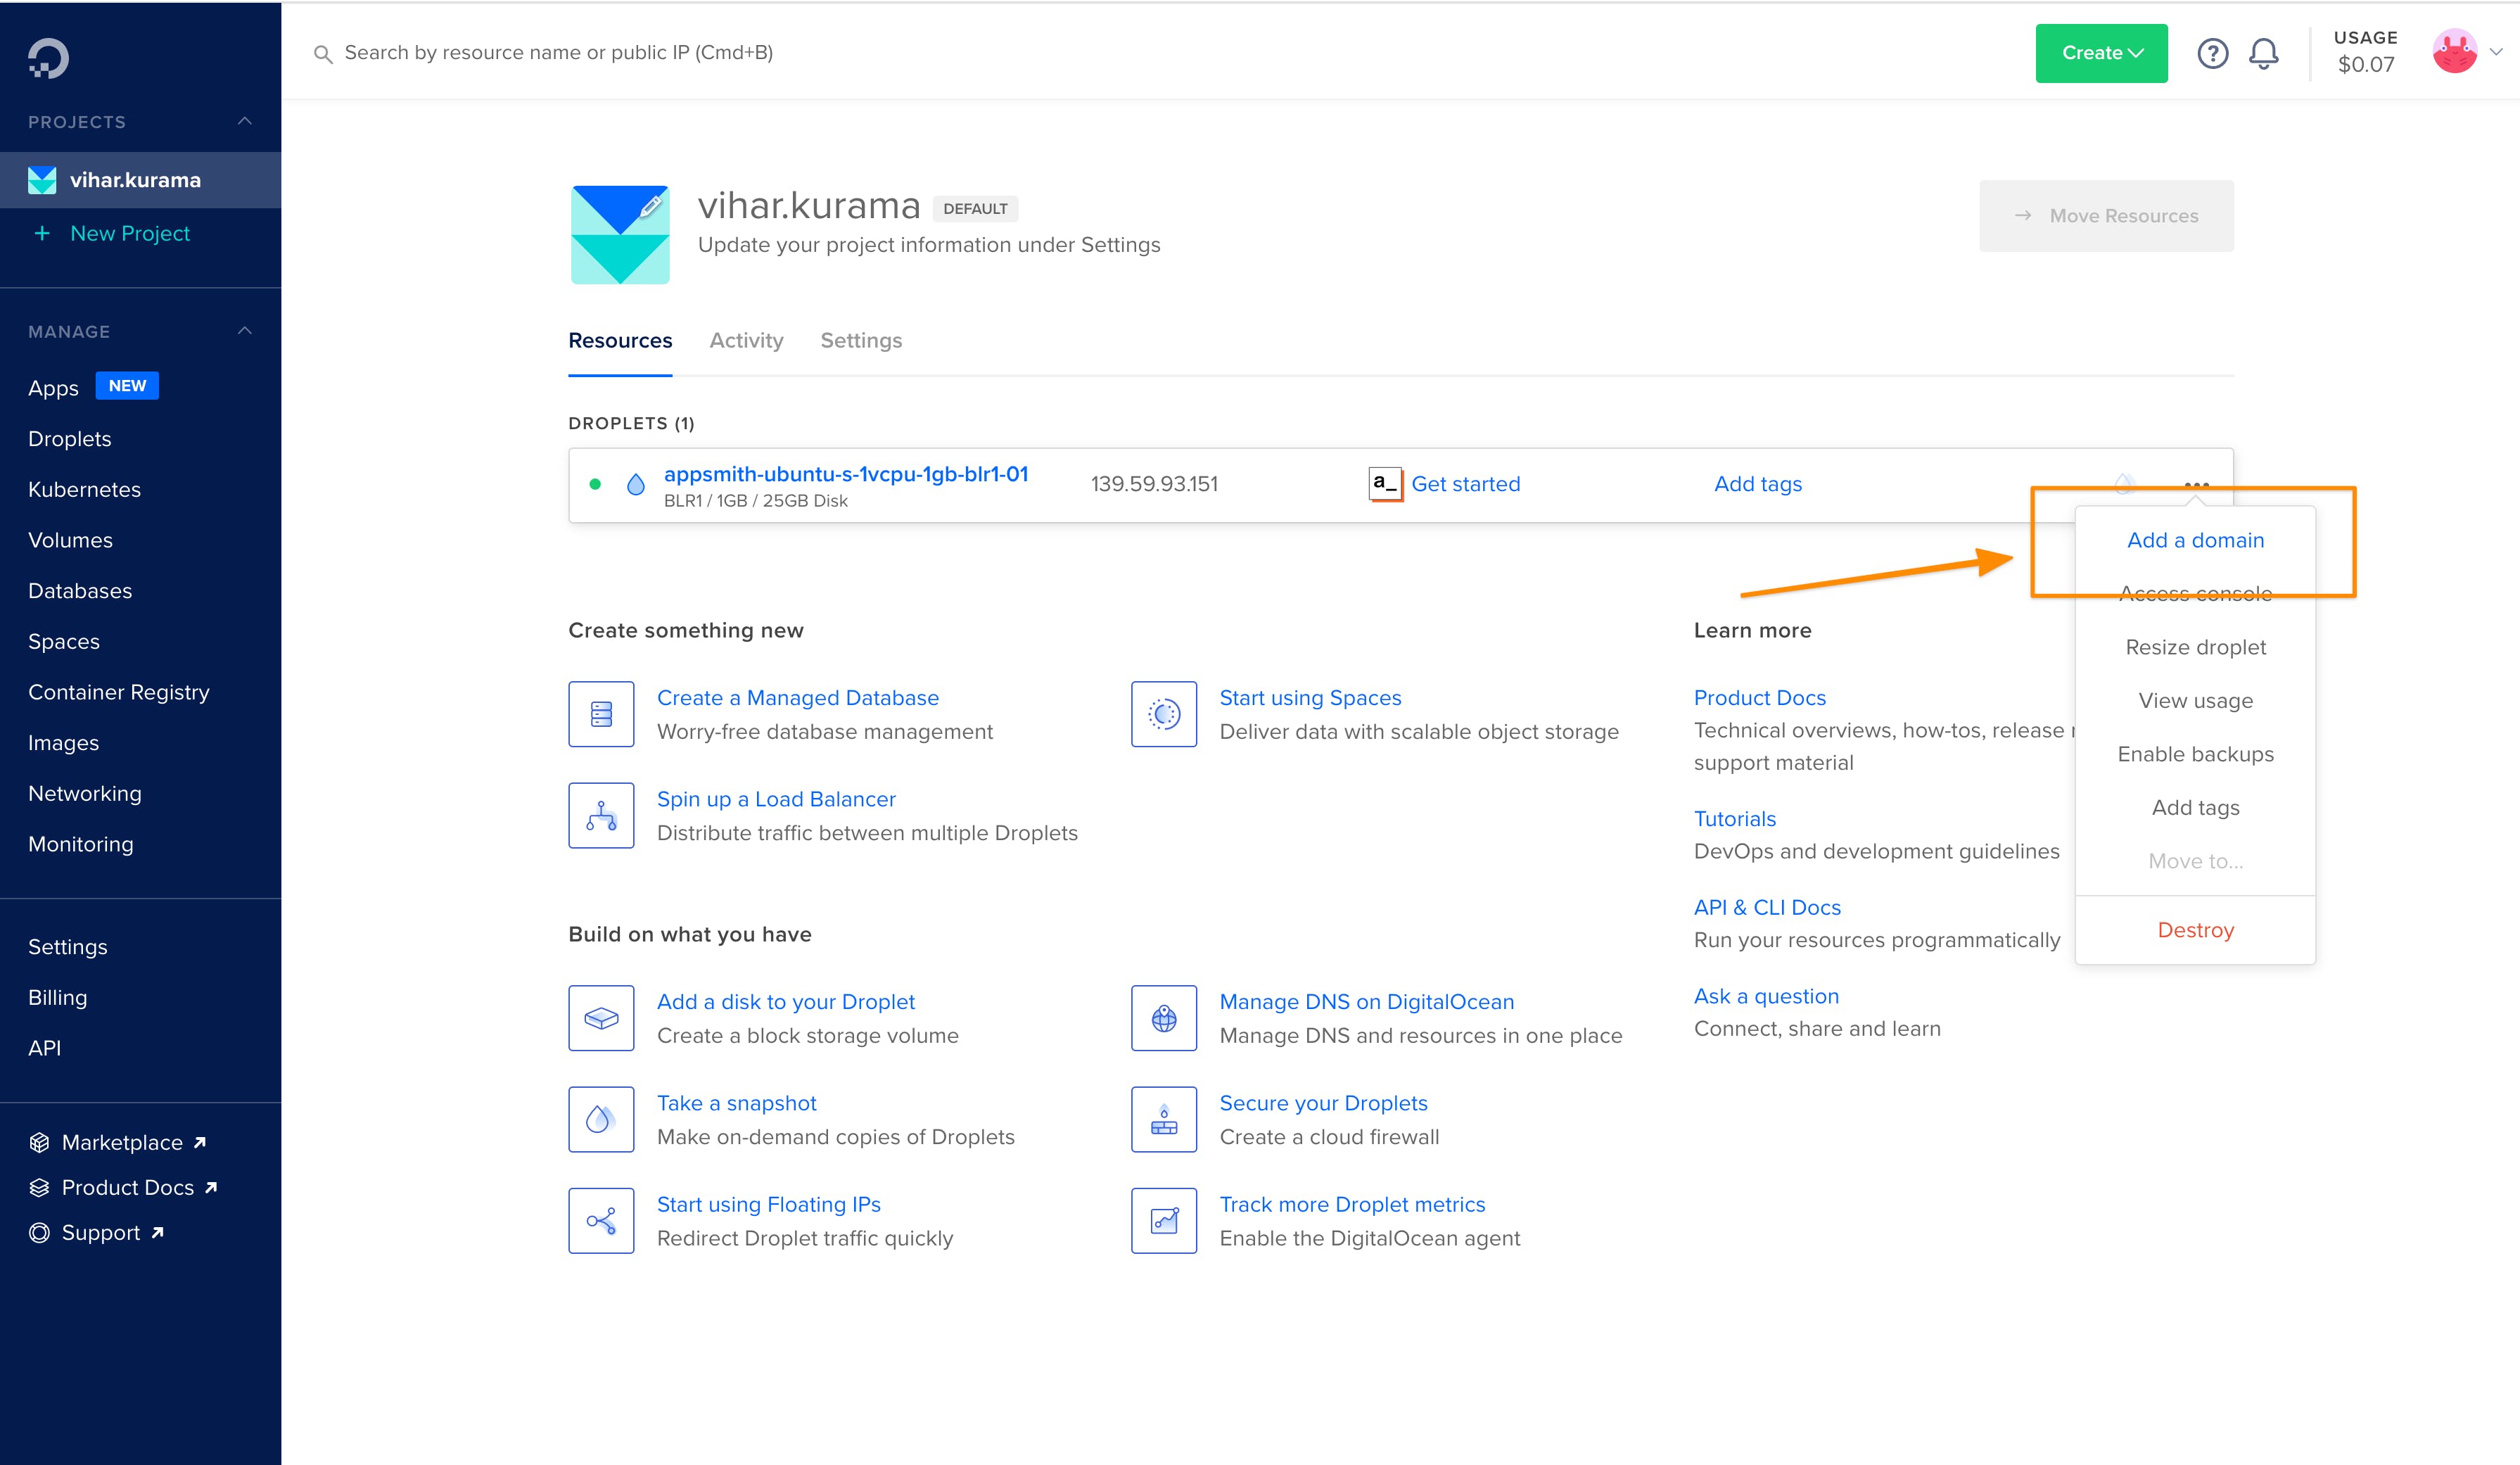
This will redirect you to a new page, where you’ll need to add your domain name. Once that’s done, it’ll give you records of the name servers. Copy the NS (name servers) details and use the custom name server’s configuration on your domain provider. Sometimes, it might take up to 24-48 hours for this to go live! Be patient 🙃 Wrapping Up! In this tutorial, we discussed how to deploy Appsmith on DigitalOcean. However, this is not the only way to use Appsmith; you can always self-host it on different cloud platforms. You can learn more about setting up Appsmith in different environments using these setup guides. Additionally, you can always migrate your applications from one environment to another using the import-export feature. To learn more about this, read the blog post here.
We hope you found this guide helpful! Your contributions and feedback help us make Appsmith better, and we really appreciate it.
Join the community! Come chat with us on Discord, or jump in on Github directly!


