Use Color and Gradient Styles in the Table Widget to Improve App UI

Statistical data and database information is often represented using table models. These models might represent large amounts of data sets; hence there is a need for customization between table sets to help distinguish them. Finding a suitable application to help develop tables that meet these requirements is often an uphill task. Appsmith is an open-source framework that enables developers to build internal tools for applications and add functionality quickly. With Appsmith, we can also create tables, link them up to an API or database and perform CRUD operations.
In this blog, we will learn how to style tables in Appsmith. We will also learn how to customize different aspects of our table to change the appearance and how the table data is displayed. We will apply different styles to other tables to help distinguish them.
Why Do We Need To Style Tables?
In situations where we are building numerous tables on Appsmith, we will need to add labels to each table to differentiate between them. Alternatively, we can also apply different styles to each table ranging from color gradients, cell colors, borders, and box shadows. Styling helps to improve the overall appearance of tables. When styles are used to identify specifically stored data, it makes it easier for viewers to pinpoint what they need to see in a table. For example, a table may have a specific cell color for table columns reflecting profit or loss in an account, making it easier to understand.
How Styling Works in Appsmith
Appsmith tables provide an ordered form of representing data from a data source in rows and columns. This table can also be used to view large amounts of data, and the data can be arranged in the form of server-side pagination in which the amount of data displayed is limited per page.
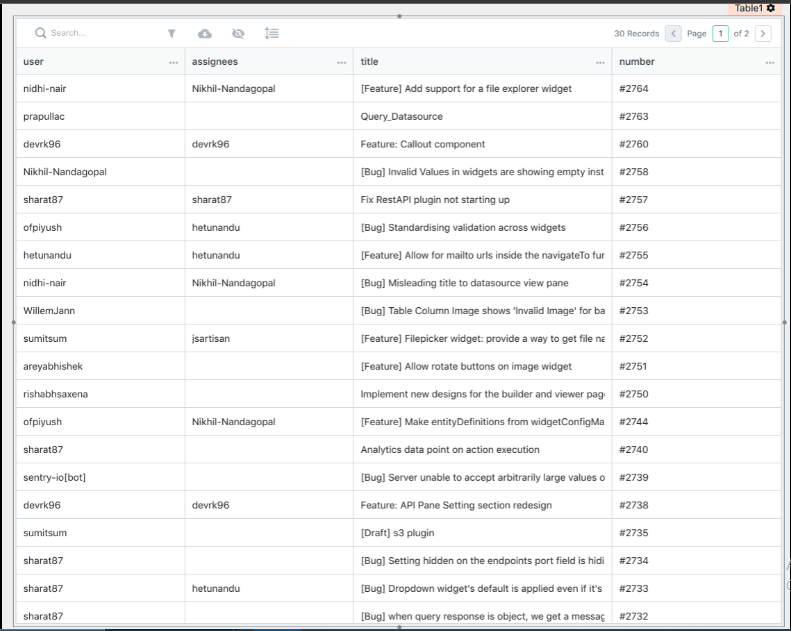
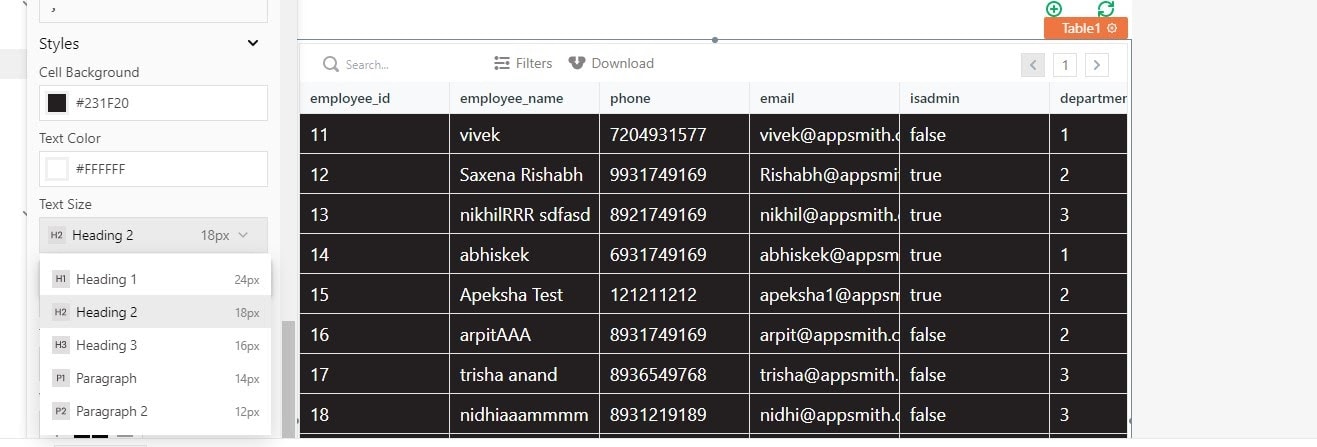
Here are a few examples of some tables built with Appsmith:

Appsmith provides us with a property pane. The Appsmith property pane contains all the properties where users can connect to data and customize it with different properties. Numerous styles which can be applied to produce various results with the widgets can also be found in the property pane. Select the widget you wish to style and click on the cog-wheel icon at the top right to get to this style pane. The Style section is located at the bottom of the menu that pops up.
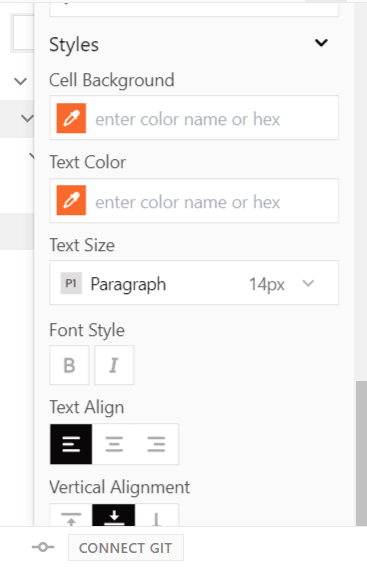
This panel may vary based on which widget is selected. The image above is the Style panel of the Table widget. Starting from the top, we have the following options:
- Cell Background,
- Text Color,
- Font Style,
- Text Align and
- Vertical Alignment.
We will go over these options in the course of this tutorial and discuss the effects of each of them.
In these style options, there is a JavaScript toggle button. Clicking on the JS toggle button changes the mode of input for the options and lets us enter strings of characters or JavaScript for the property we wish to apply. For instance, we can set visibility to none by toggling the JS toggle for the visible property and entering “false” in the field or entering {{false}}. The latter is Javascript enclosed in mustache syntax. We will talk more about what mustache syntax is and its usage later in this tutorial.
Styling Tables: A Manual
Below, I have a table widget with some data in it. If you select your table, you will get a popup with a gear icon you can use to edit your table.
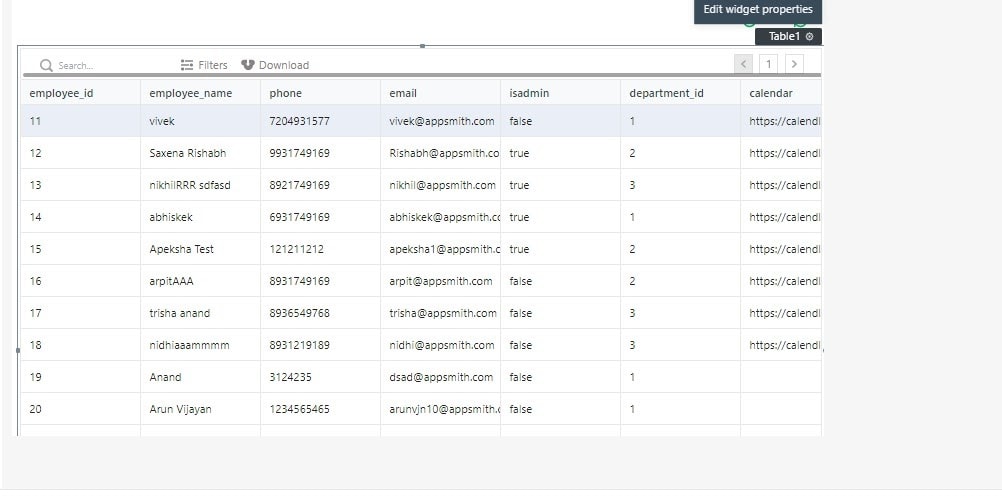
Clicking on the gear icons opens up a property pane to edit the table. If you scroll down the menu, you will see a section to add styles to the table.

Cell Background and Text Color
In this section, we will learn about the different styles provided by Appsmith and how they can be applied to produce different results with tables. The first two options in the Styles section allow us to change the color of our table’s background and our text color.
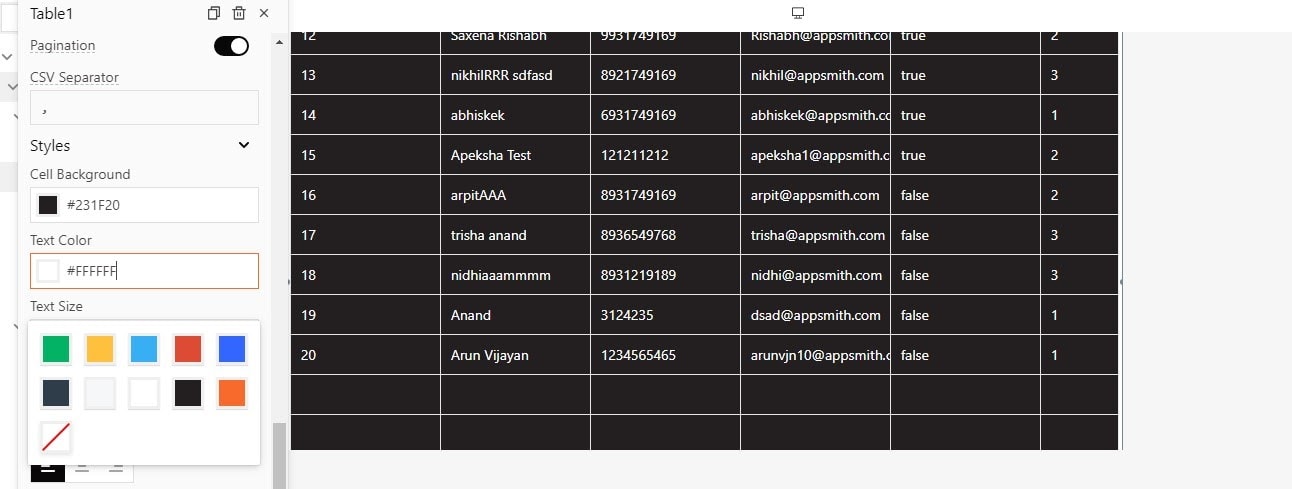
Above, I have selected a black color for my cell’s background, and I’ve also set my text color to white. Alternatively, you can use a different color other than the ones provided here by entering the Hex code for the color in the property field. An example is a purple color with the Hex code: #ed18cd. If you are looking for a site where you can pick colors from a palette and get the Hex code, you can check out Coolors or get the extension for your browser.
Changing Font Size
The next option gives us the ability to change the font size of the text in our table. There are different options to choose from, with “Heading 1” being the largest font size and “Paragraph 2” being the smallest font size.
Here, I have increased the font size for my table by setting my “Text size” property to Heading 1.
Font Style, Text Align and Vertical Alignment
We can customize the font style and justify our text horizontally and vertically with the remaining three options.

Note that it is possible to add both “bold” and “italics” font styles simultaneously. The text-align property provides you with options to position your text either at the left, center, or right of your cell. In other words, it lets us set our text on the horizontal axis.
Vertical Alignment is used to make adjustments to the vertical position of our text in the table. The first option positions text at the top of their cell, the second positions the text at the center, and the last positions the text at the bottom of the cell.
Also, rather than applying these styles to the entire table, it is possible to target only a particular cell to apply these styles.
Adding Styles Based on Fulfillment of a Condition
Appsmith has a feature to create styles for certain table elements that meet a particular criterion. We can define this criterion using JavaScript and state what styles should be applied. To do this, open the property pane on the column you wish to apply this condition.
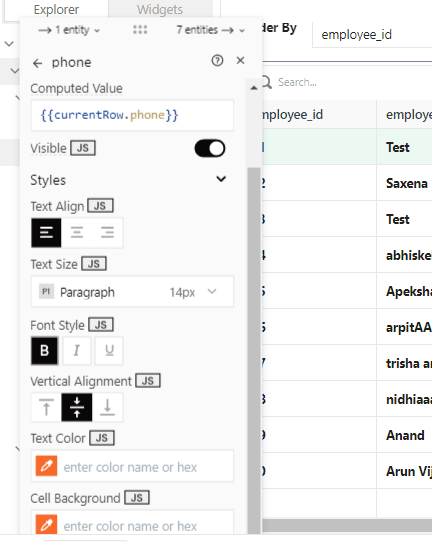
Above, I have selected the phone column. We will add a condition to set the text color for this column. We will check if the value of each row in the phone column is even or odd and assign it a particular color. We can add JavaScript to the property pane elements using mustache. This is primarily JavaScript code enclosed with two curly-braces {{ }}. We can add JavaScript data or even functions to our table with this syntax.
{{currentRow.phone %2 == 0? "red" : "blue"}}
Some examples of writing JavaScript functions can be found in Appsmith Documentation.
The command mentioned earlier checks if the row is even; if it is, it will be red; otherwise, it will be blue. We can add this to the Text Color option in your column. Enable the JS toggle to write Javascript in the field and add the snippet above.
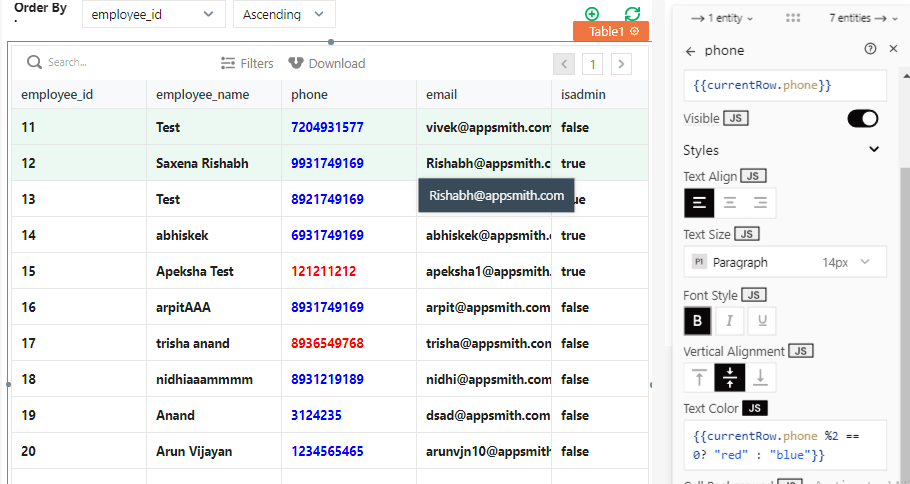
Here, the fields divisible by two in the phone columns have a text color of red, and the others have a text color of blue. This way, you can apply different styles to your table if specific criteria are met.
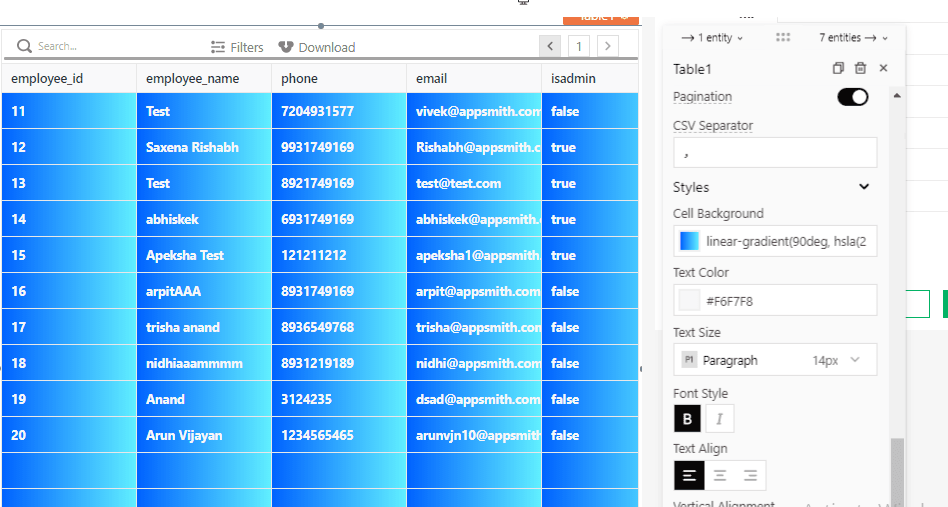
Adding Gradient as Cell Background Color
Appsmith allows us to add gradients as background color as we would normally add in a CSS Stylesheet.
Here is an example of a CSS gradient:
linear-gradient(90deg, hsla(217, 100%, 50%, 1) 0%, hsla(186, 100%, 69%, 1) 100%)
We can add this in our background property. The resulting color change will take place in the table widget.
I hope you found this article helpful and now have a better understanding of the Table Widget on Appsmith.
If you have any questions, please don’t hesitate to write to me at umavictor11@gmail.com. I will be happy to help you understand it better.
Uma is a software developer based in Nigeria who is familiar with various web technologies and frameworks. He is also keen on finding ways to explain things in simple ways. This article was written as part of the Appsmith Writers Program.


