How To Display and Manage Documents on Appsmith
Today, modern websites that use document-based data have provisions to view, manage and download these documents. Such documents can range from simple files showing budgets, tutorials, or even notes. With these features, application users can upload and manage files. While such features are nice to have, building an ideal solution to handle them are not feasible and can be time-consuming. Often developers find it hard to code PDF-viewers on their web apps because of dependency issues (libraries and frameworks), and when working with frontend frameworks — React, Vue.JS, etc. — configuration can get complicated.
When building apps on Appsmith, the in-built document widget takes care of some important functionalities related to managing documents. This widget supports multiple file extensions, such as .txt, .pdf, .docx and .xlsx among others. Documents can also be populated via APIs and URLs.
In this tutorial, we will learn what the document viewer widget is, and its applications. At the end, you will be able to fetch and display documents in Appsmith, and also learn to configure different properties that come with the widget.
Set-up the Document Viewer Widget
The document viewer widget on Appsmith can be used to display a wide range of documents. This document widget has support for numerous file extensions of documents. Documents to be displayed can be of type: .pdf, .docx, .xlsx, .pptx, .ppt and .txt.
To get started using this widget:
You will first need to have an Appsmith account. You can log in if you have a pre-existing Appsmith account, otherwise, you can create a new Appsmith account
Once logged in, you are navigated to a dashboard. Here, create a new application. On the left sidebar, you will see a number of widgets offering different functionalities.
Find the document viewer widget and drag it into the workspace.
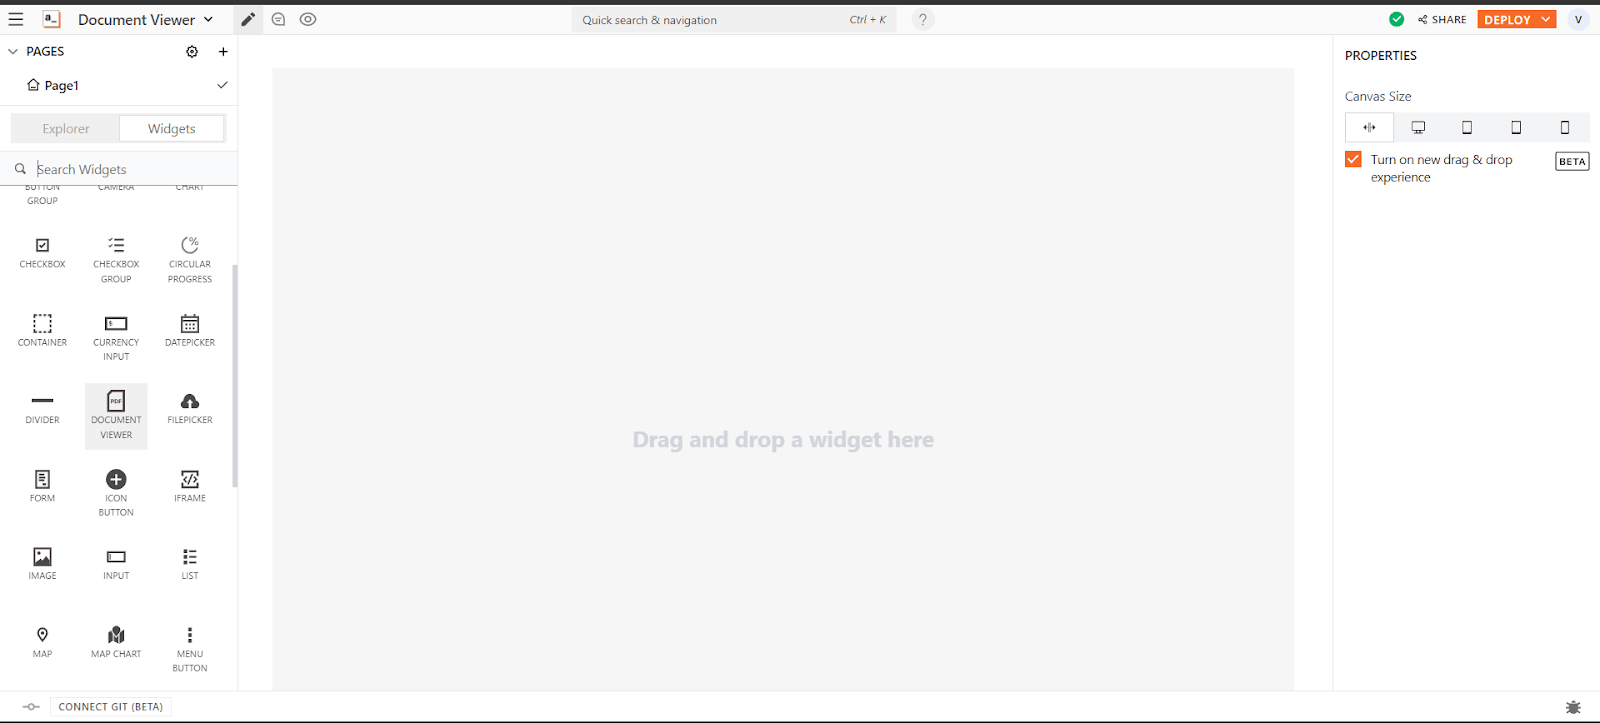
Adding the widget will give a result similar to the image below:
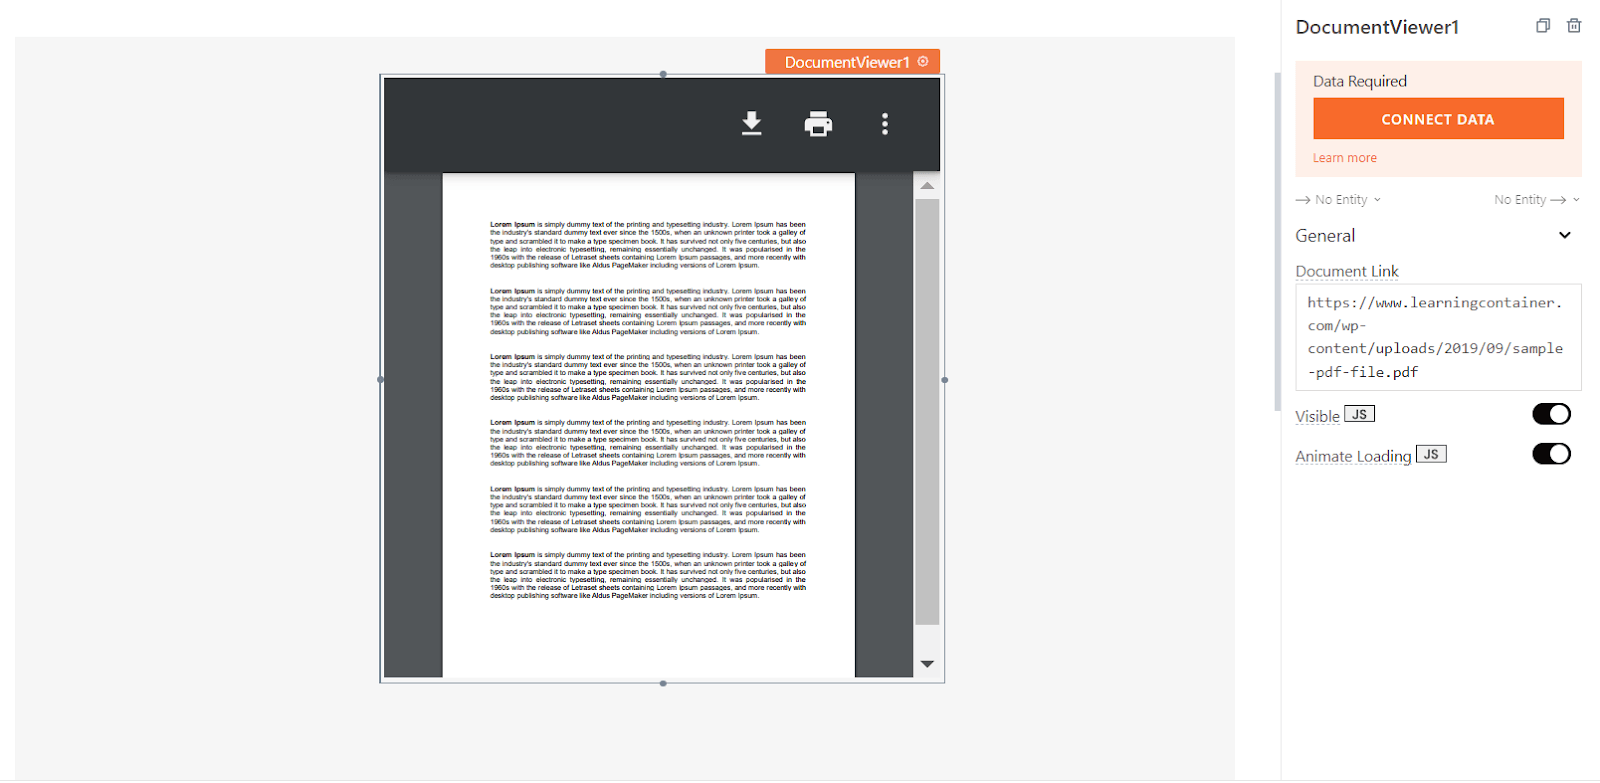
Within the widget, you will notice there is a document being displayed. This document is being generated with the link in the Document Link property of the widget.
To display documents, you can either add links/URLs or connect a data source that can be connected to display documents. The document widget provides the option to download or print the displayed document.
Alternatively, a data source can be used to provide the documents.
The data source could be a database or an API pointing to the file you want to display.
The Connect Data button will take you to a page to add a data source.
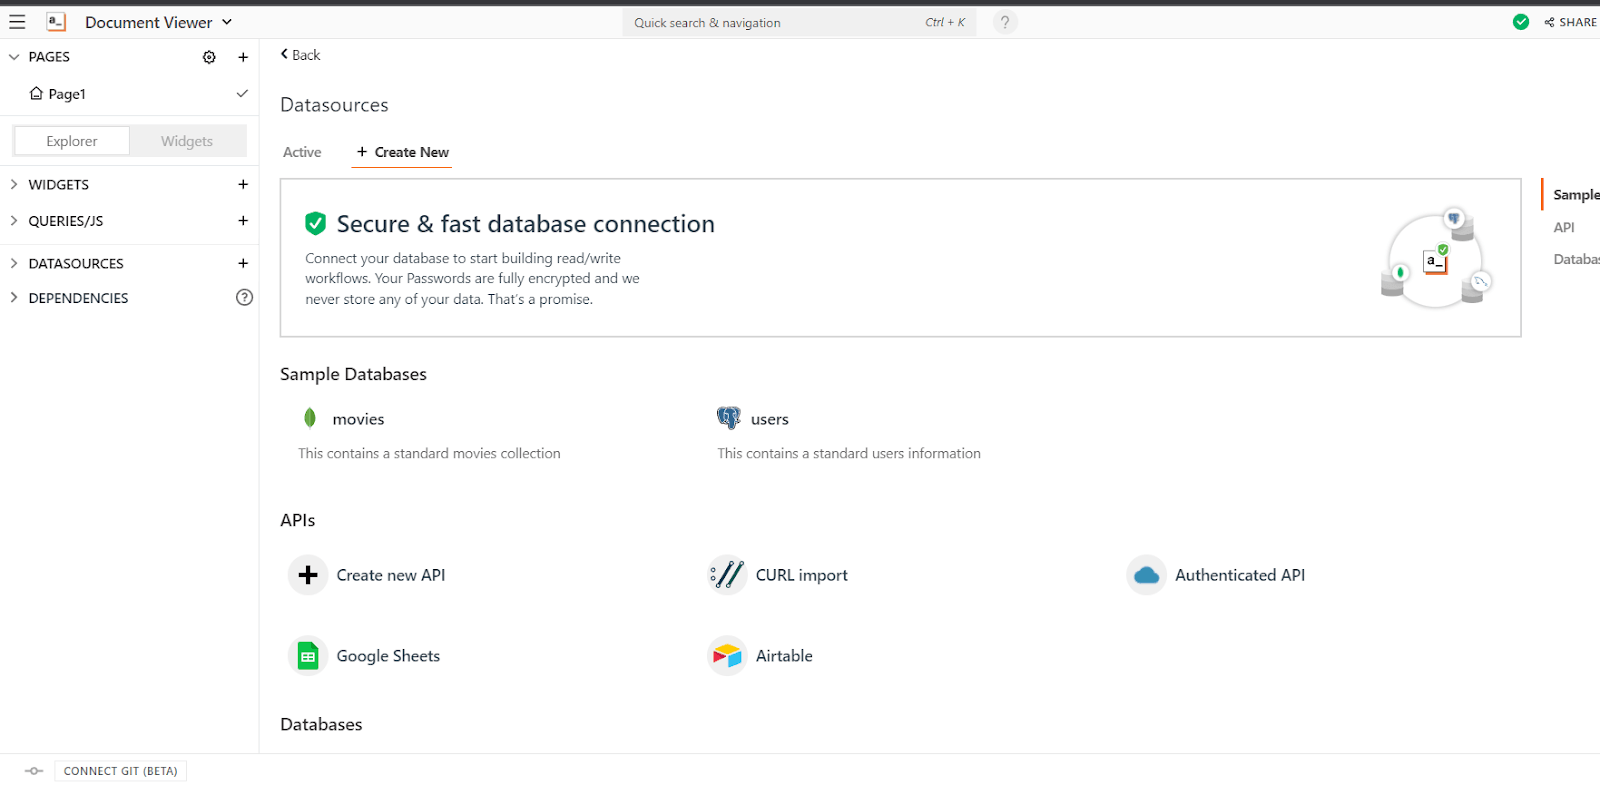
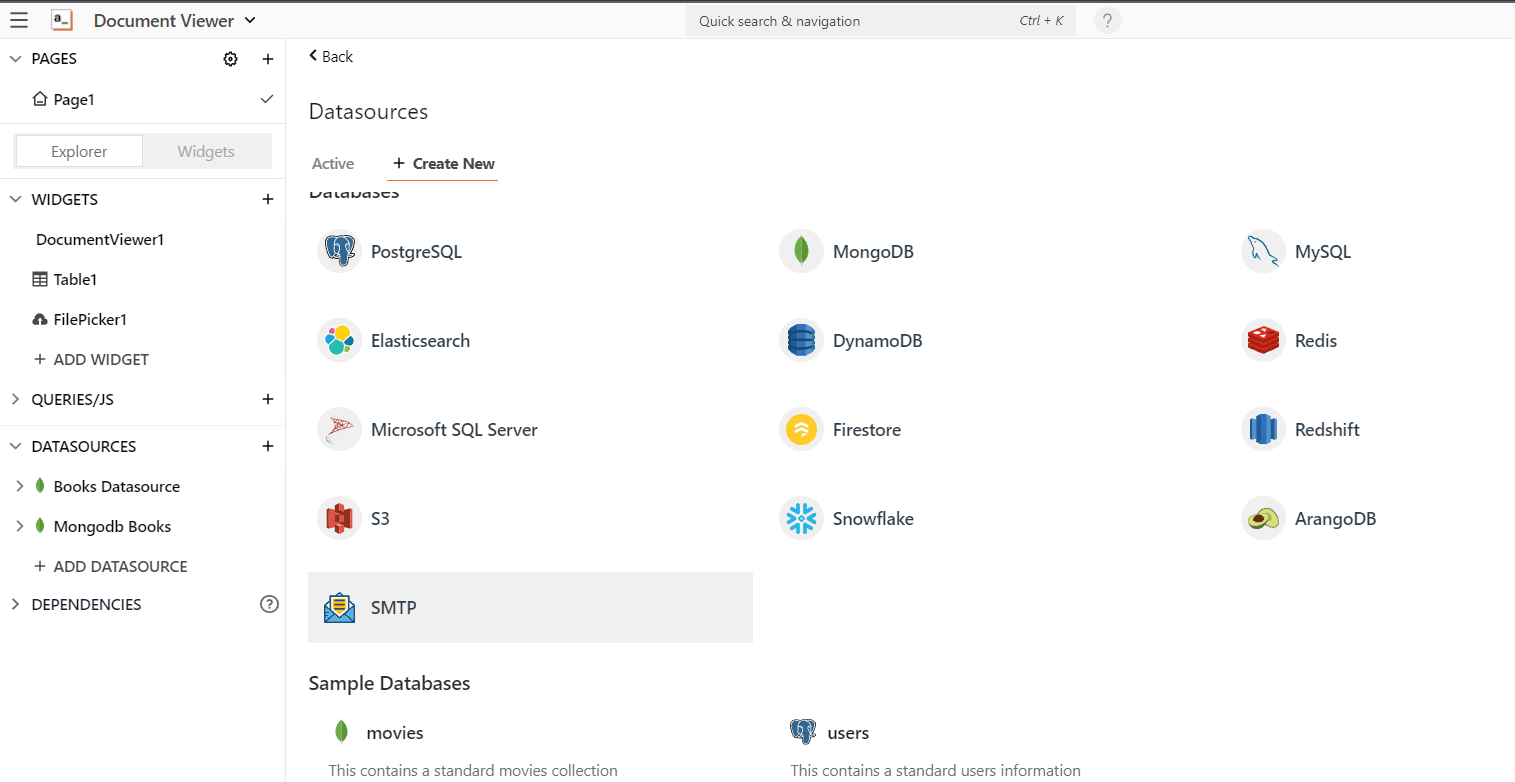
Here you will see options for APIs and different databases.
In this tutorial, we will use the MongoDB database to supply our documents.
First, you will need to create a database on MongoDB (I will show you how to do this in the next section) and then link it to our application.
Select MongoDB from the datasource link
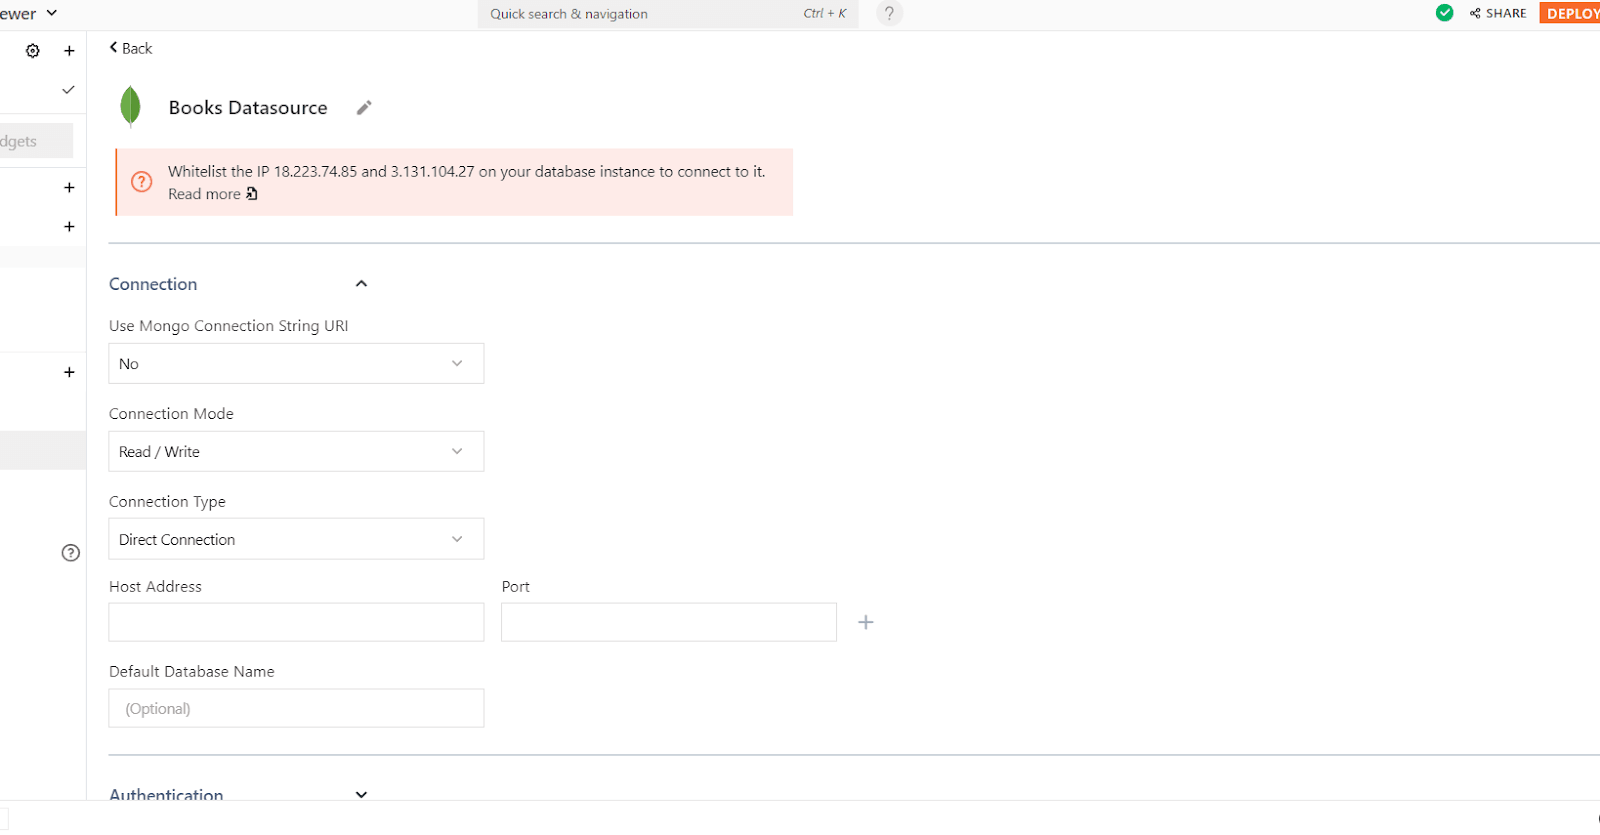
Here, I’ve renamed my data source to “Book Datasource.” Take note of the IP addresses; you will need to allowlist this when creating your MongoDB cluster to allow external access via Appsmith.
Creating a MongoDB Database
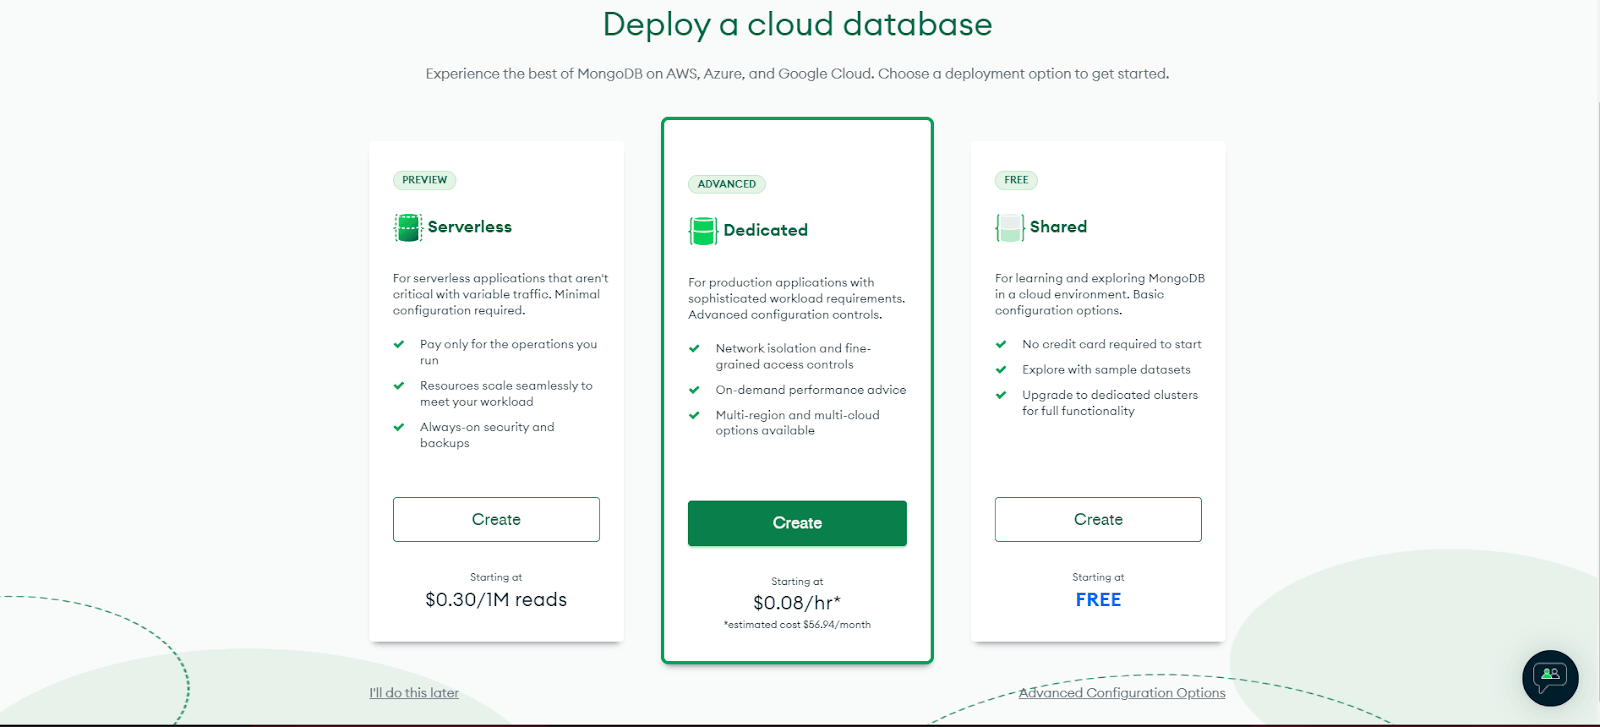
To get started with MongoDB, navigate your browser to MongoDB and click on Try free to create a user account.
After logging in, select your database plan and click on Create Cluster.
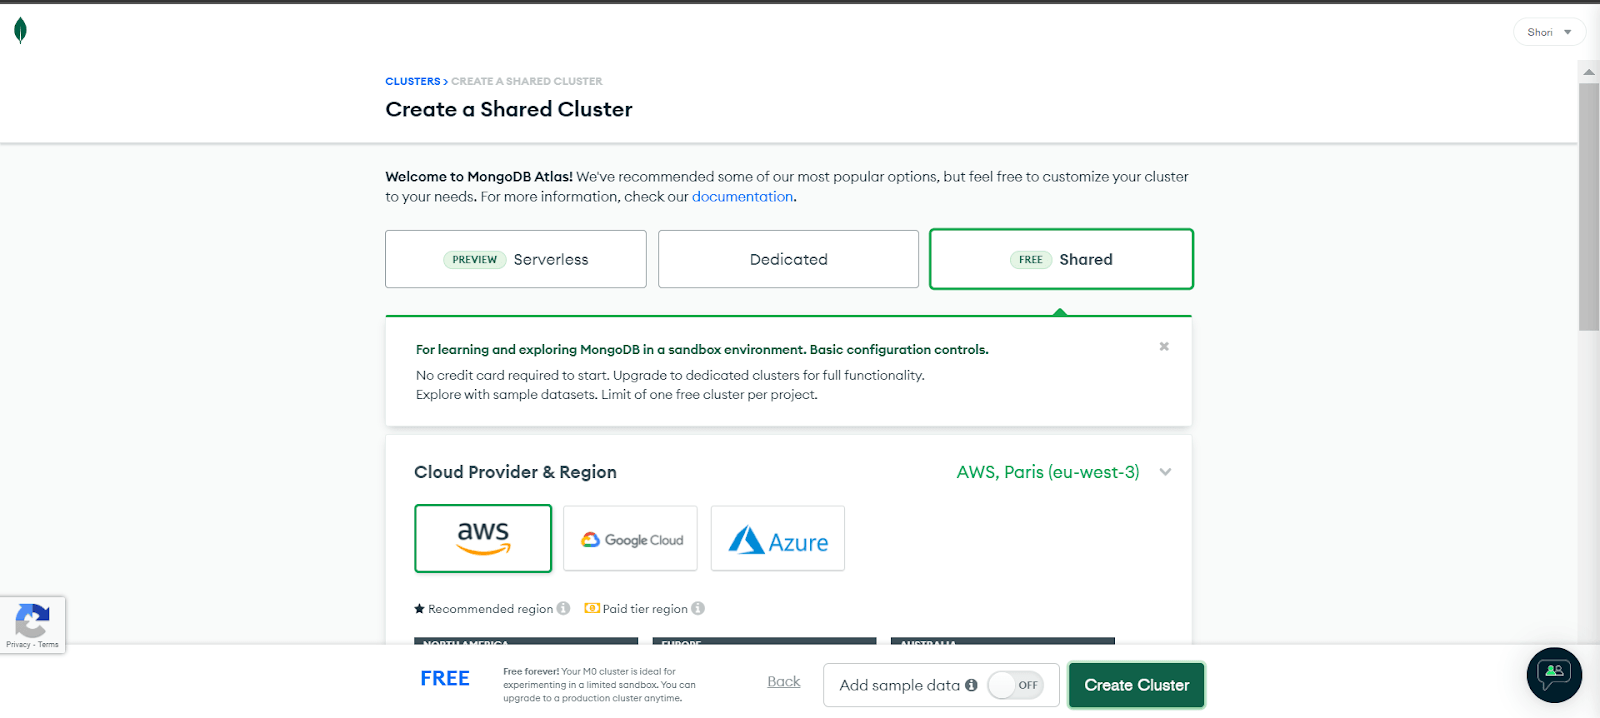
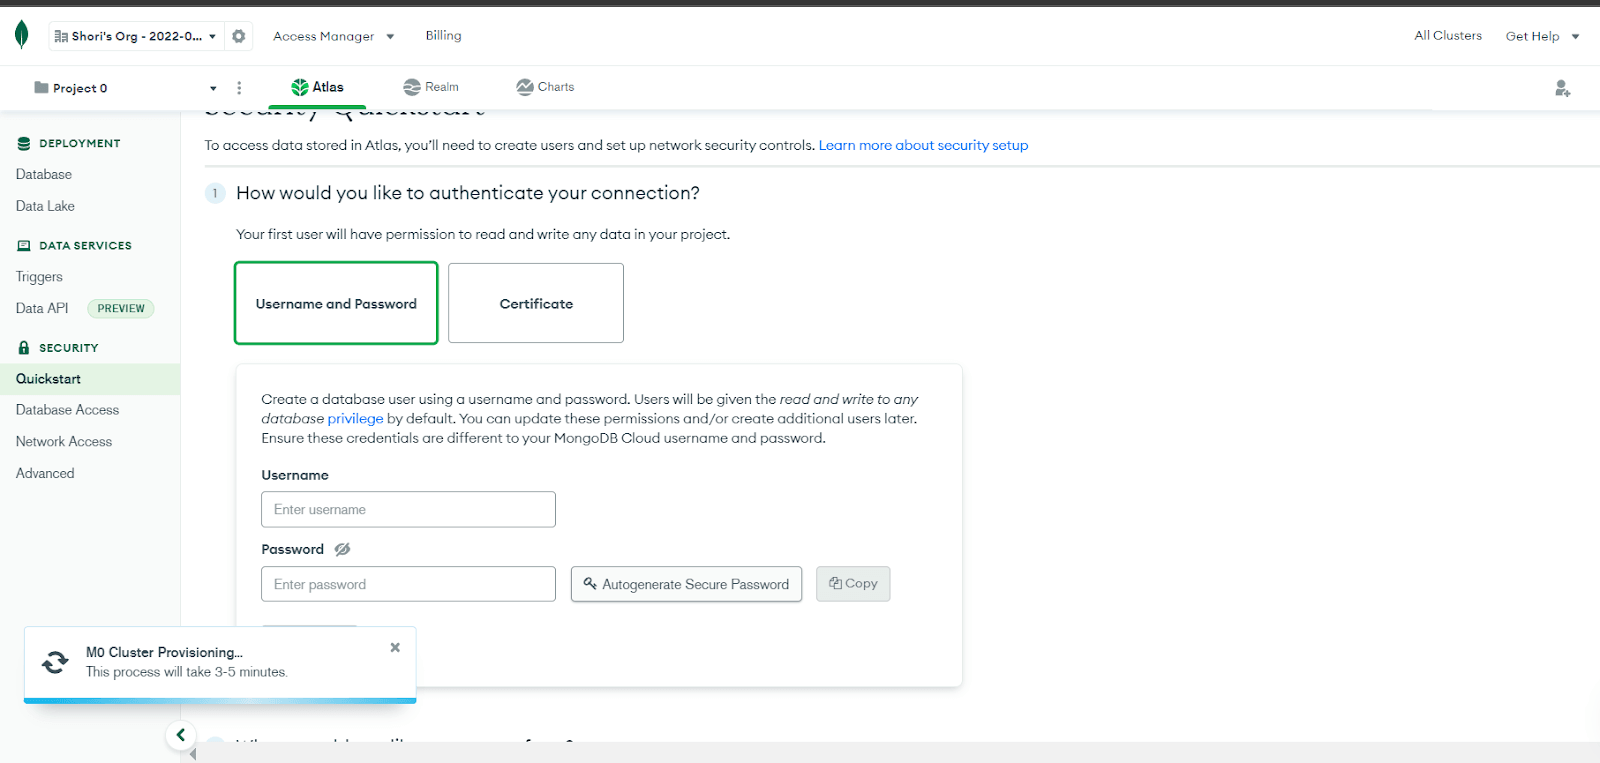
Next, set up security credentials to authorize access to the database.
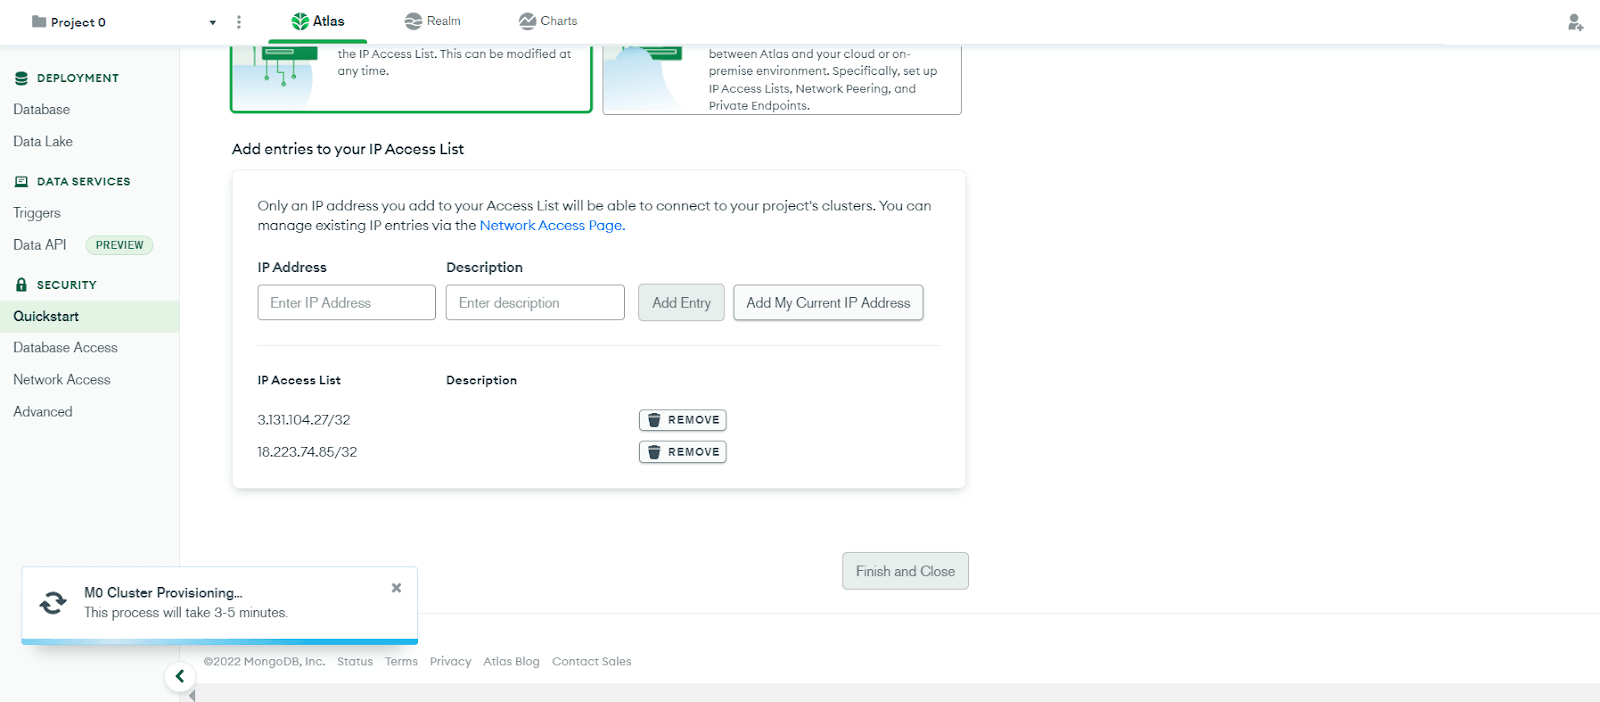
Finally, allowlist the domains from Appsmith, click on the Finish and Close button, and click 'Go to Database' on the popup dialogue that appears.
On the new page that opens up, you will have your database and a cluster created for you.
On the cluster, click on the Browse Collections button.

You will get a page to manage the data stored in your database.

Select Add My Own Data to define our own database’s content. On the new page, select Insert document to add new documents to the database.
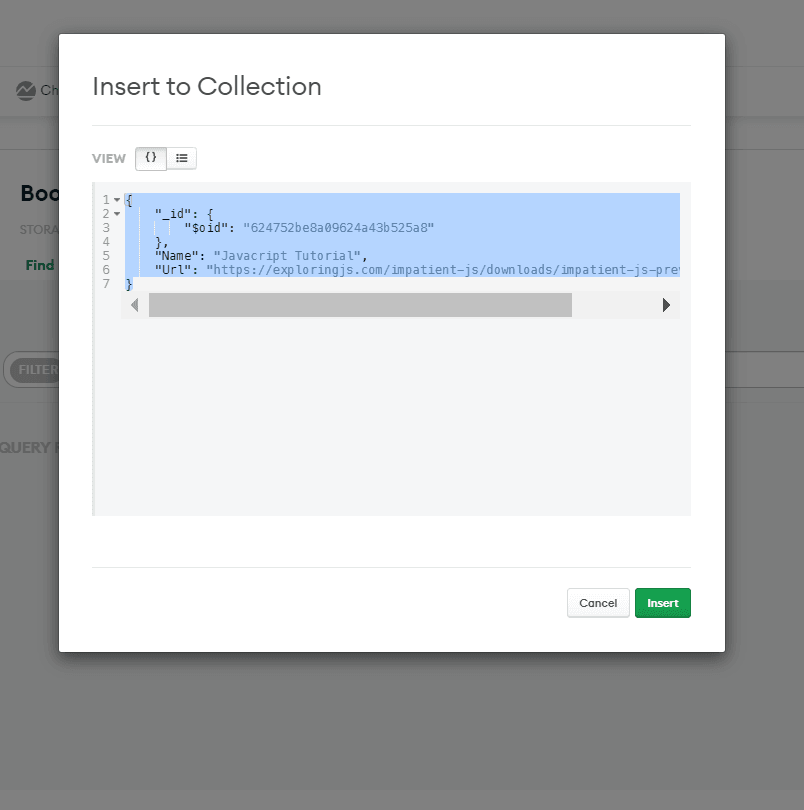
Our 'Collections' will contain two fields, namely: Name and Url, along with their corresponding values. Above I have a URL for a Javascript tutorial document. Click on the Insert button when done to add the new document.
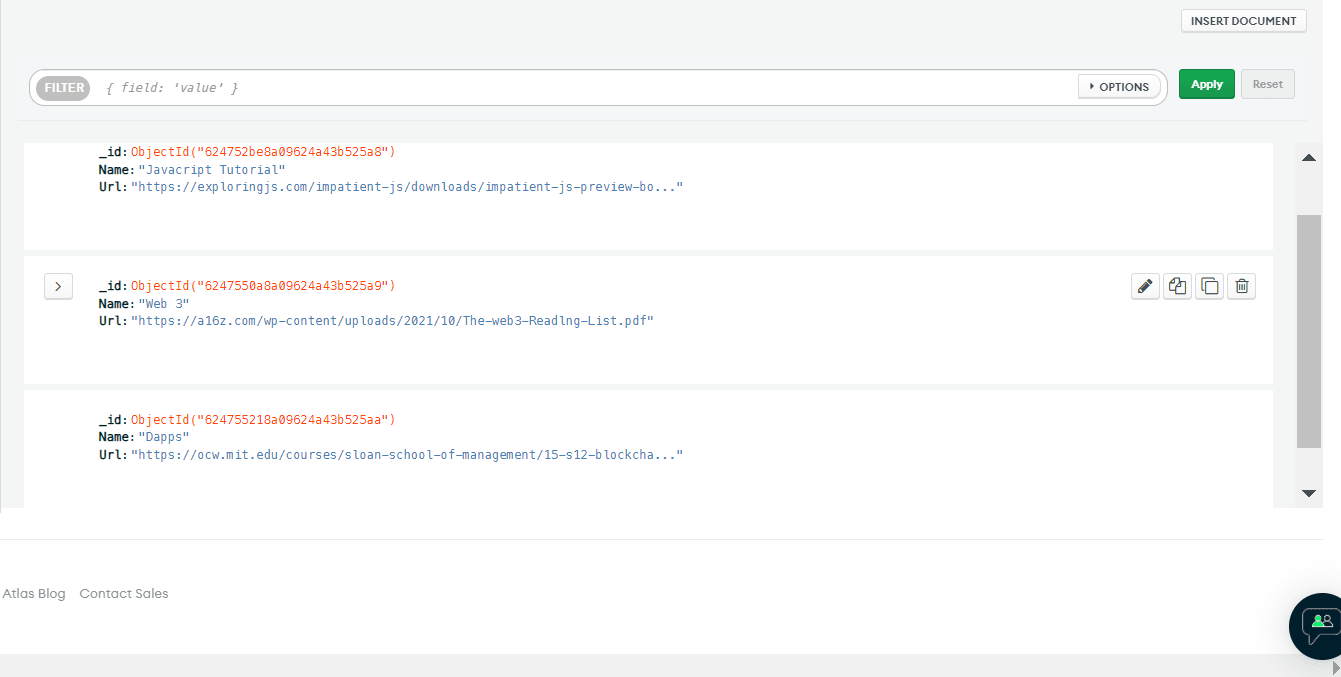
Below, I have three documents in my database collection.
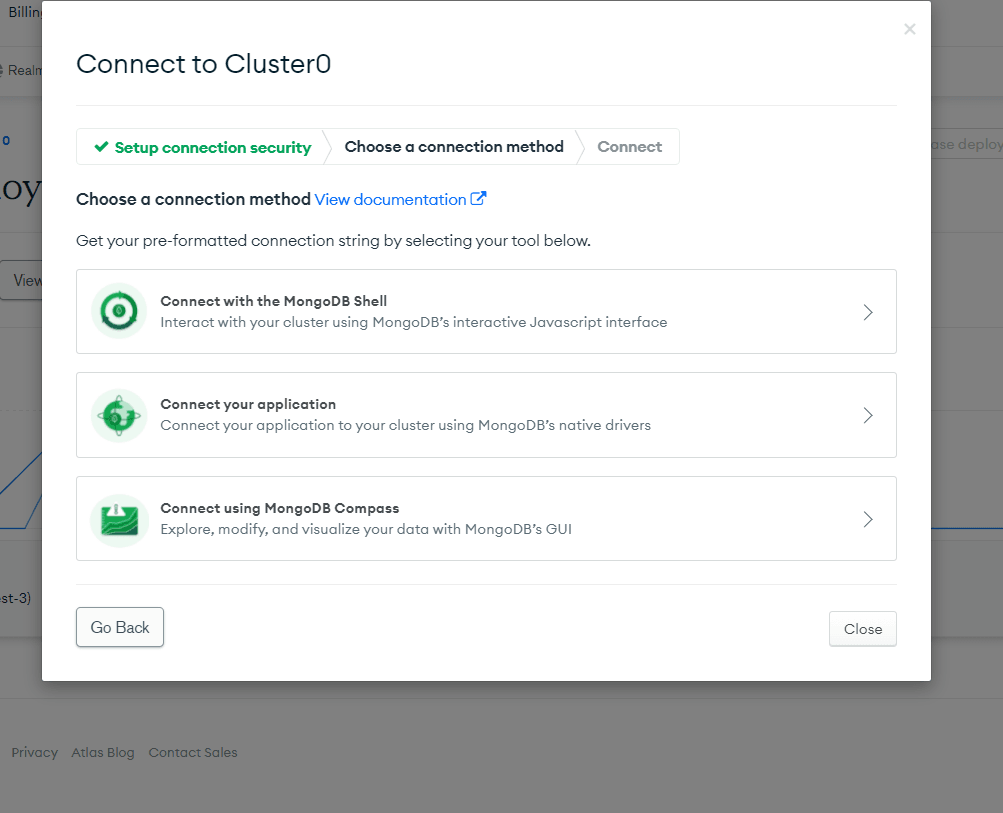
On the side pane, click on Database to navigate to the cluster. Click on the Connect button and select Connect with Mongodb Shell
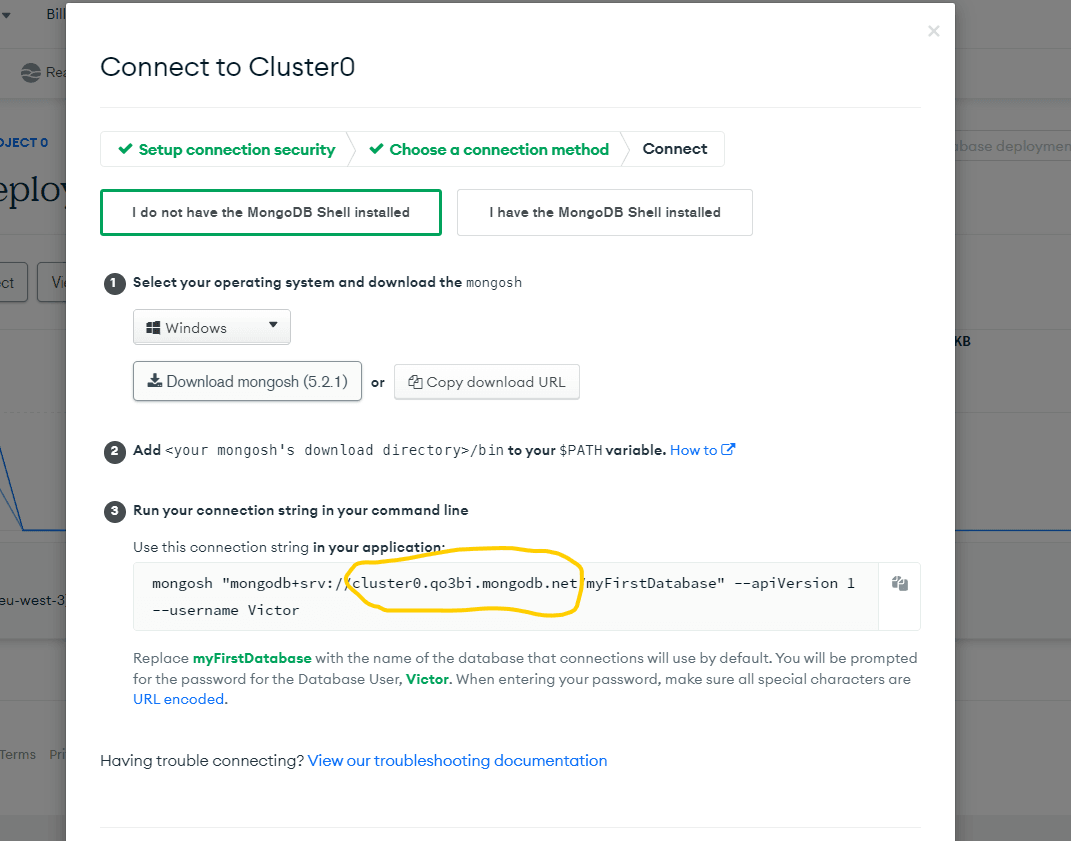
Copy the selected area in the image below
Add the Newly-Created Mongodb as Datasource
Now that we are done setting up our database, we need to add it as a datasource to Appsmith. For this, you will need to navigate back to Appsmith and fill in the required fields.
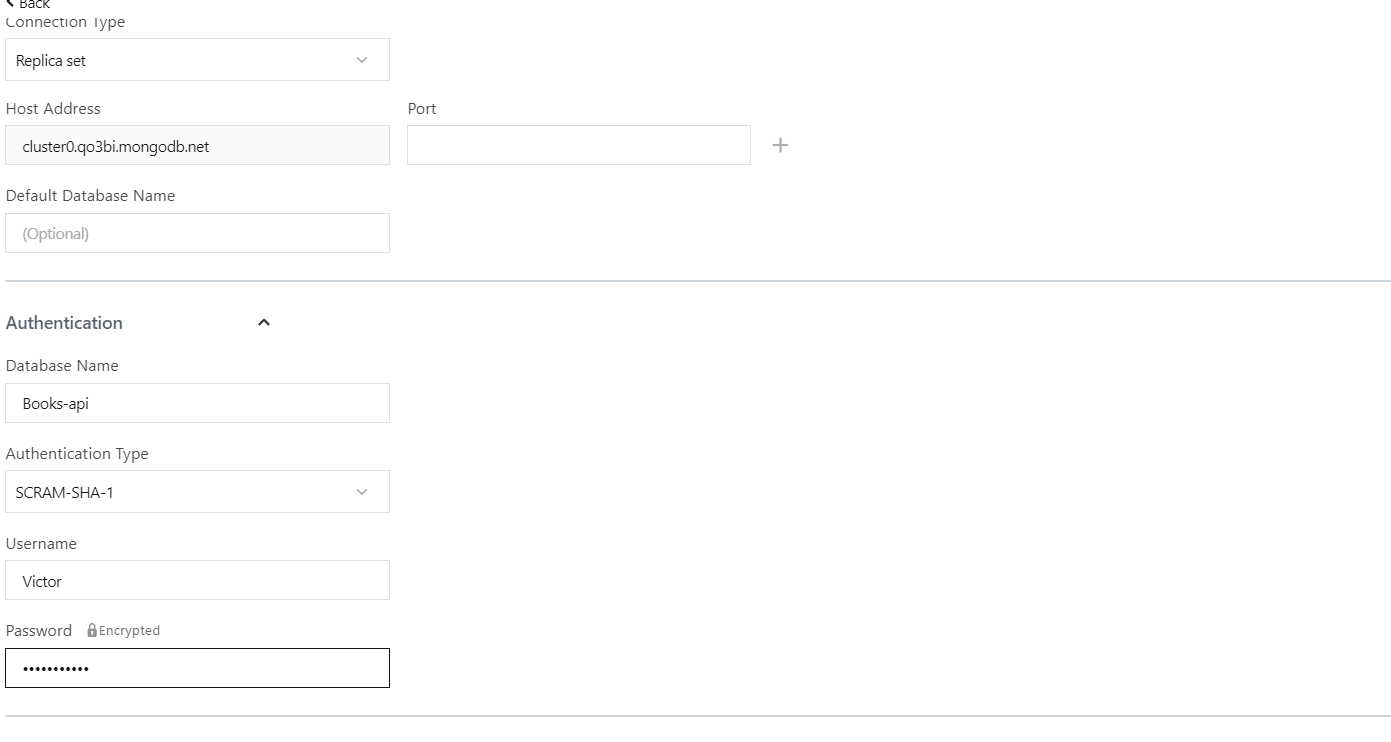
Select Replica set for the connection type, paste the copied connection string into the host address field, and enter your database name. Under authentication, enter the username and password you defined when creating the cluster.
Click on test to check the validity of the datasource, then finally, click on Save. Click on the new query to create a query for the datasource.

Enter the name of the collection in the field provided and click on the Run button. You will get a response showing the database content. Click on Add new Widget and select Table on the left window pane. This will create a table widget with the database as its data source.

You can link this new widget to your document viewer widget.
To do this, open the document viewer widget option pane. Within the Document Link field, add the following moustache syntax
{{Table1.selectedRow.Url}}.
This will set the document to be displayed in the document viewer widget, to be the URL of any row you select from the table.
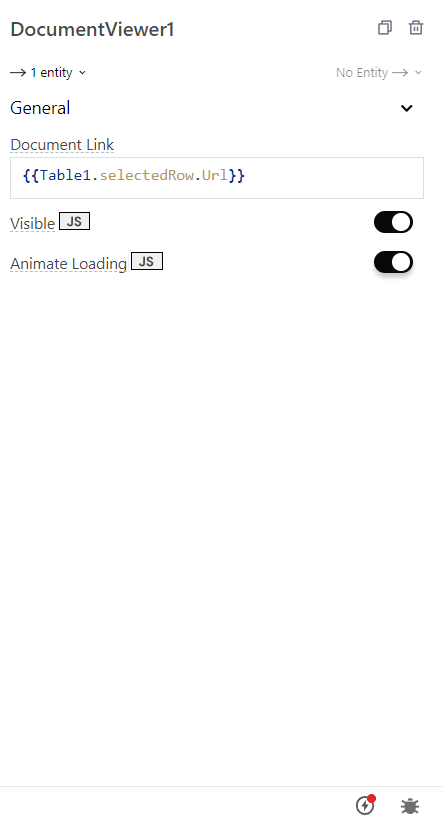
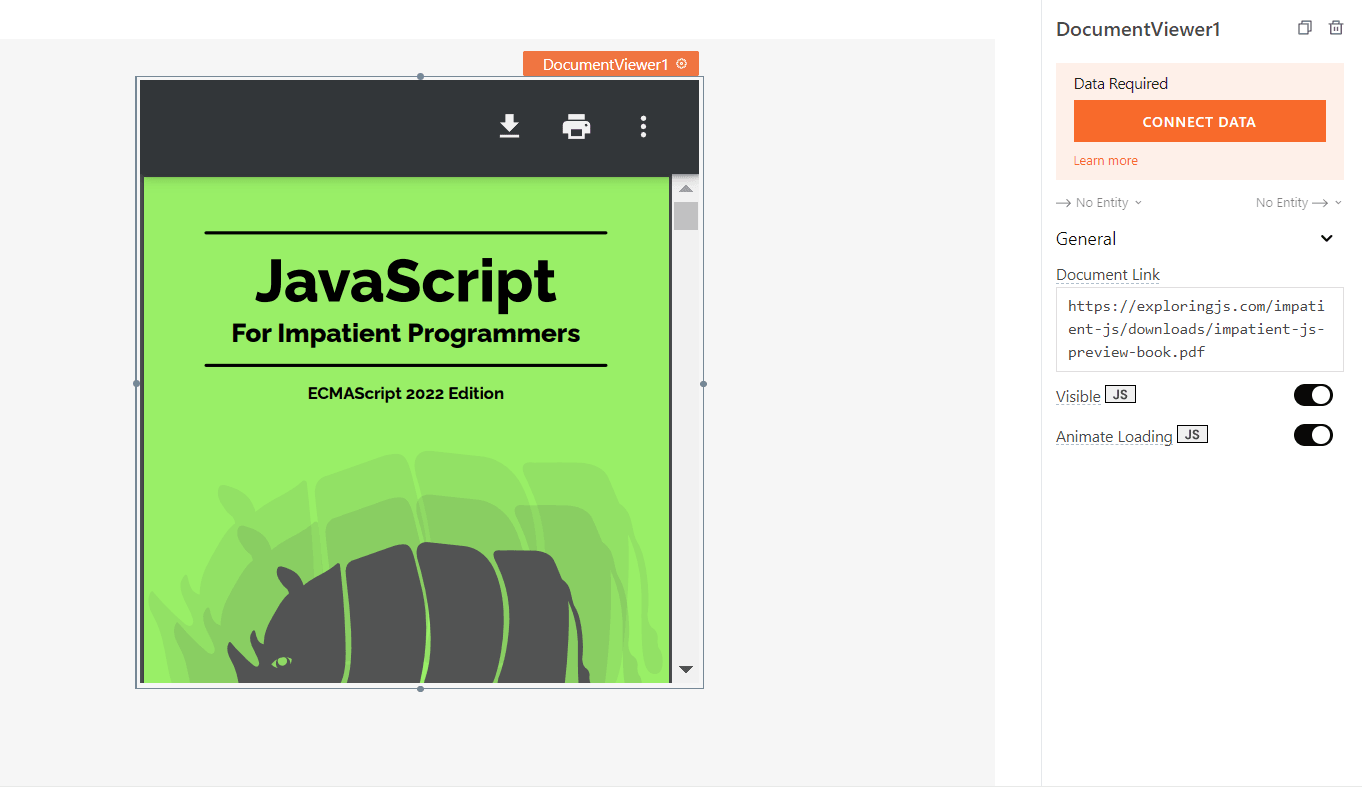
The document viewer widget has 3 properties: the Document Field, visible and Animate Loading properties. The visible field determines if the widget will be visible upon production while the latter controls the loading of the widget.
Approving and Rejecting Documents
In the Filepicker widget, criteria can be set, which the document to be uploaded has to satisfy, else it would be rejected. Select and drag the file picker widget onto the workspace to add it.
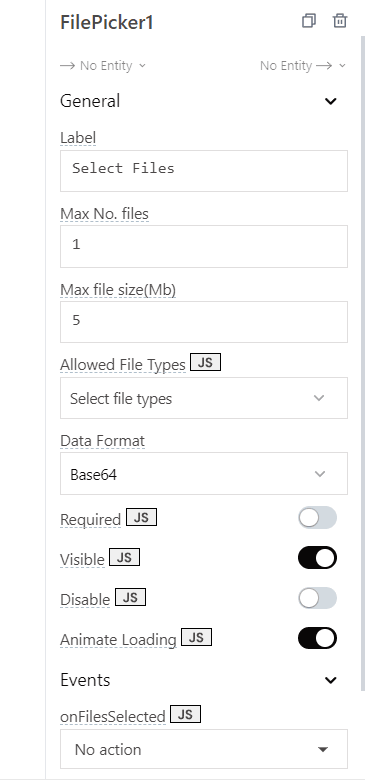
Above is the file picker option pane. The label property is the text to be displayed on the widget. With this, you can also set the number of files to be uploaded, max size of the files, and allowed file types. Documents not meeting the predefined criteria will be rejected. Documents uploaded with the file picker widget can also be linked and displayed using the document viewer widget.
Click on the widget to upload a file.
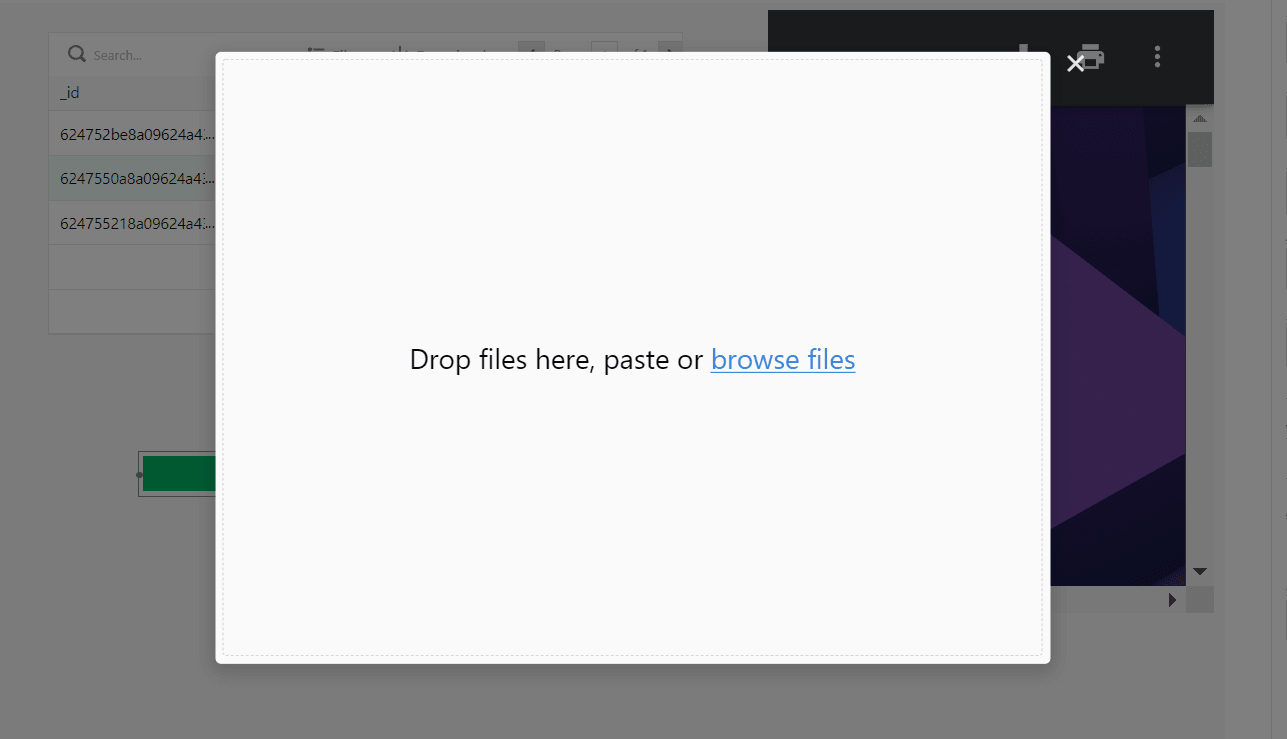
You can either drag and drop files unto the widget to upload them, or you can browse your system directories for the files to be uploaded.
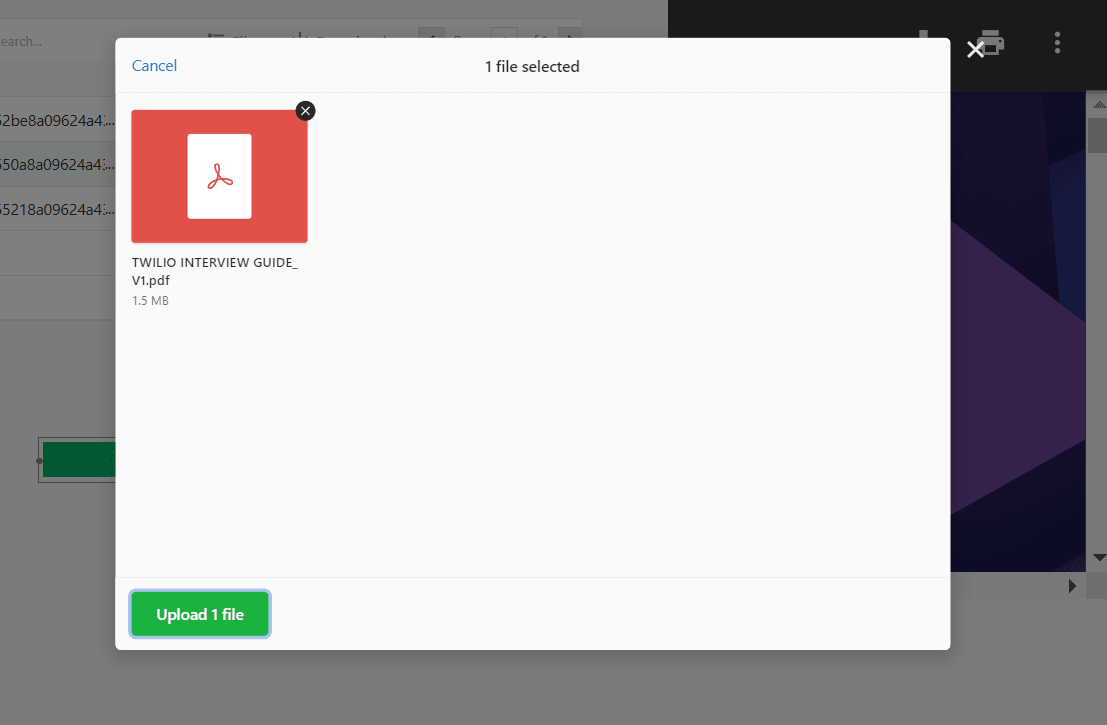
Here is a file I’ve added using the widget. Note that the file picker widget stores uploaded documents in the form of an array. To view your uploaded document, add the following mustache syntax to the document viewer widget document link property: {{FilePicker1.files[0].data}}. Here, the document at position zero is the first document which I added.
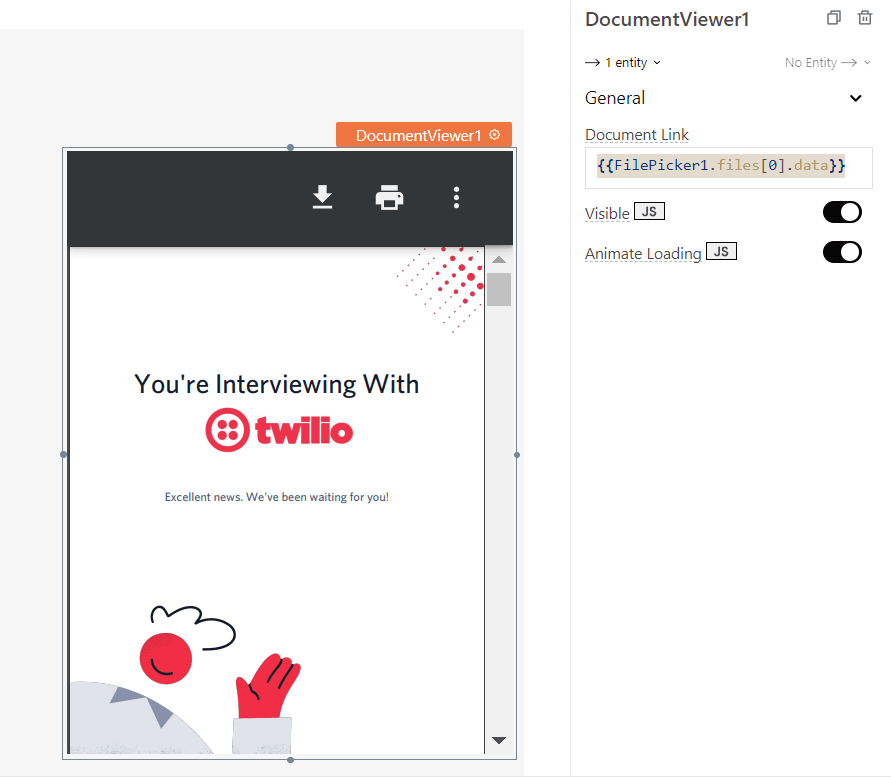
Above is an image showing the document uploaded using the file picker widget.
Sending Documents as Mails
Documents can be sent to specific email addresses using the Appsmith SMTP email service. To do this, you will first need to do is to add SMTP integration. Navigate to datasources and select SMTP.
To be able to use this service, you will need to create an account with an SMTP provider. On the configuration page, add the host address, port and authentication credentials of your SMTP provider.
With SMTP setup, you can build a form to send the documents to an email address. To do this, add the form widget to your work environment.
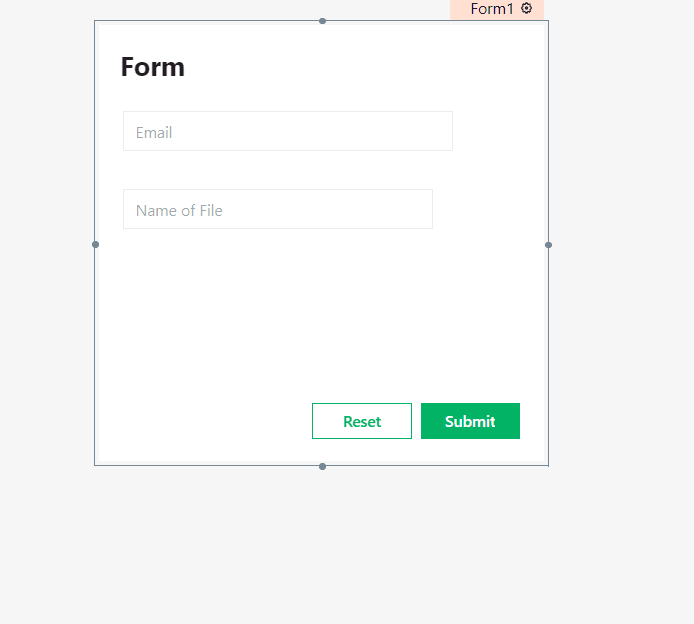
Here is a form which will take the values of the name of the email and the file name of the document to be sent.
To send emails, create a new query using the configured SMTP service.
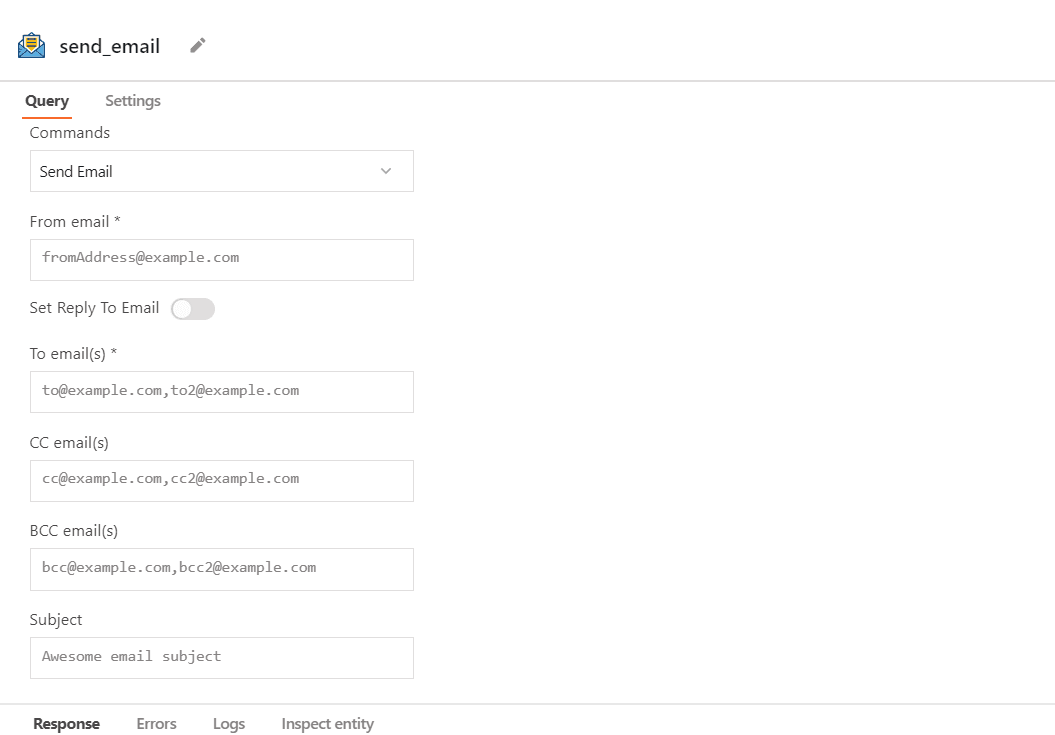
Here is the query screen. The from email property would take the email address you used to create your SMTP service, the To email(s) property can be bound to the input field of the form using the following moustache syntax: {{Input1.text}}. The subject would be: {{Input2.text}} and finally the attachment would be the file uploaded to the file picker widget. So use the moustache syntax: {{FilePicker1.files[0]}}.
Finally, you will need to bind this query to the submit button on the form to run it.
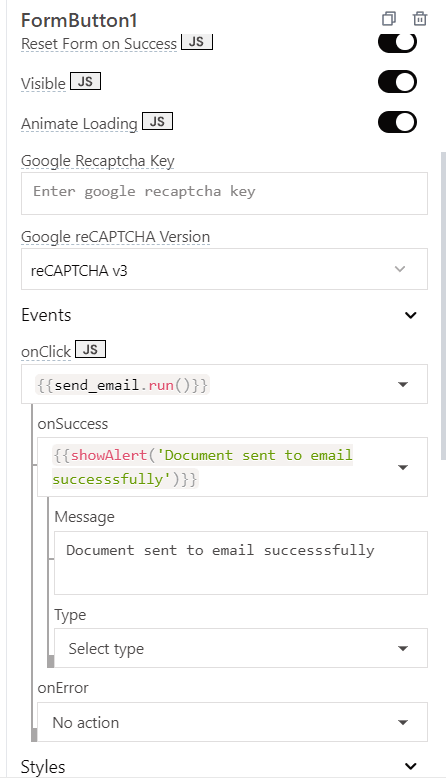
Here, I’ve added the query to the onClick event handler, and added a message to be displayed once the document has been sent. Clicking on the button will run the query and send the attached document to the email specified in the form.
We also covered using the file picker widget to upload files and send documents to specified email addresses. You can take a look at the tutorial here.


